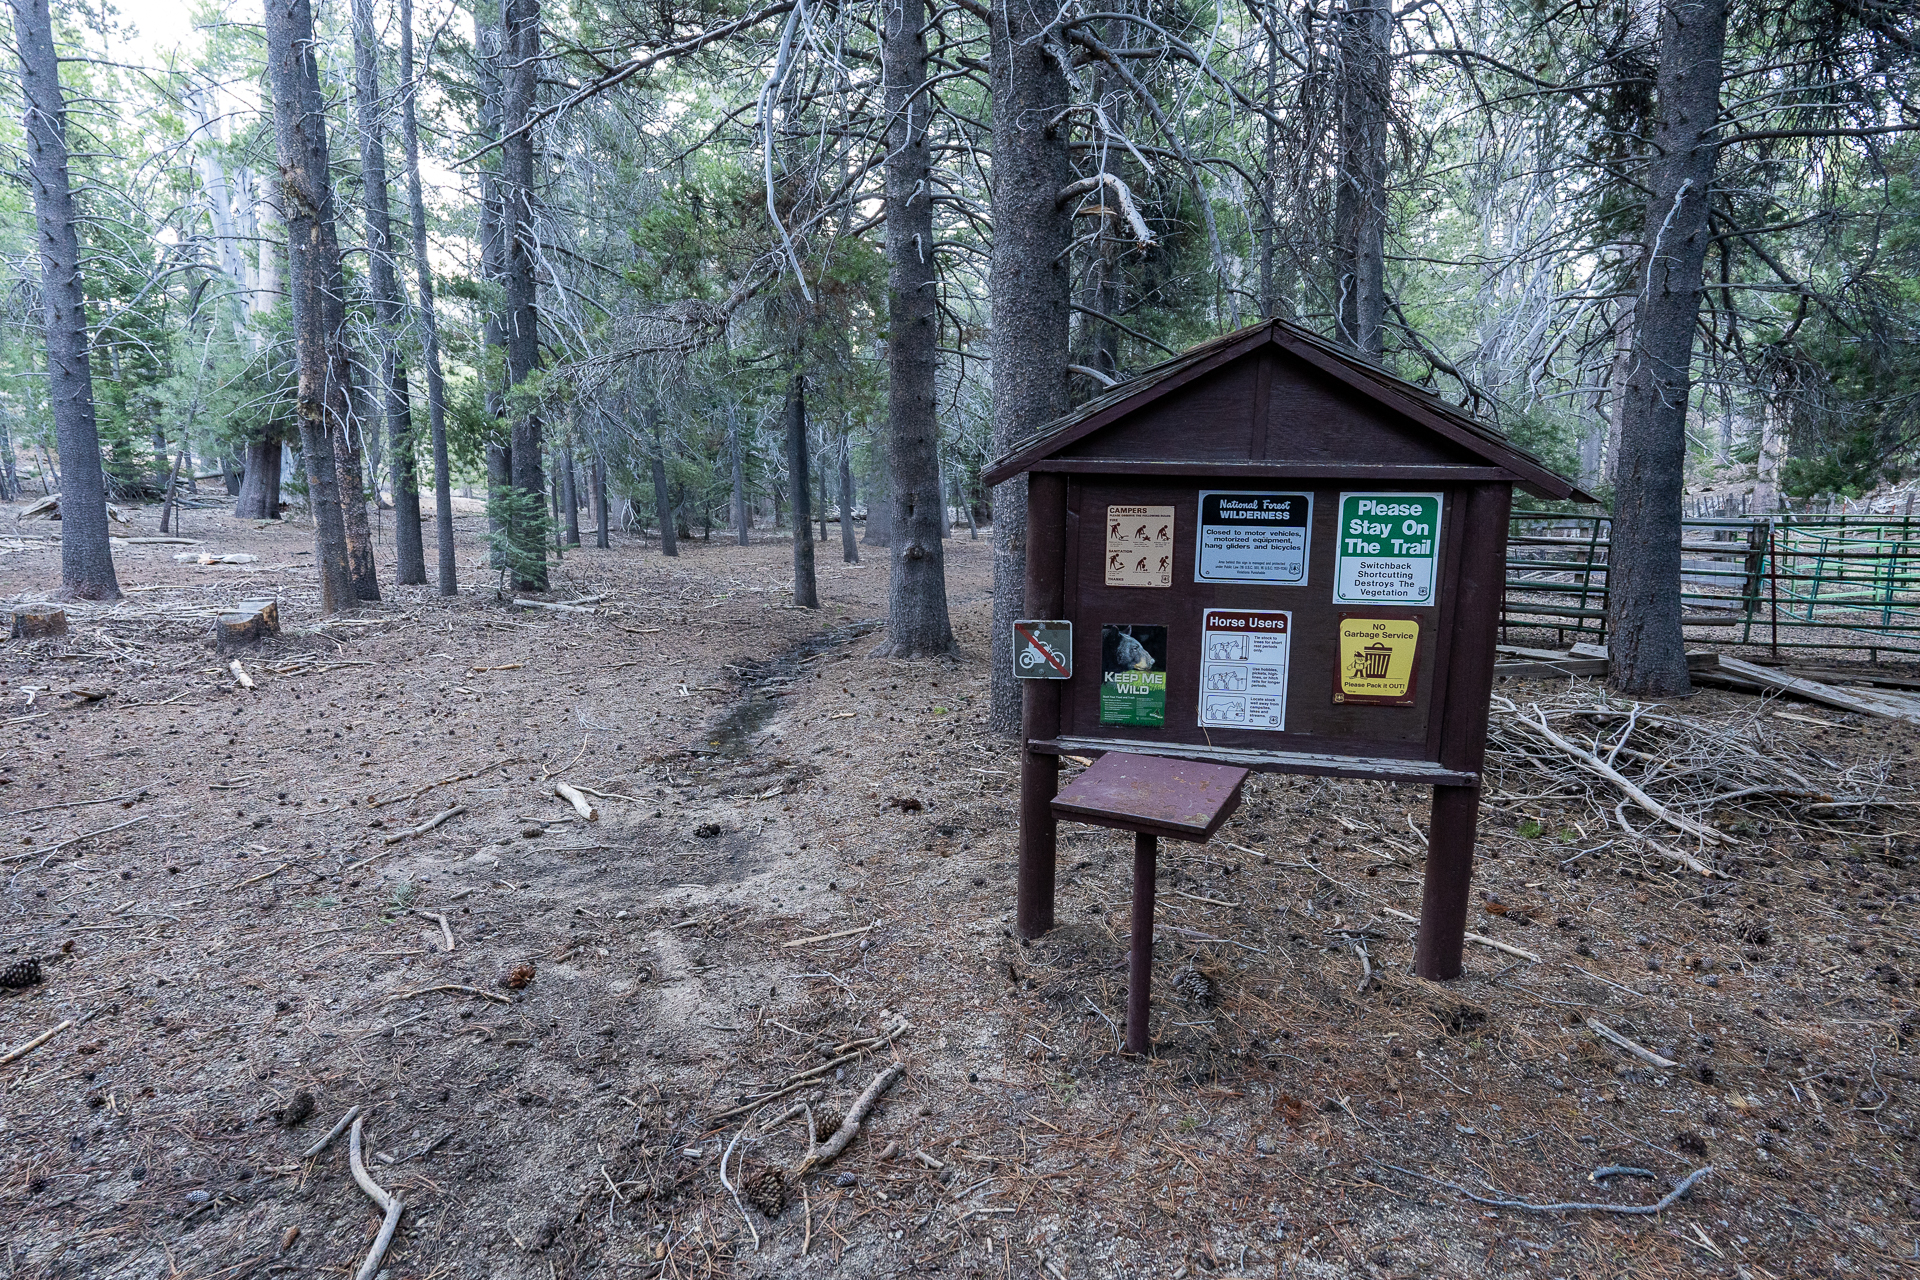
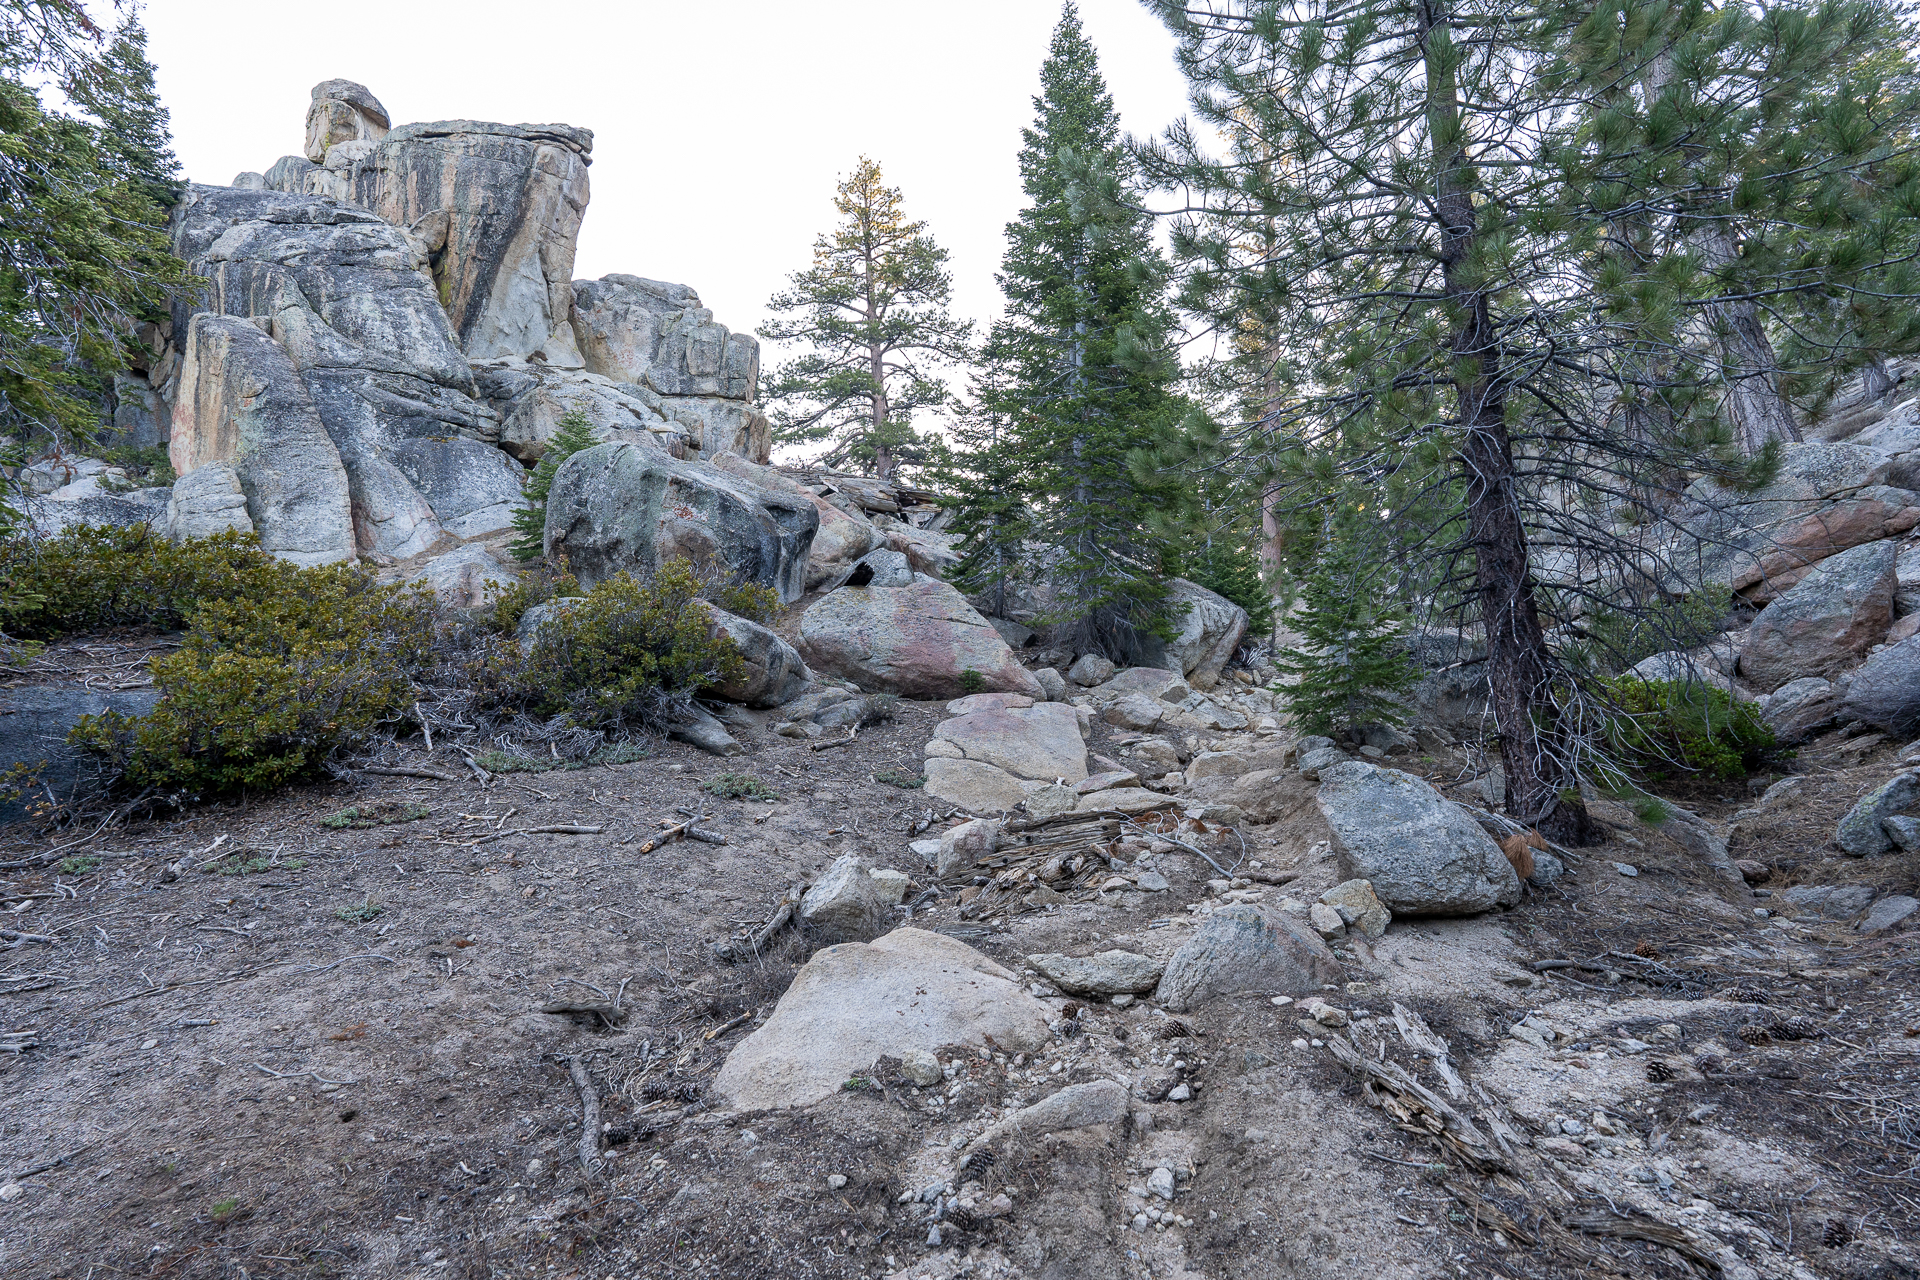
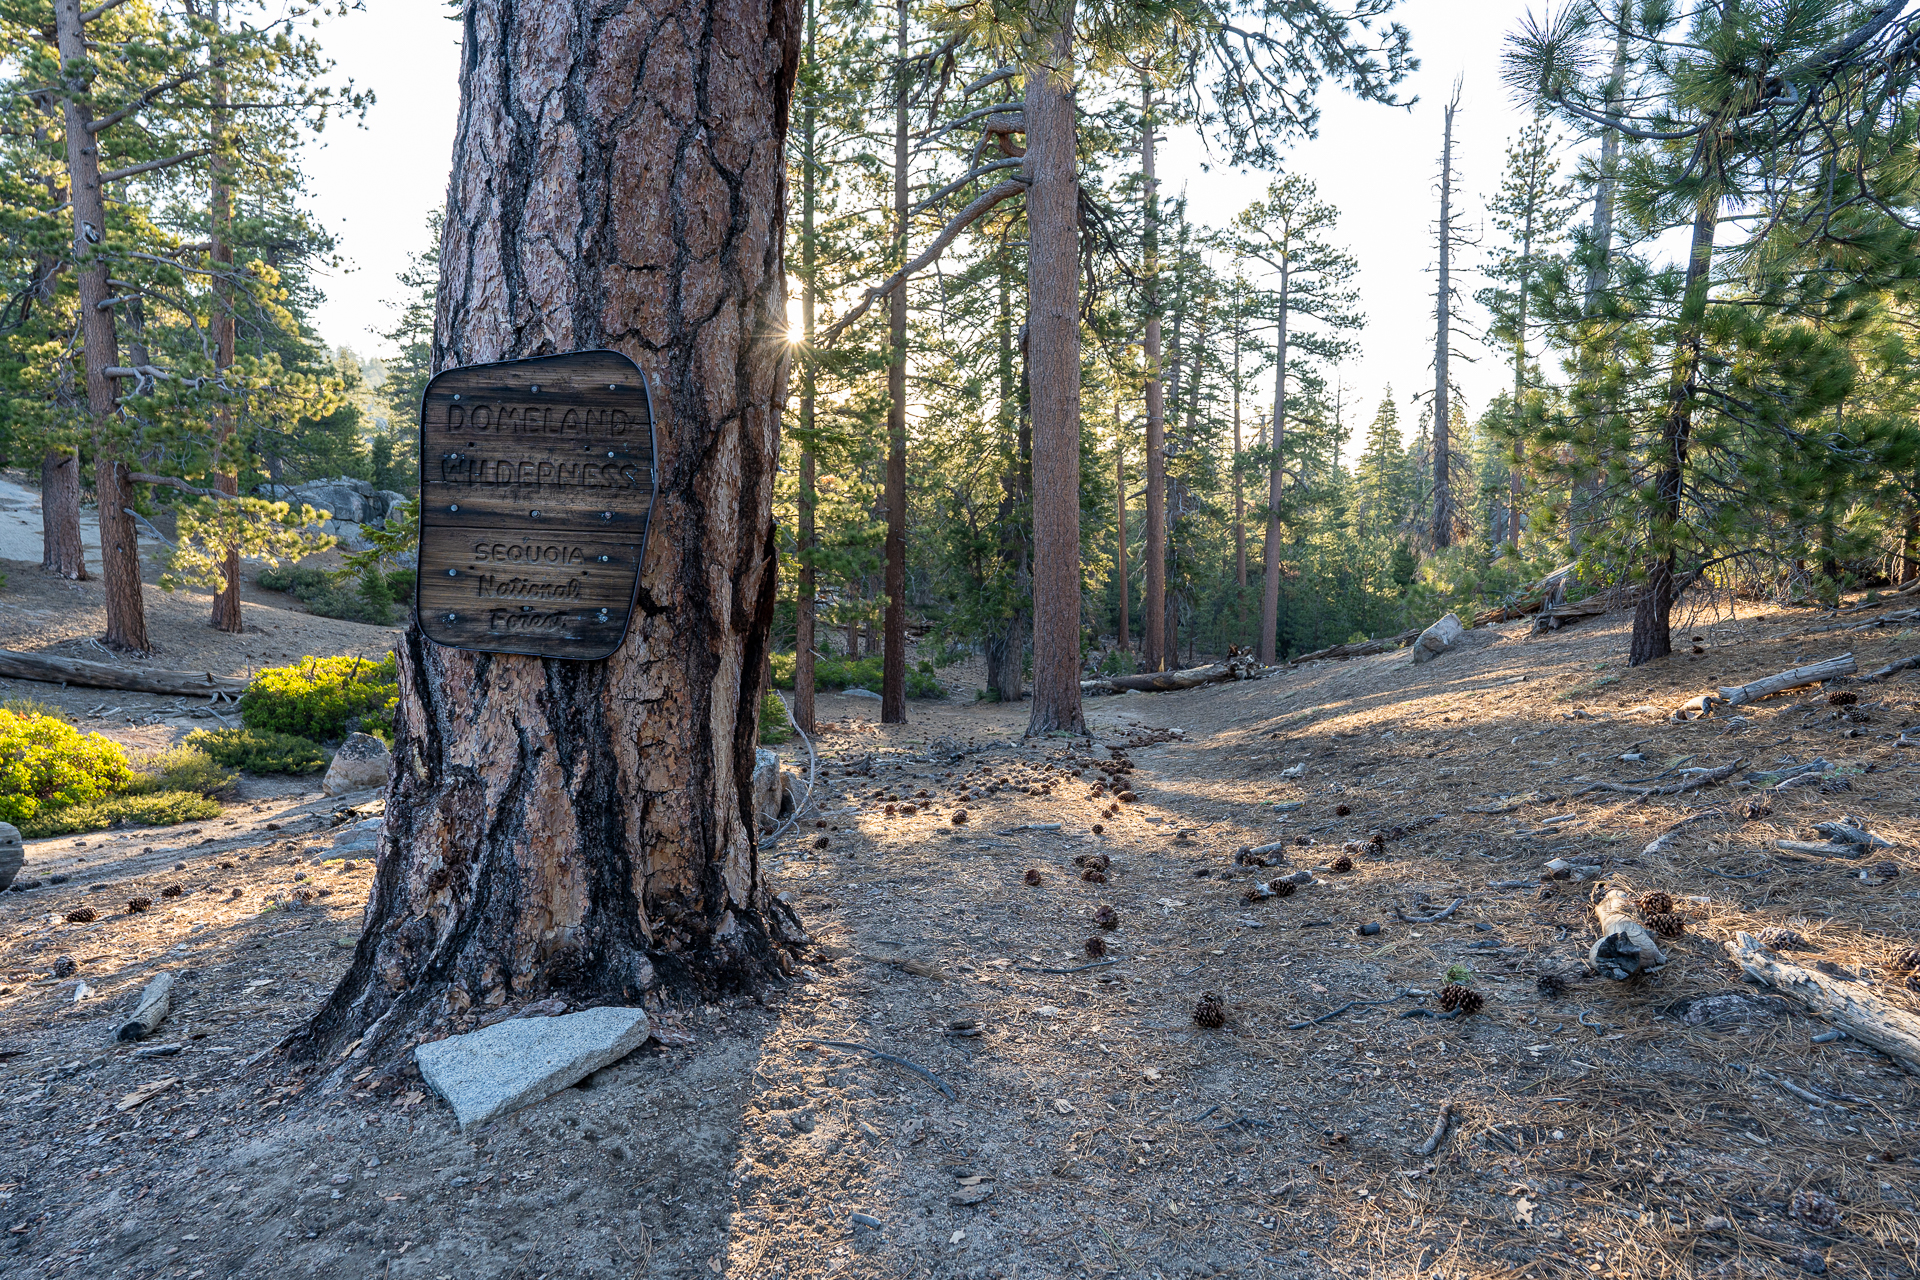
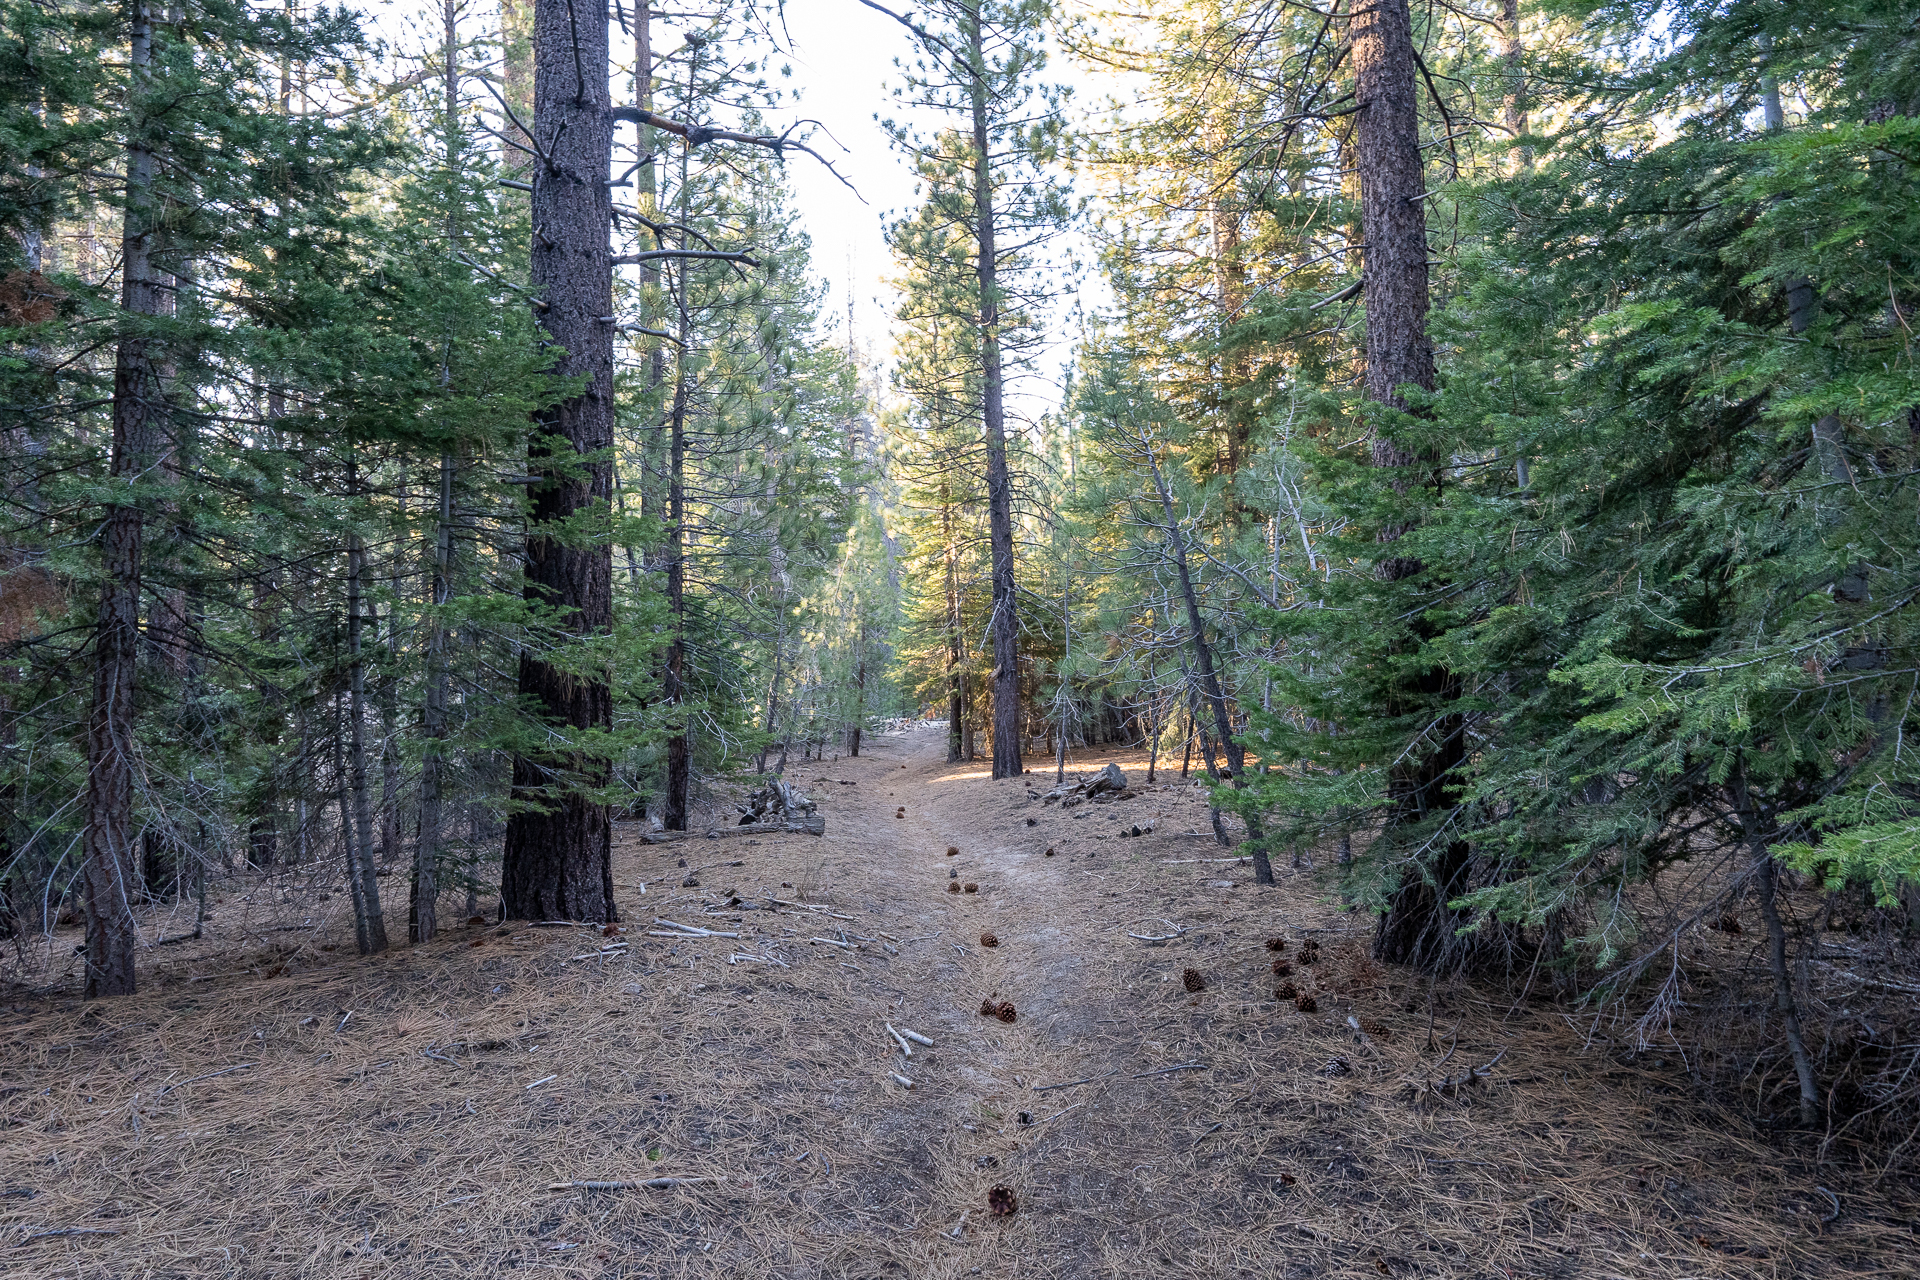
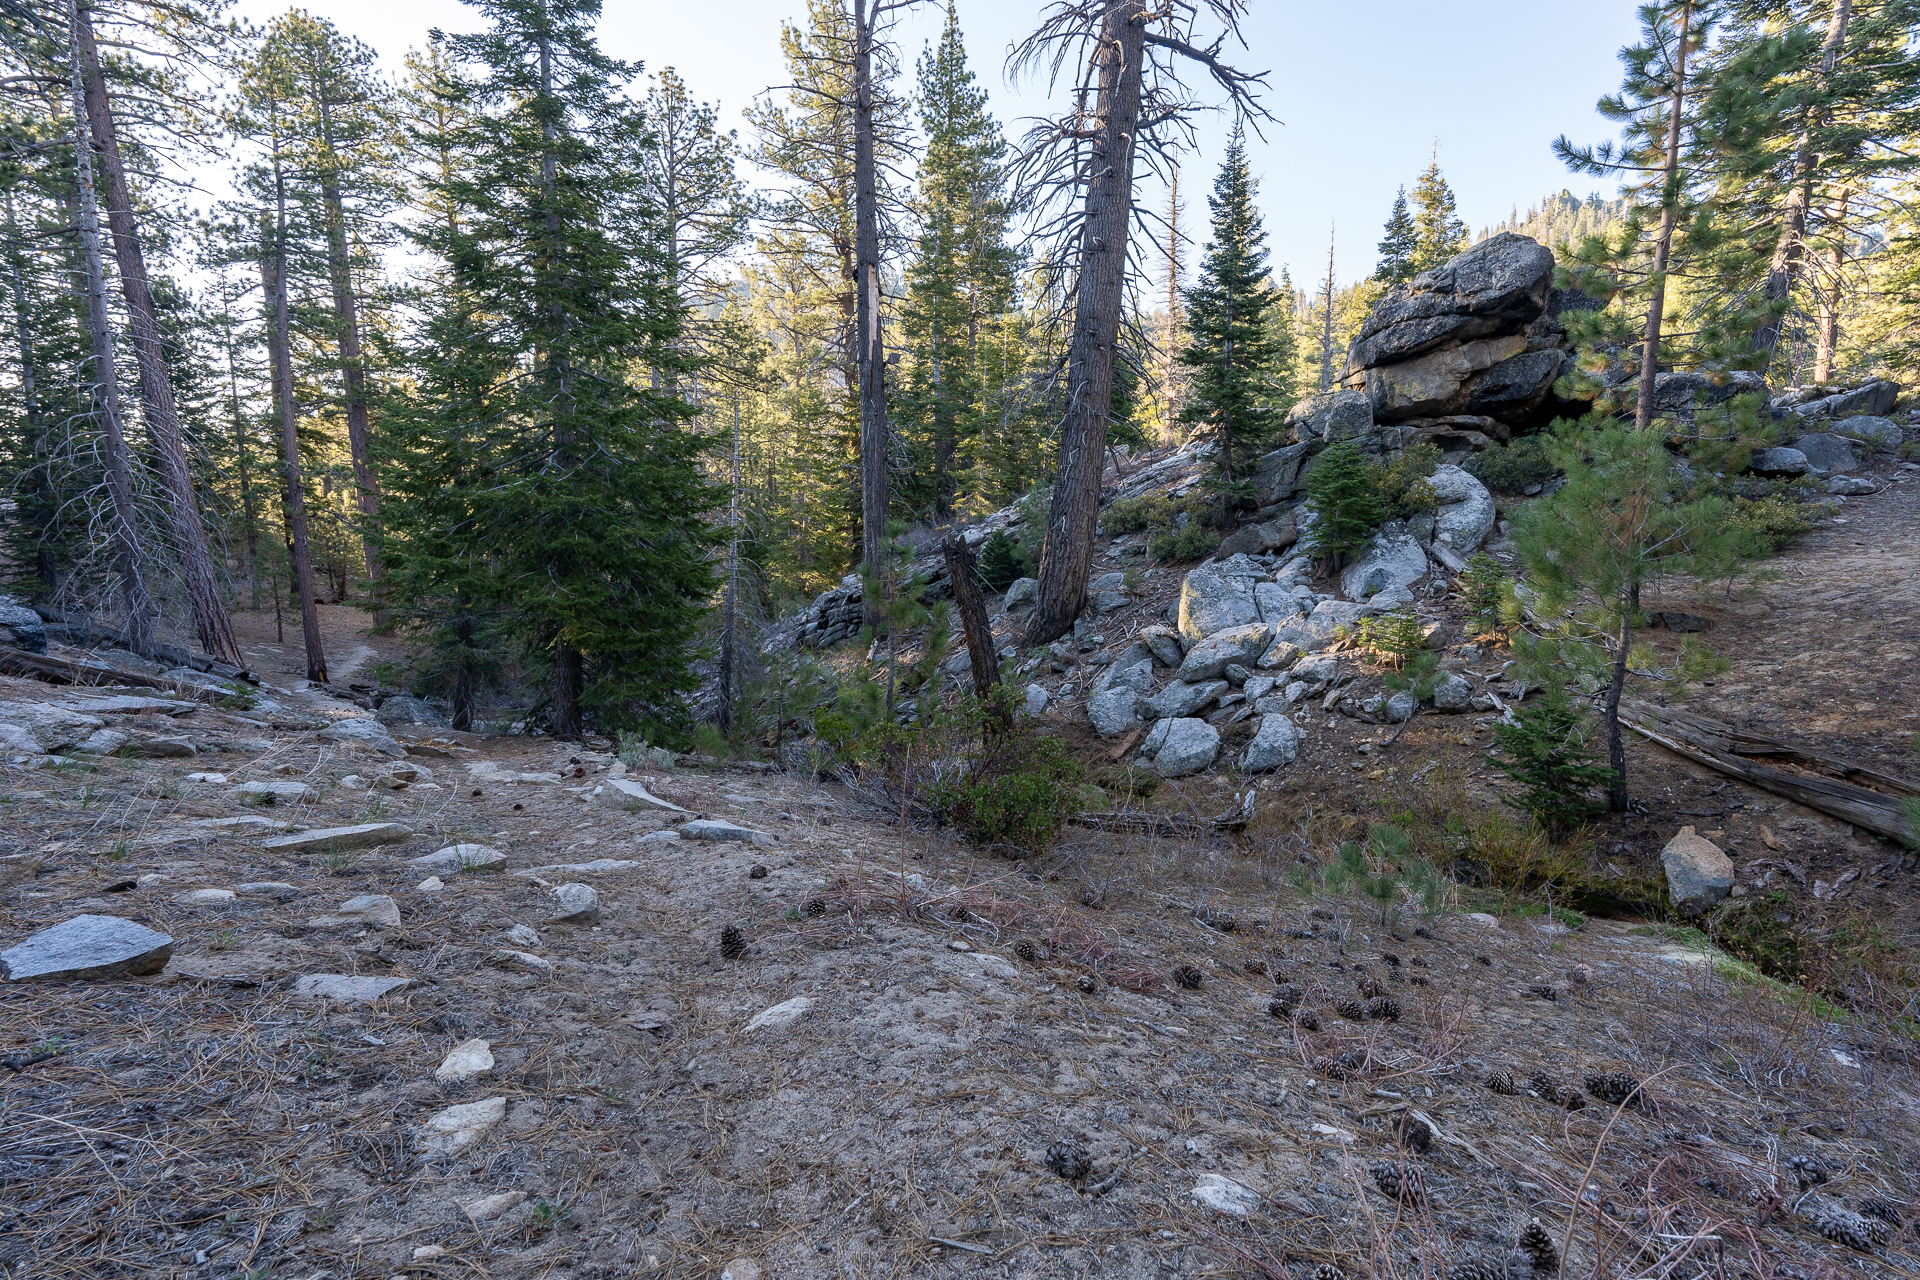
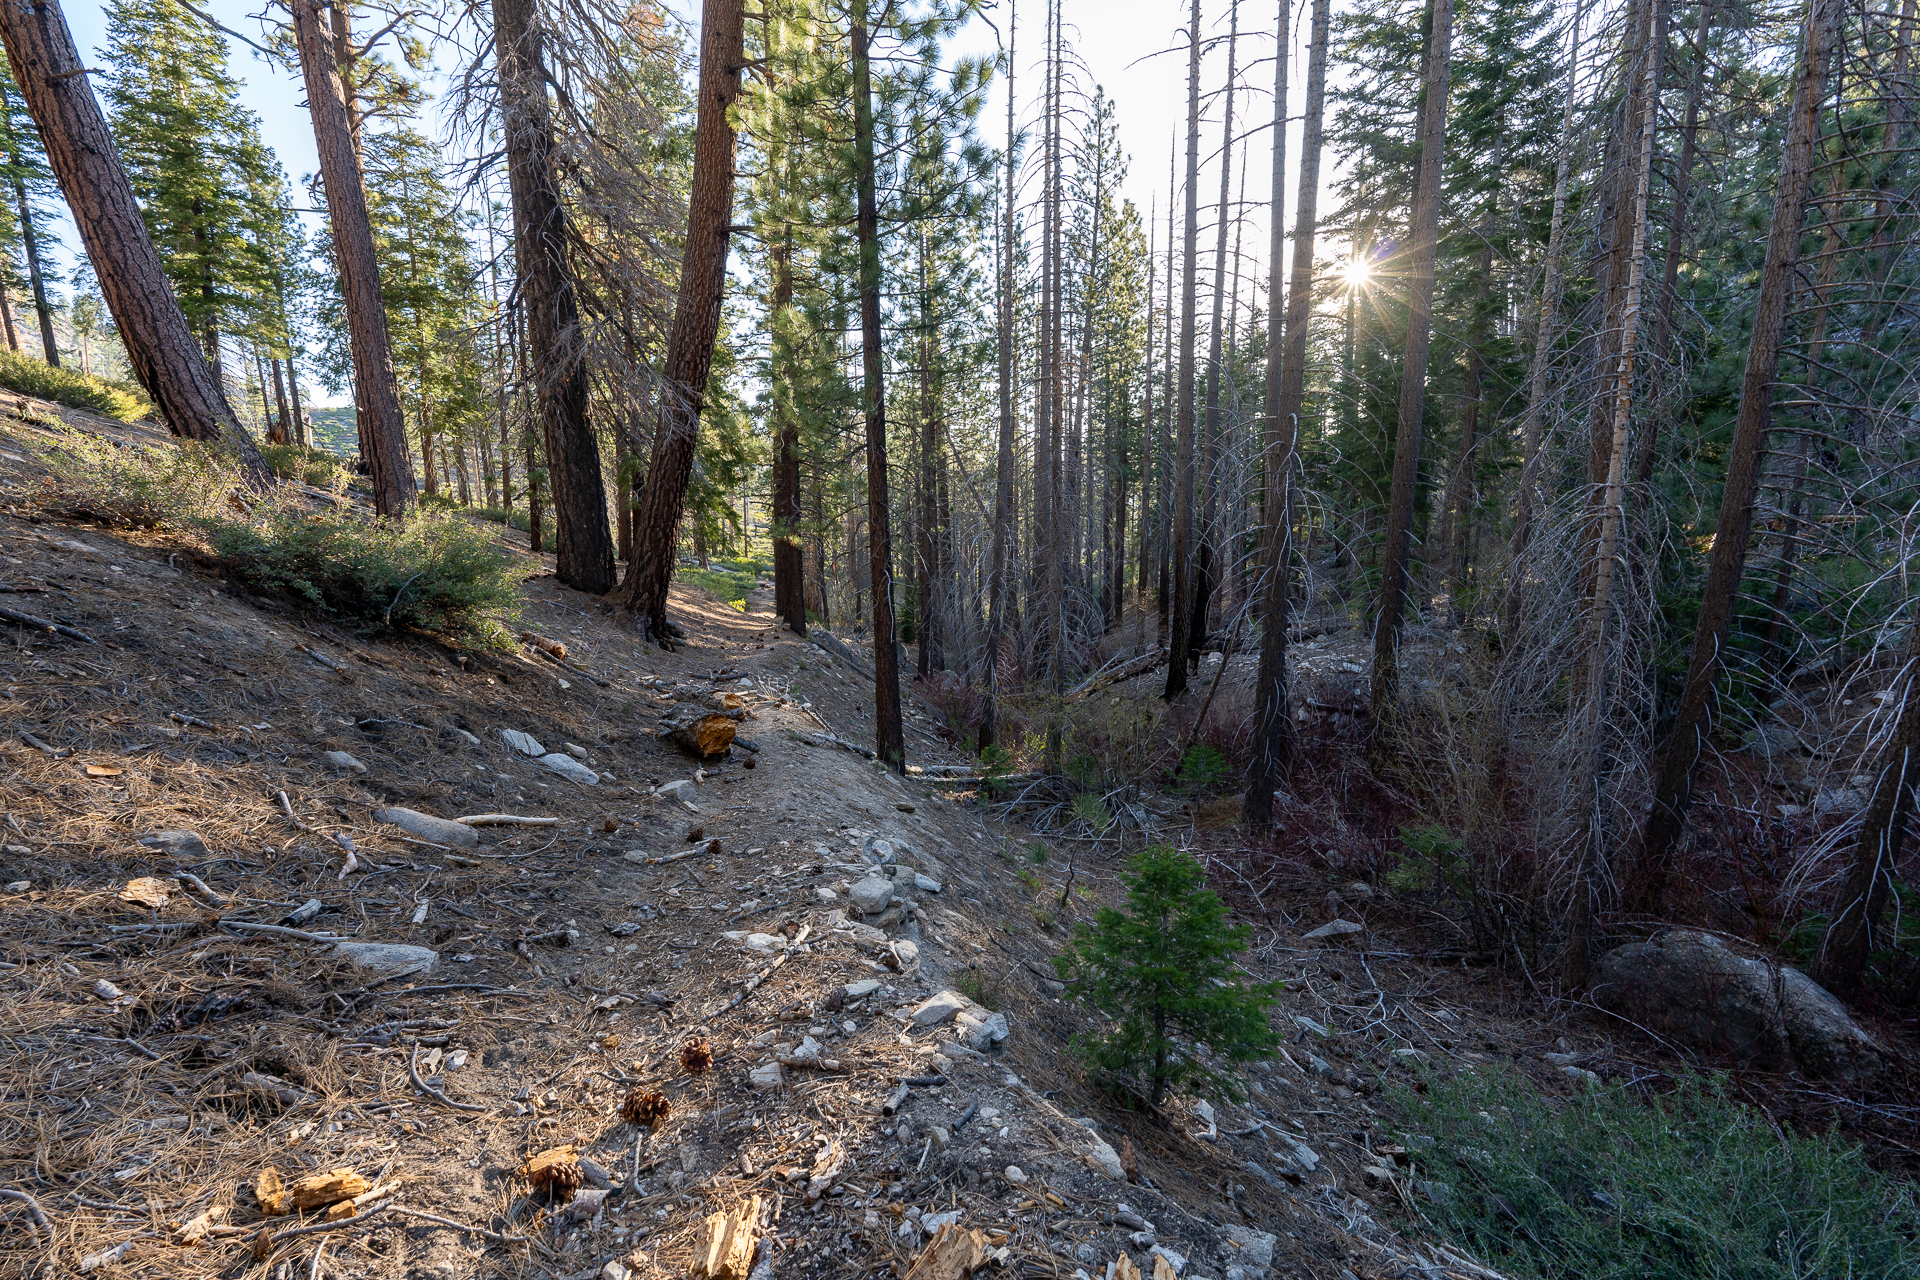
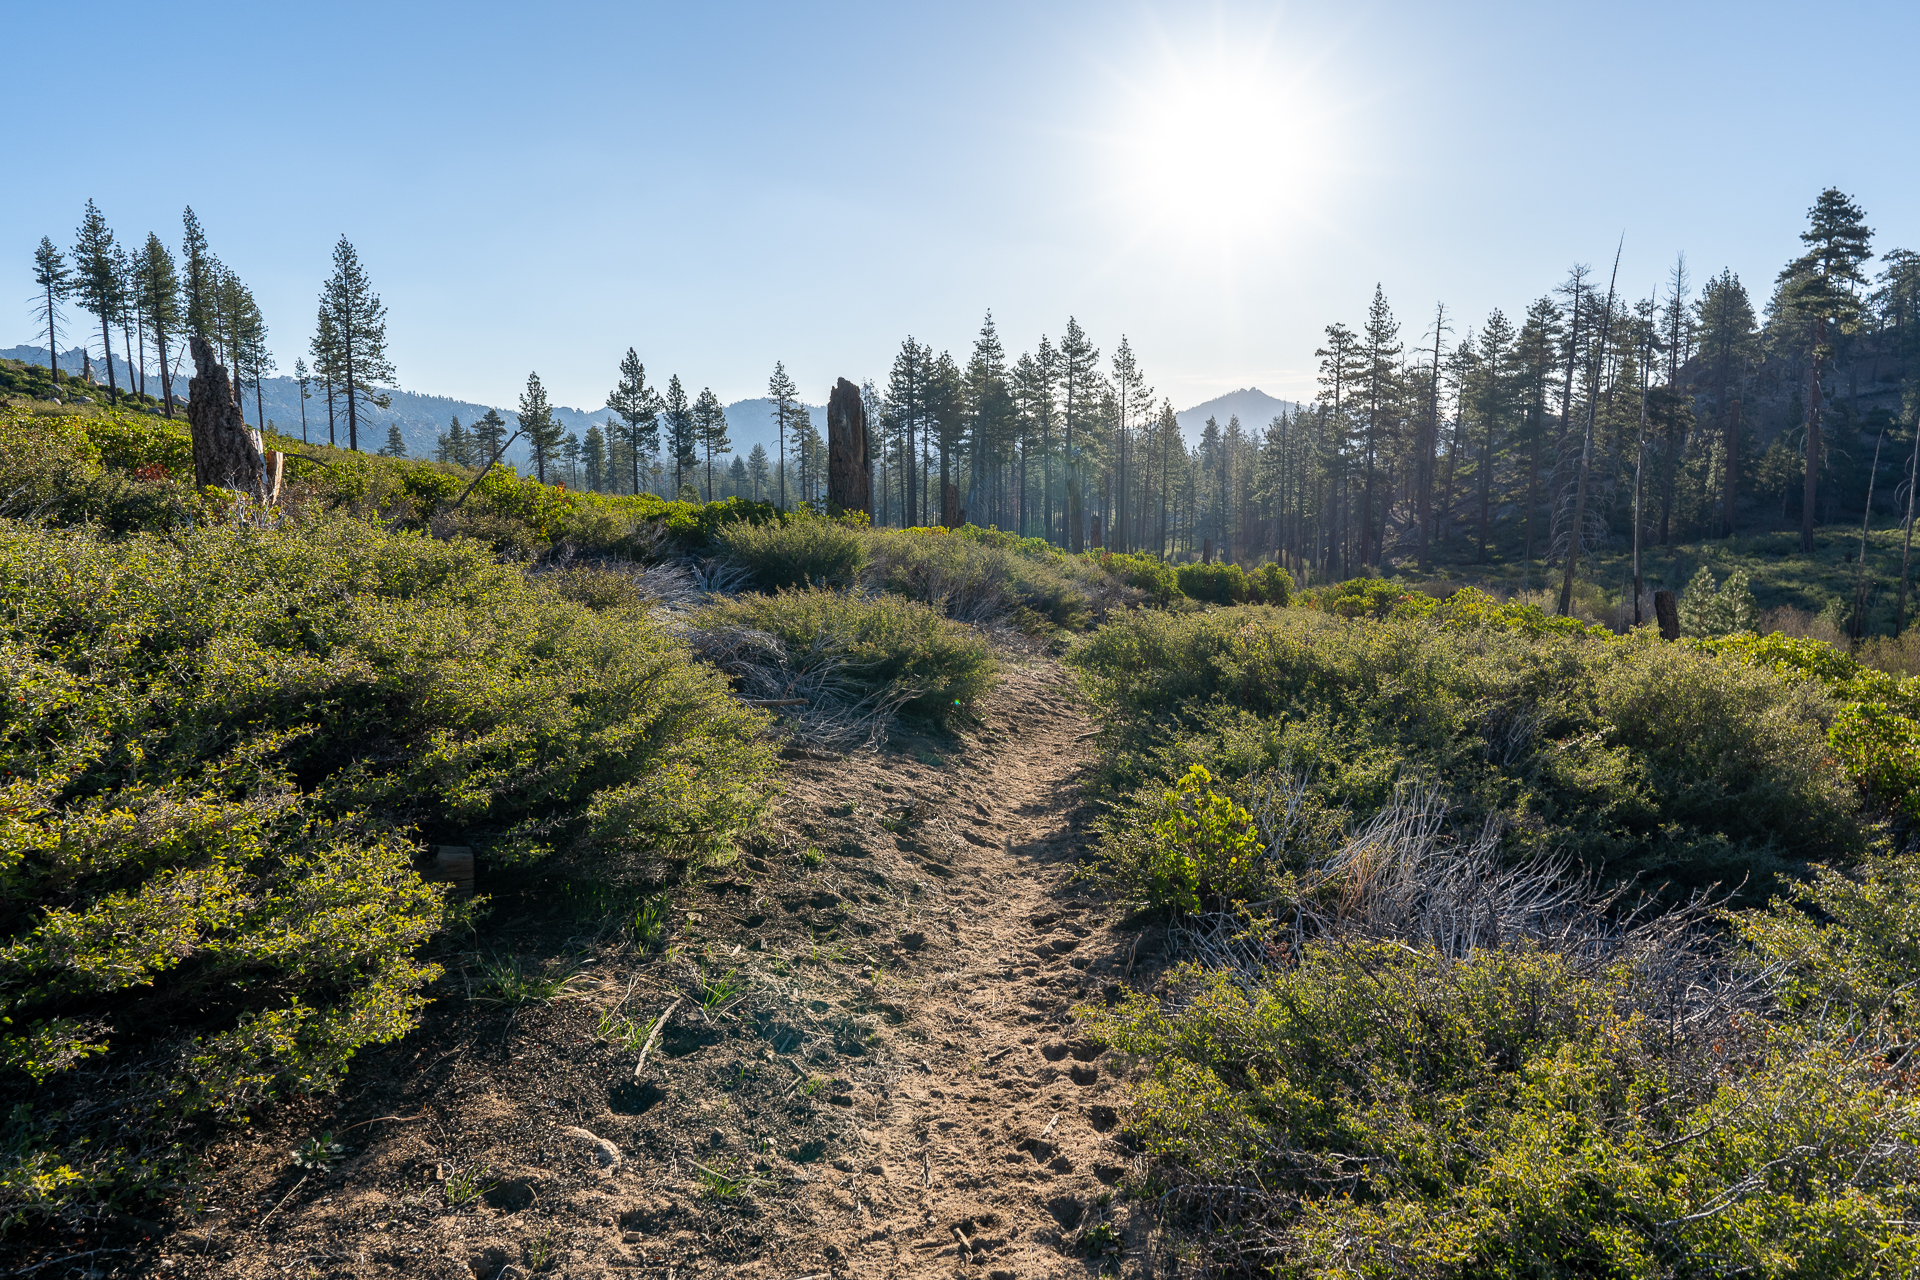
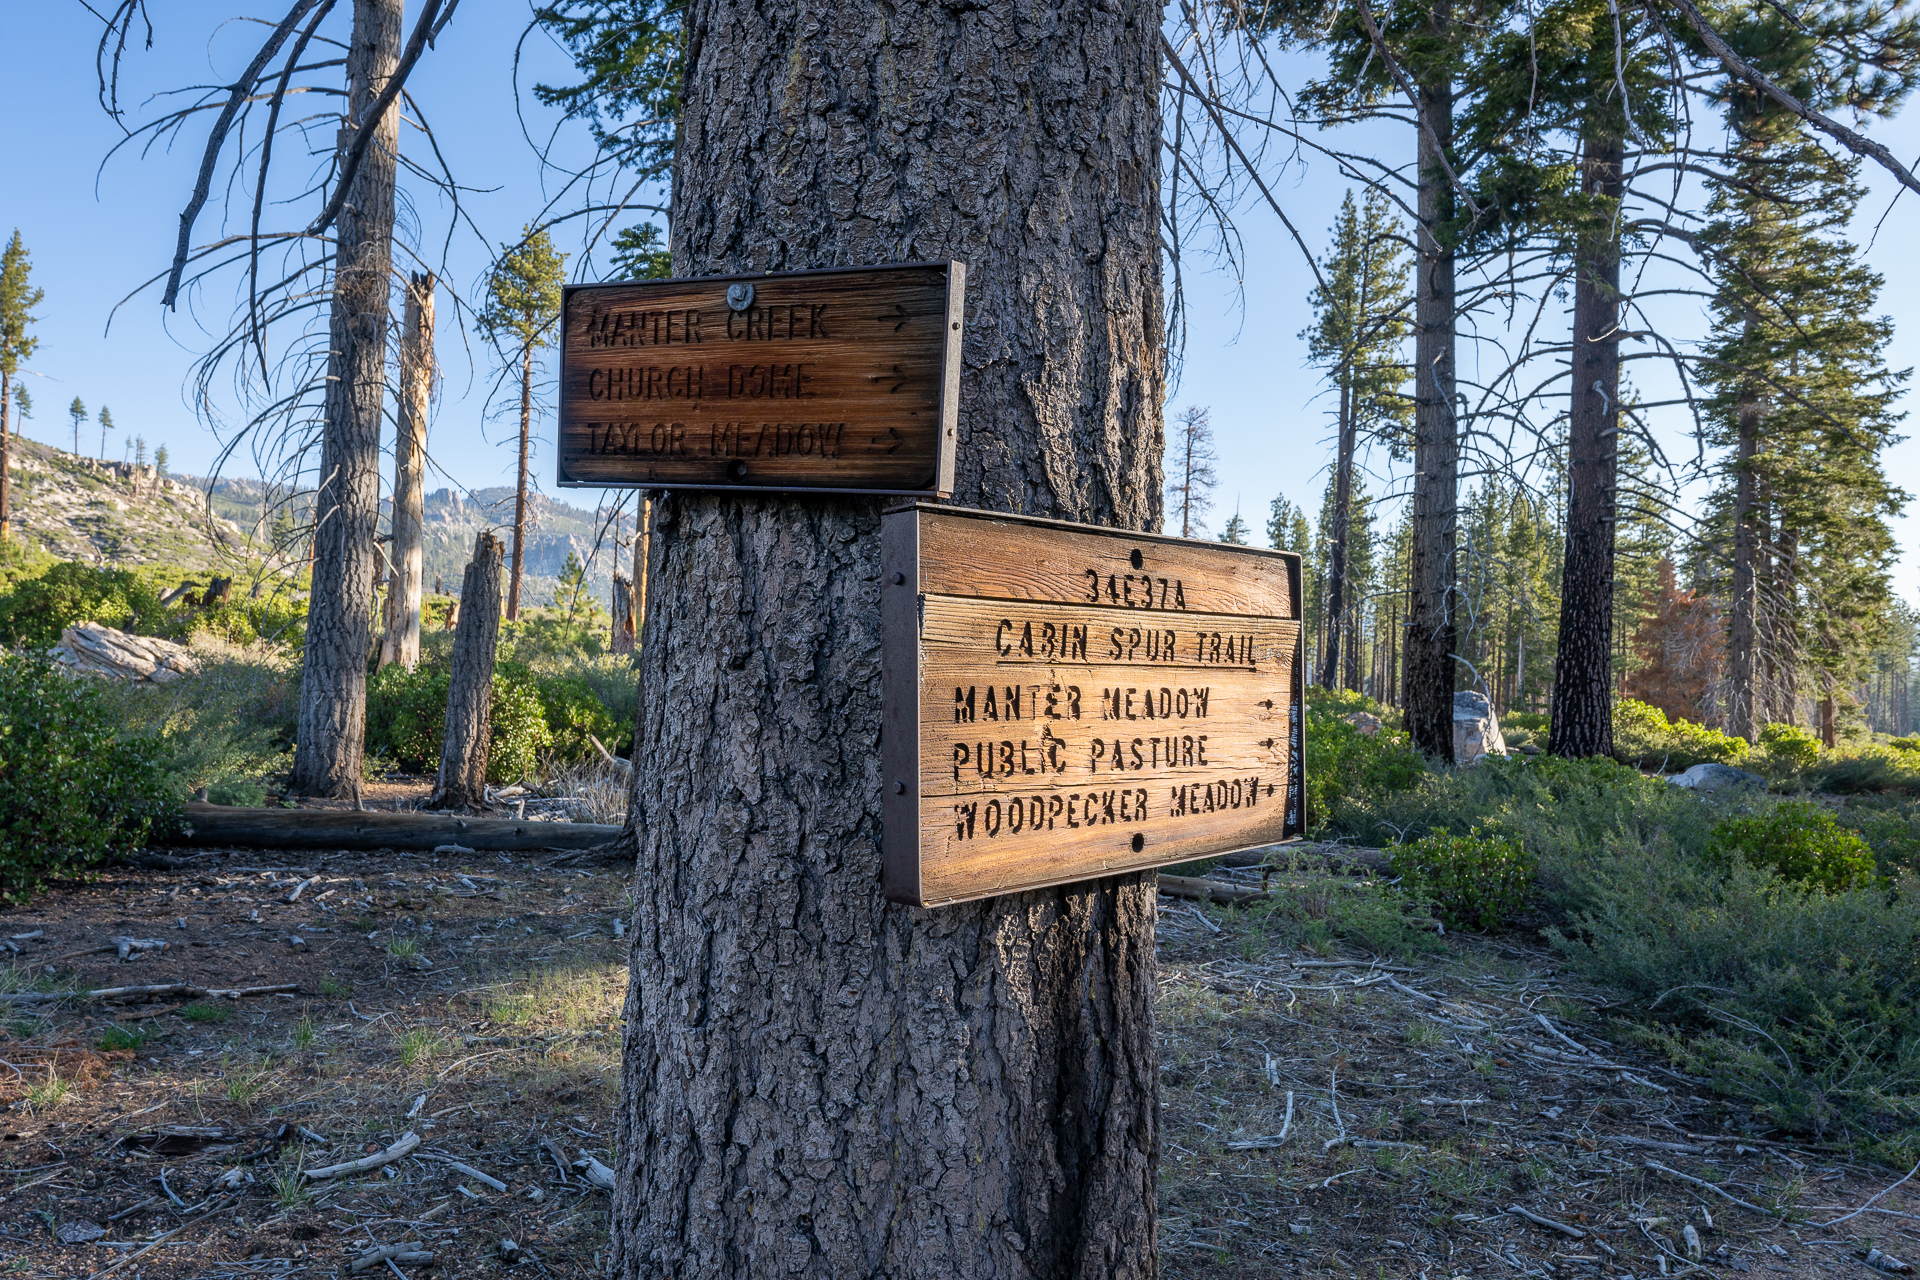
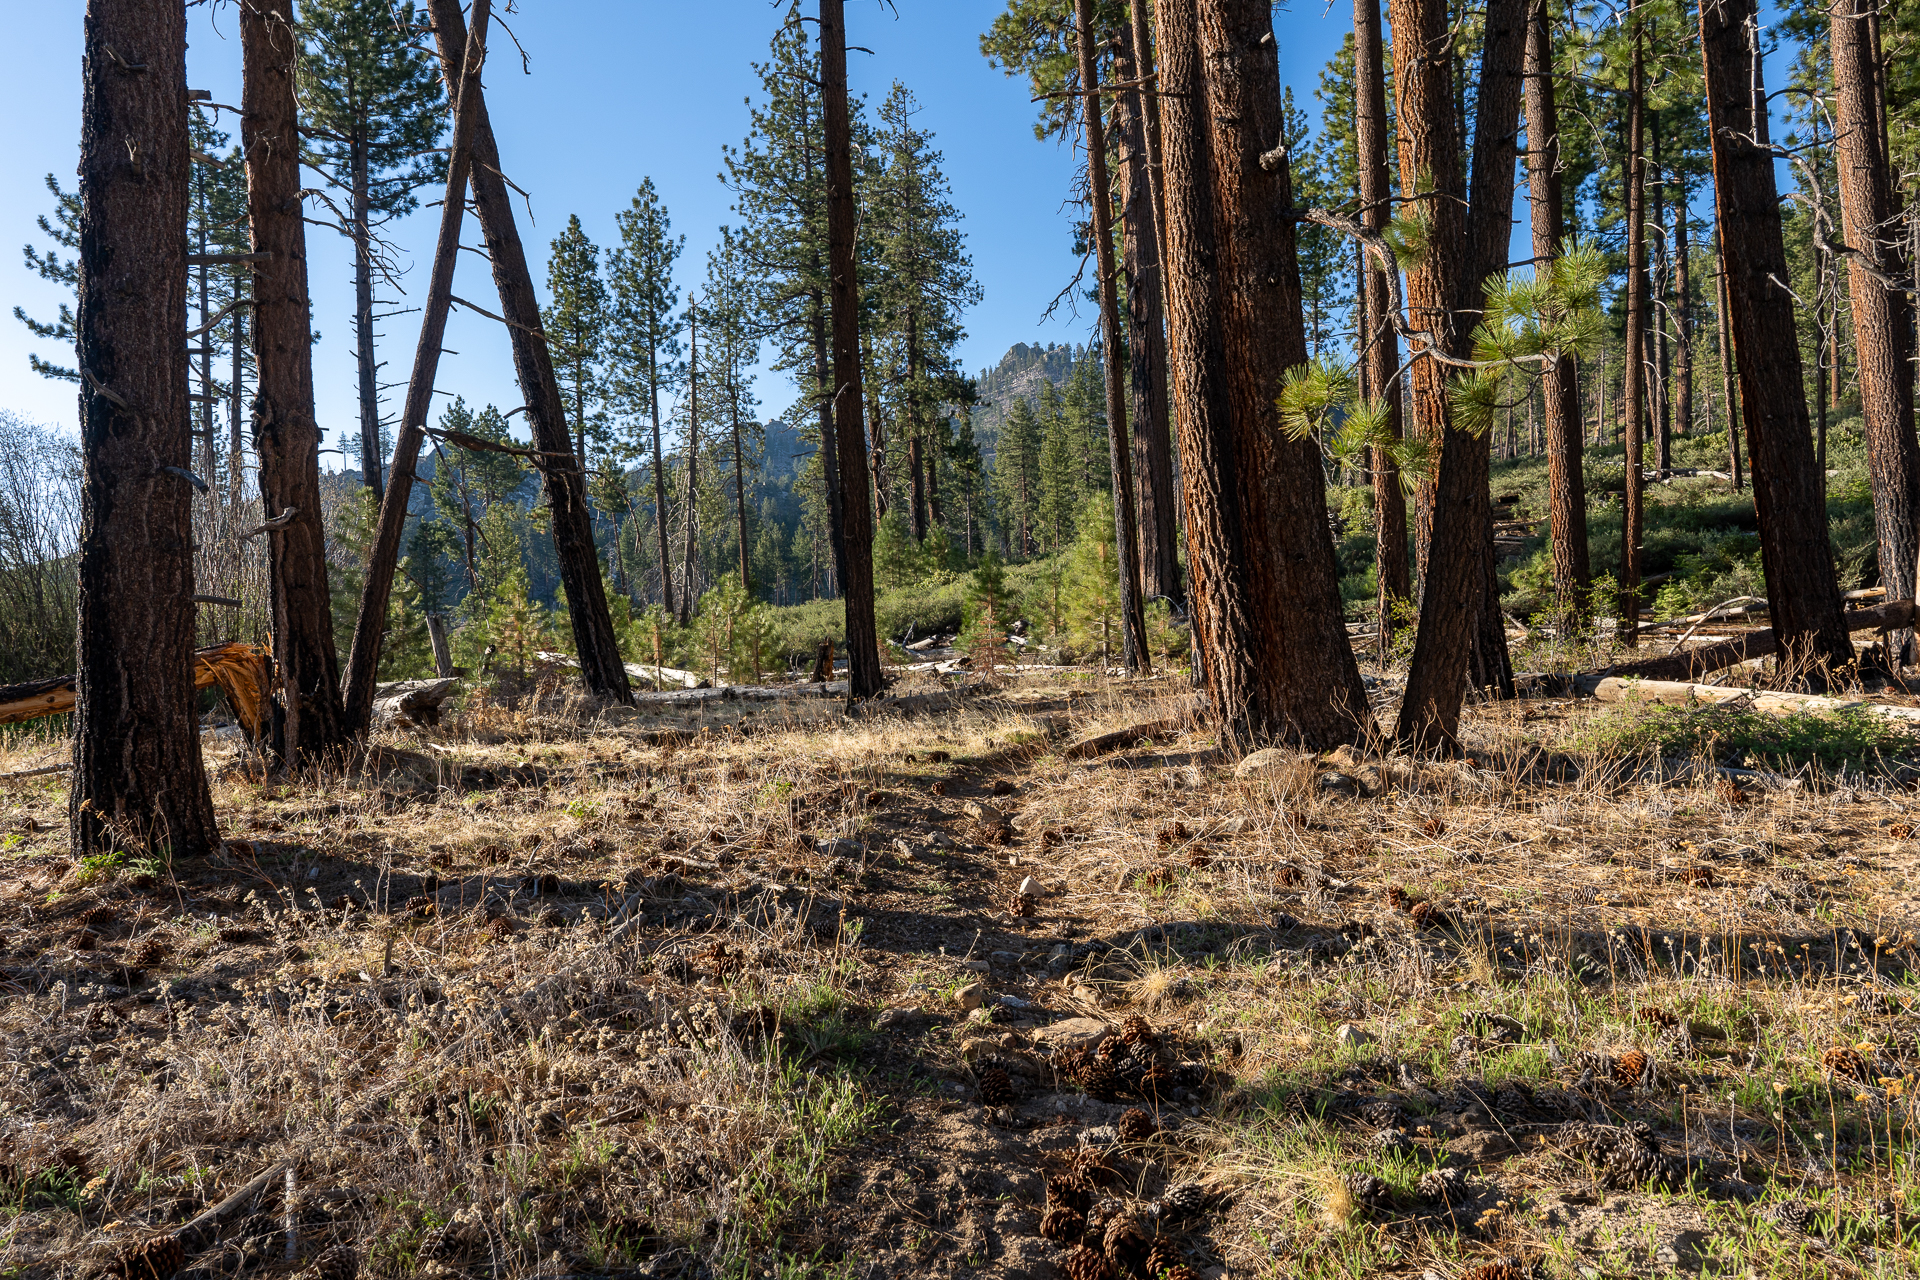
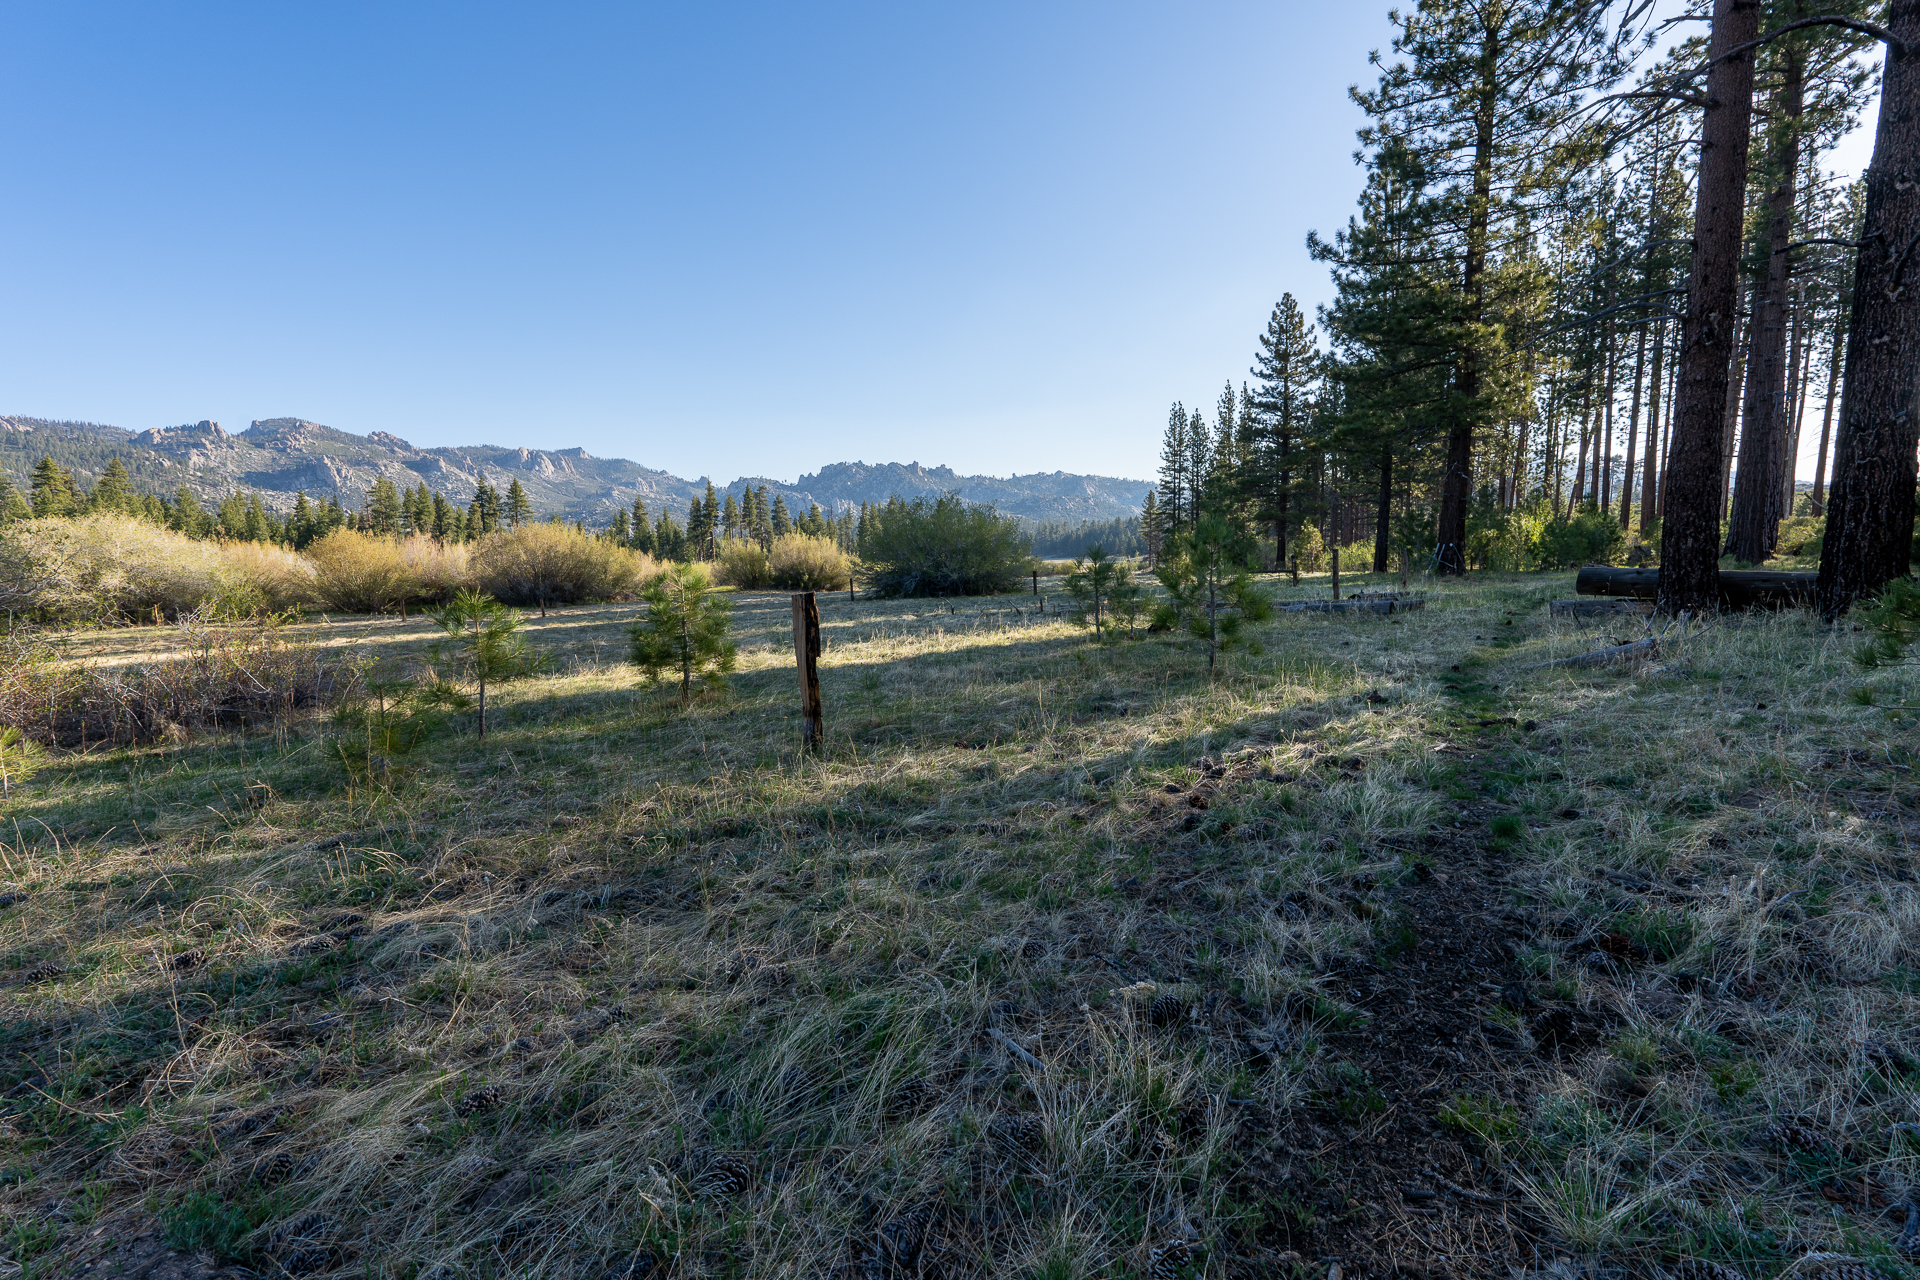
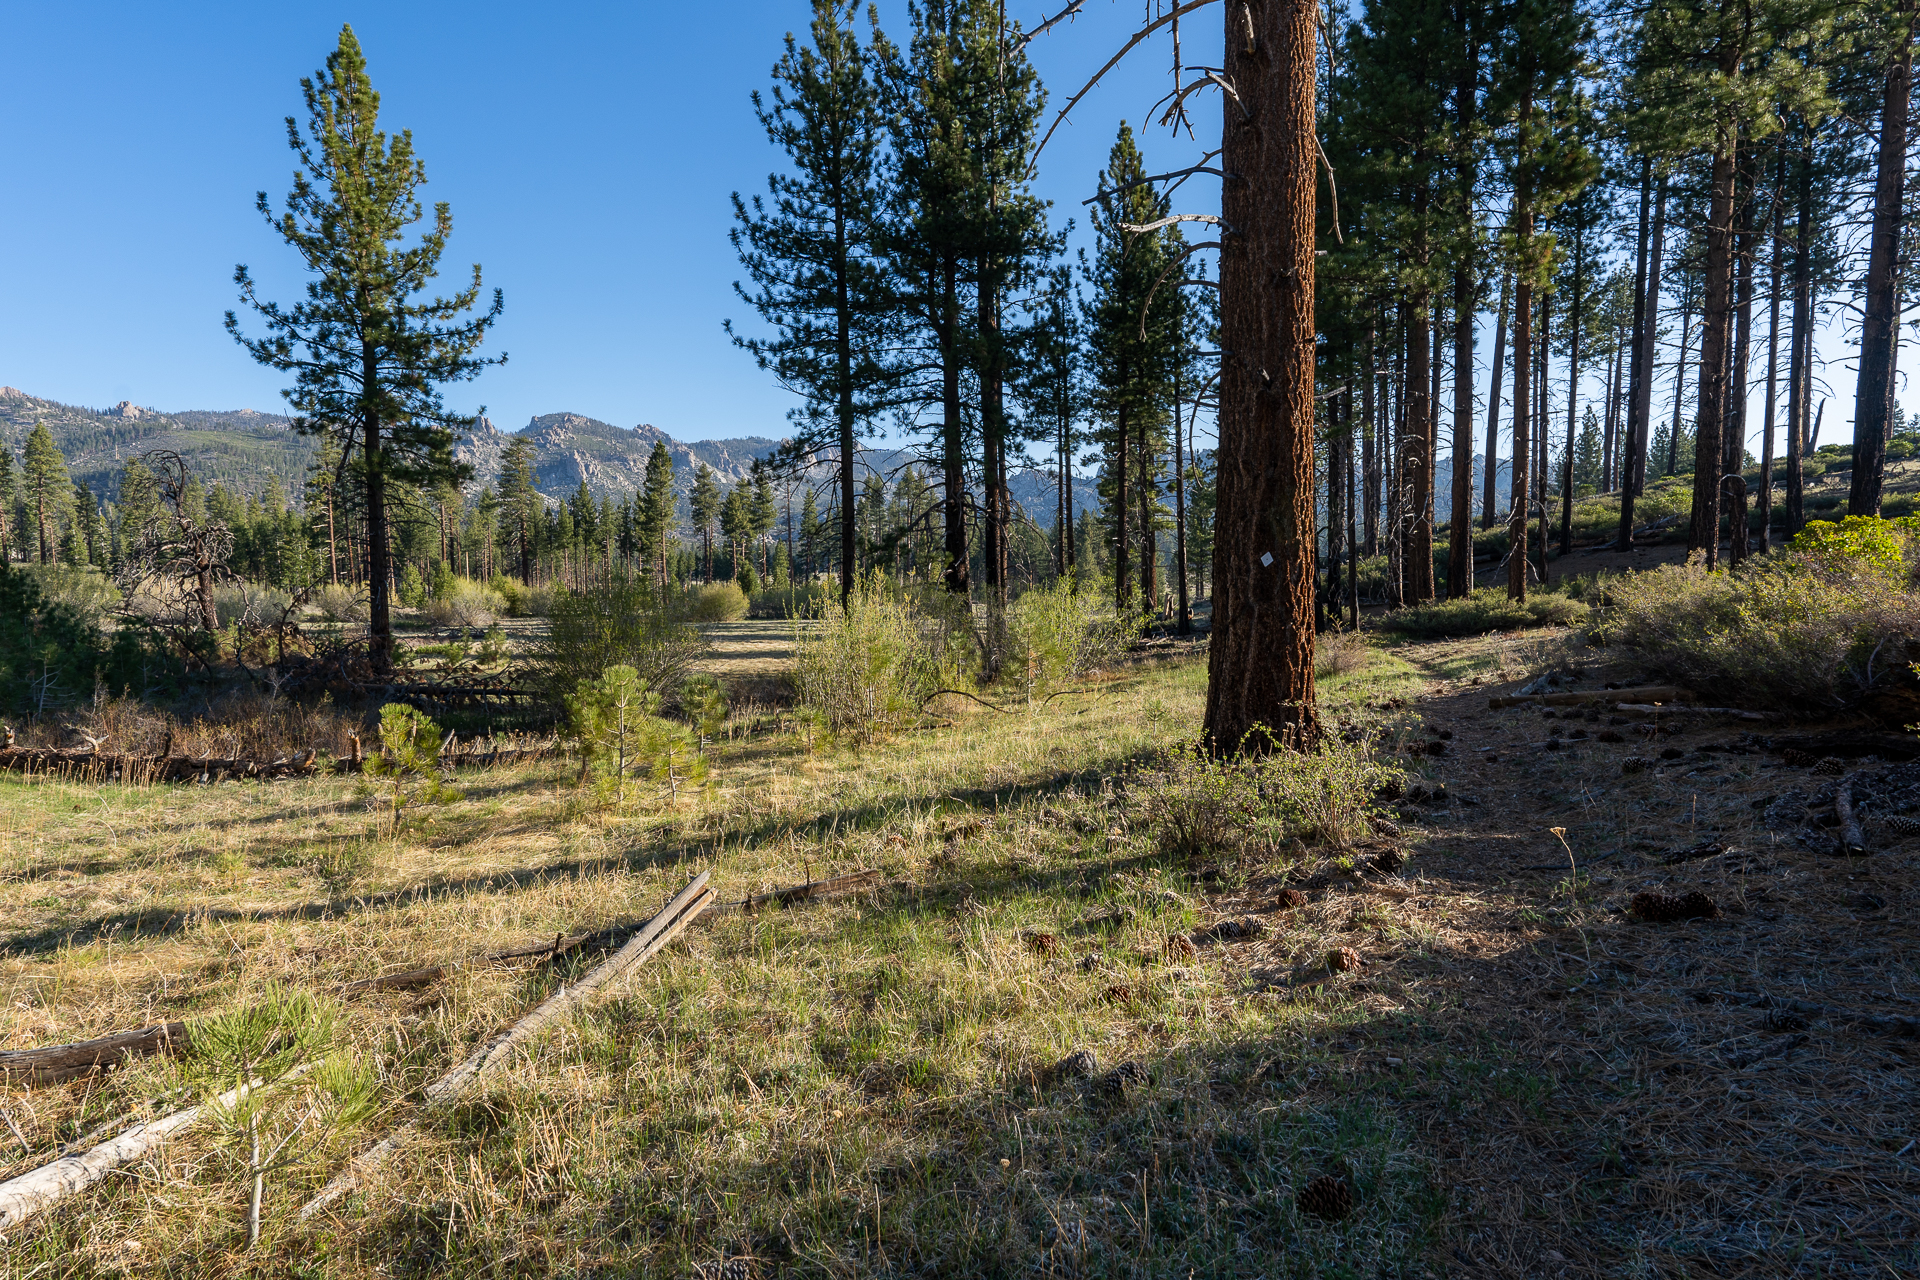
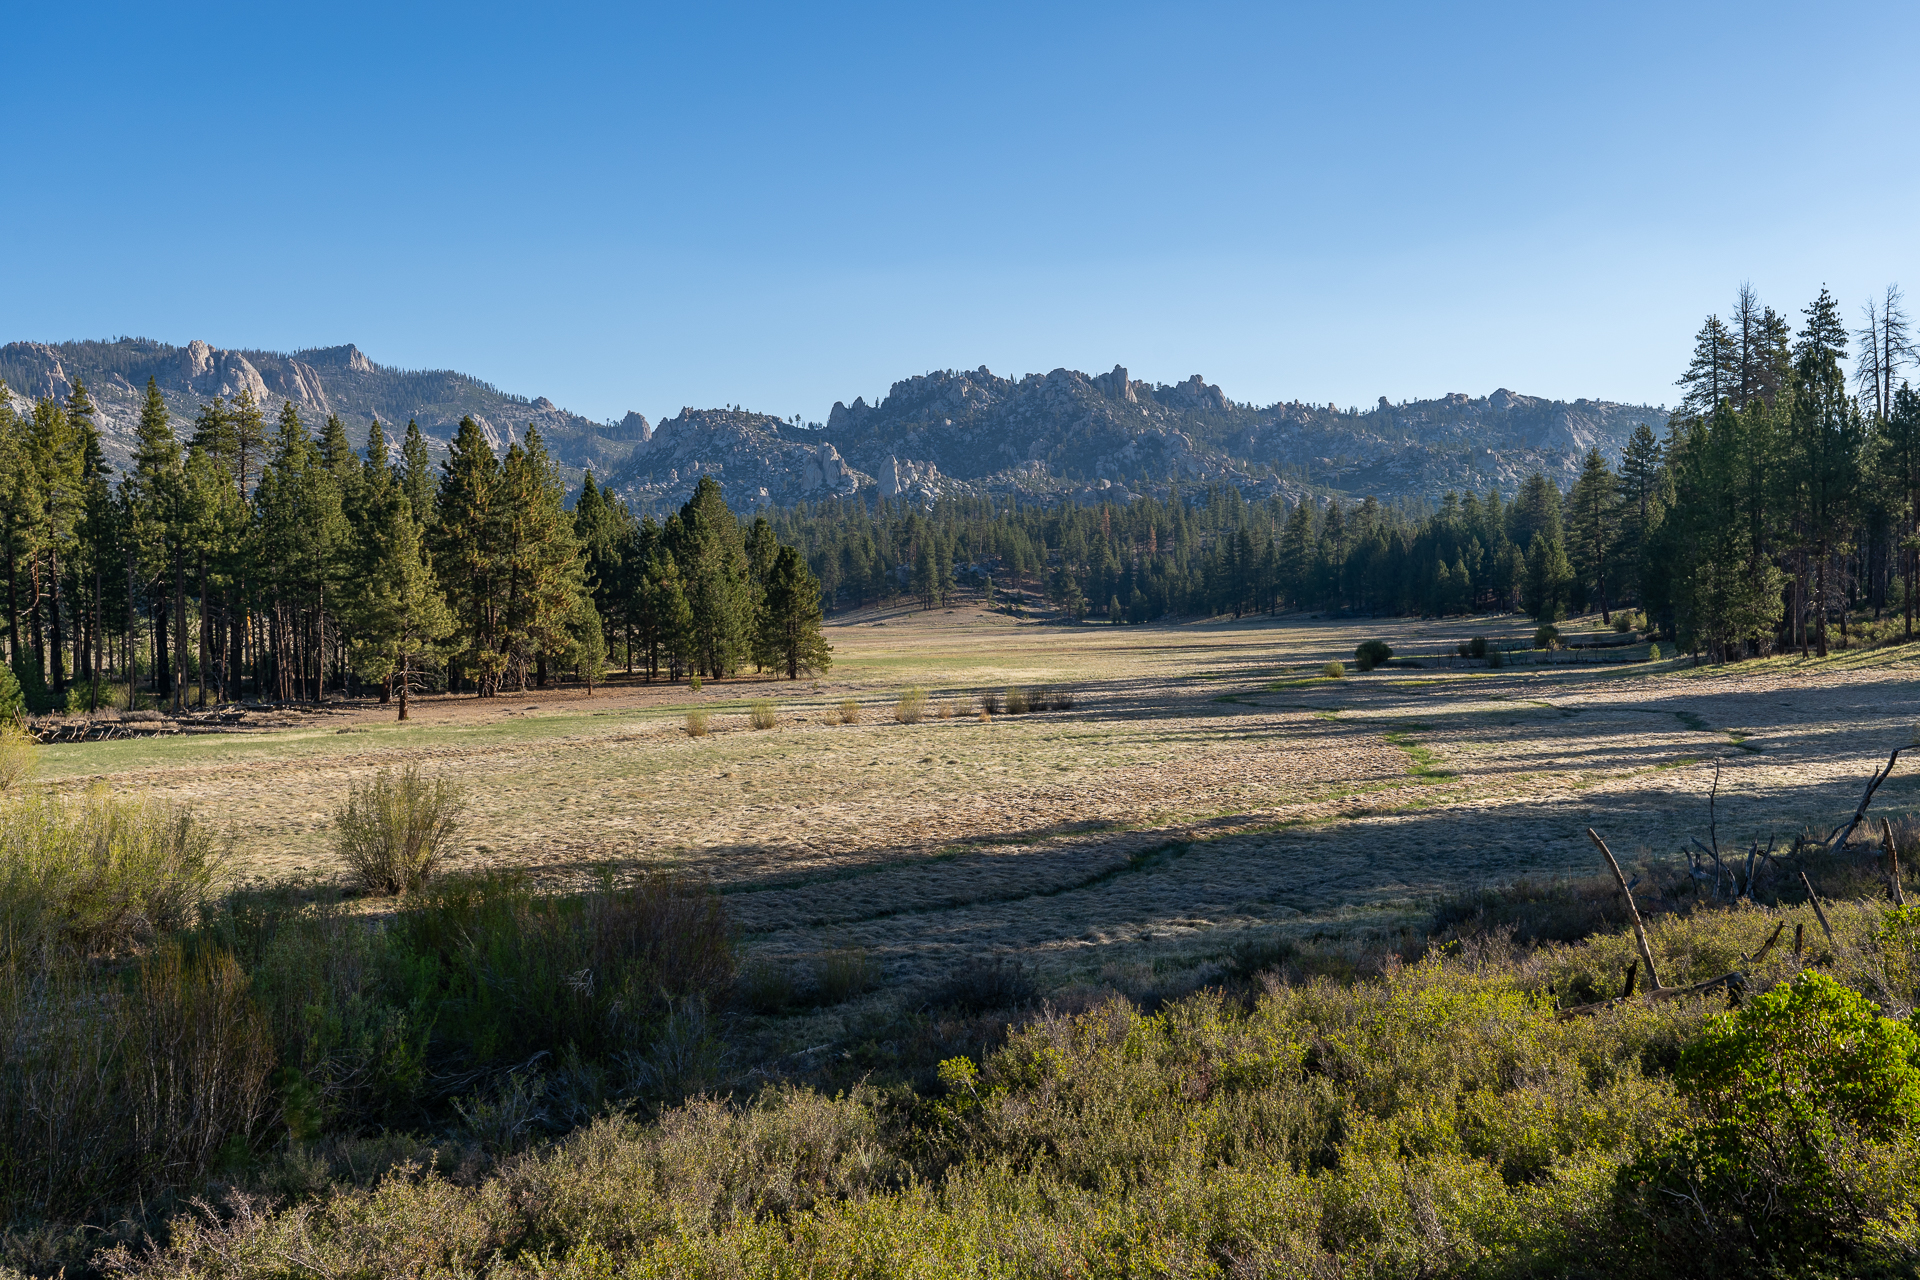
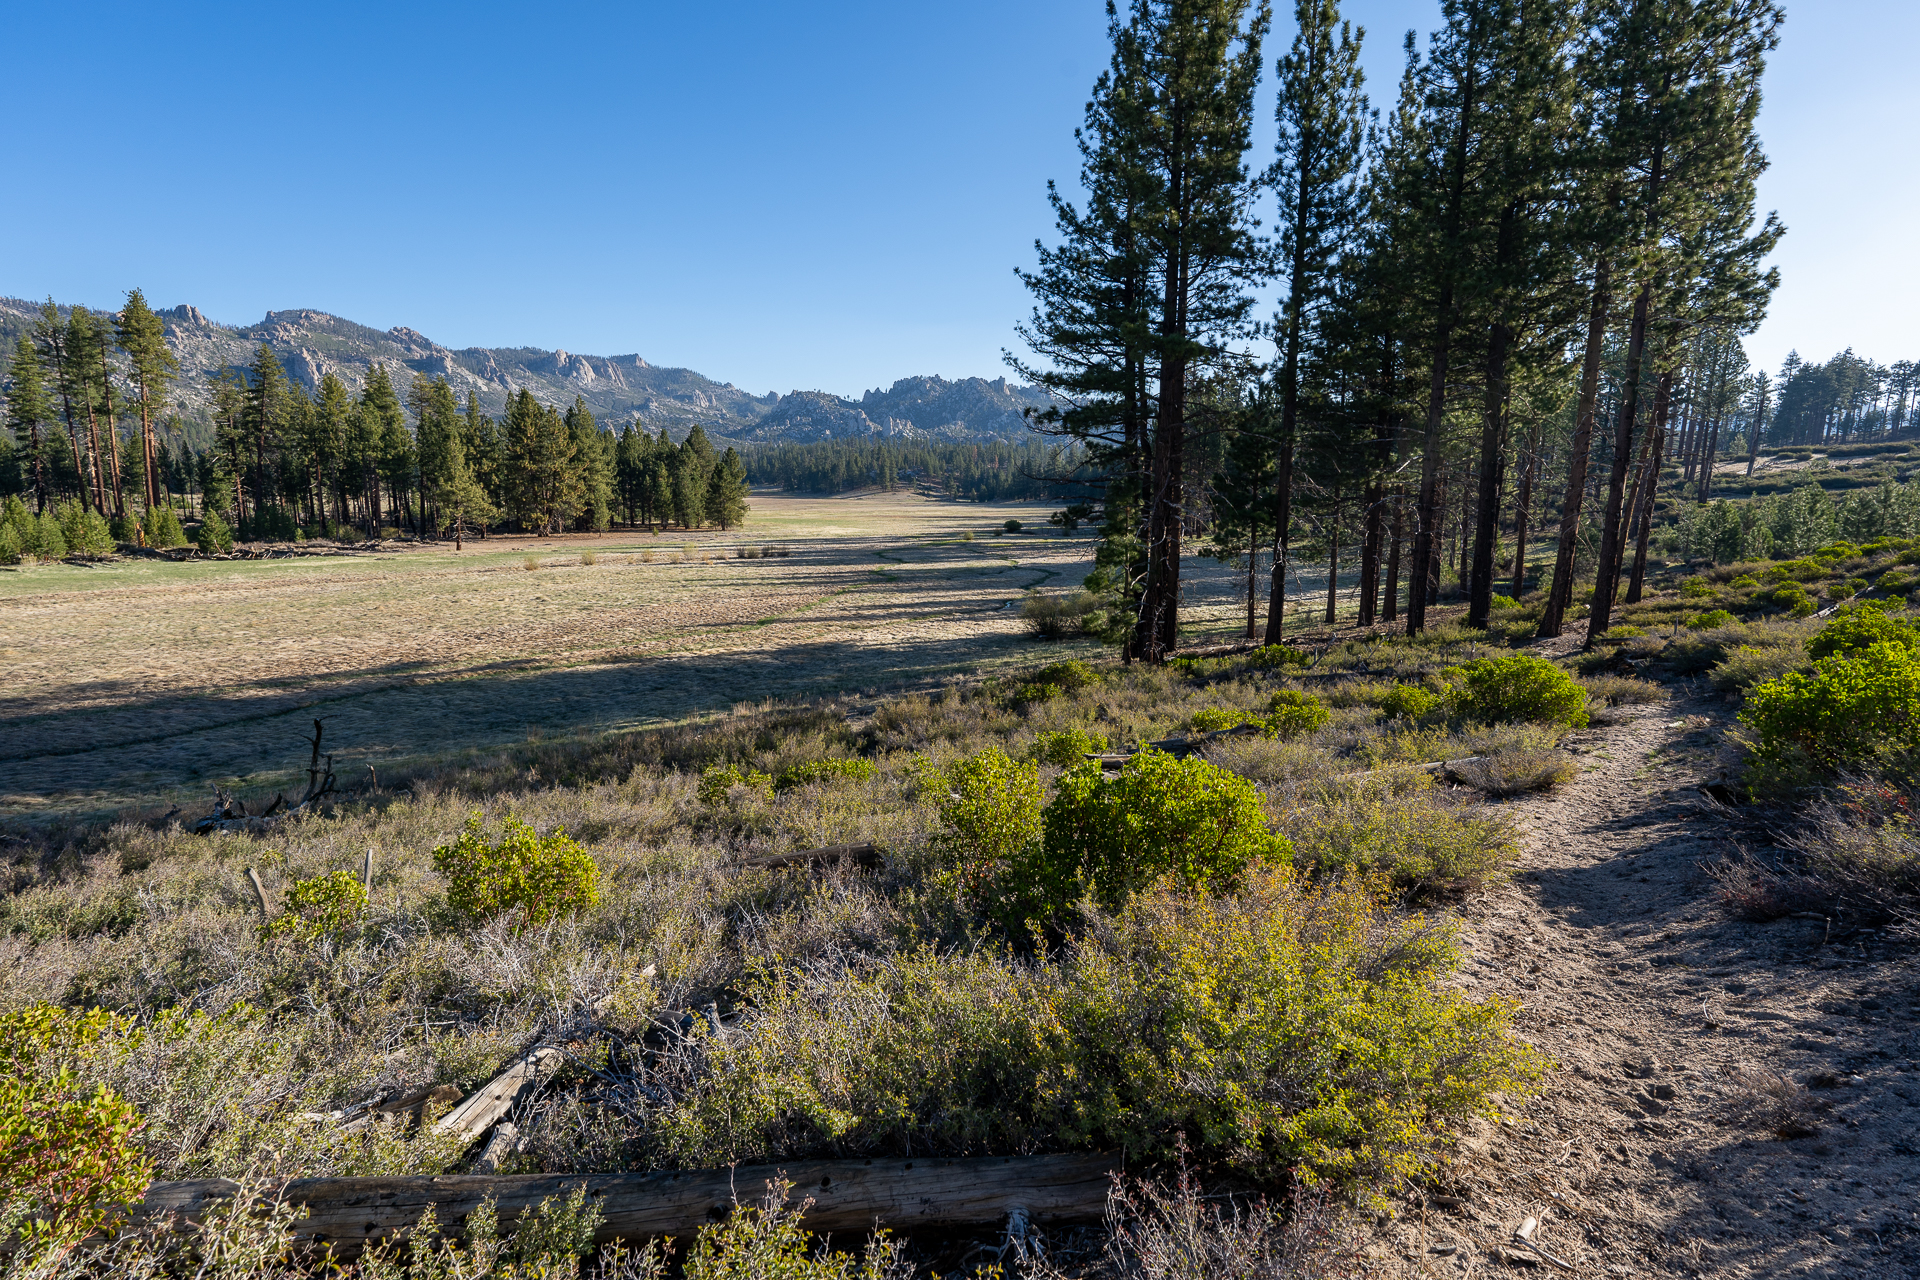
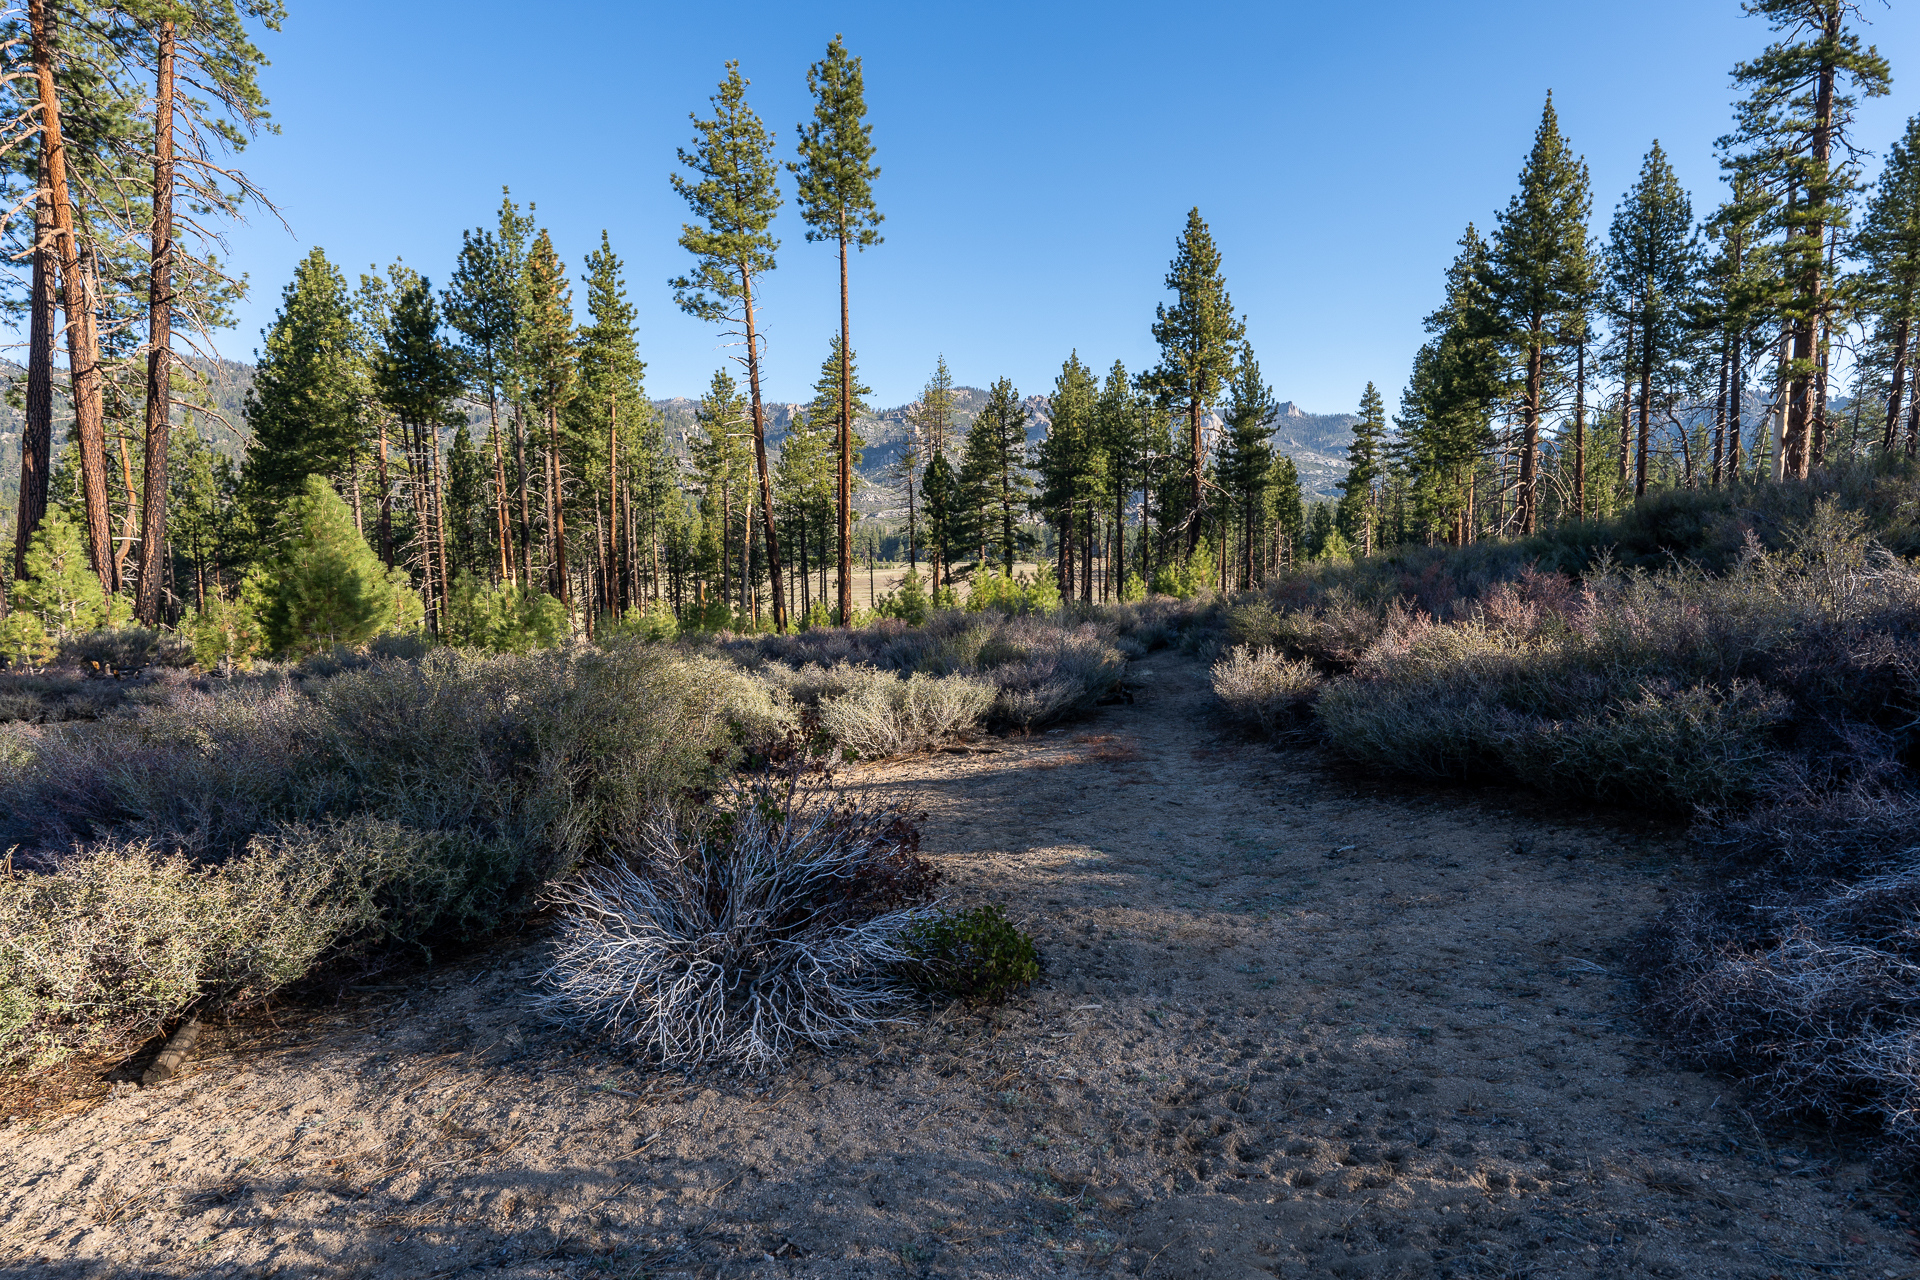
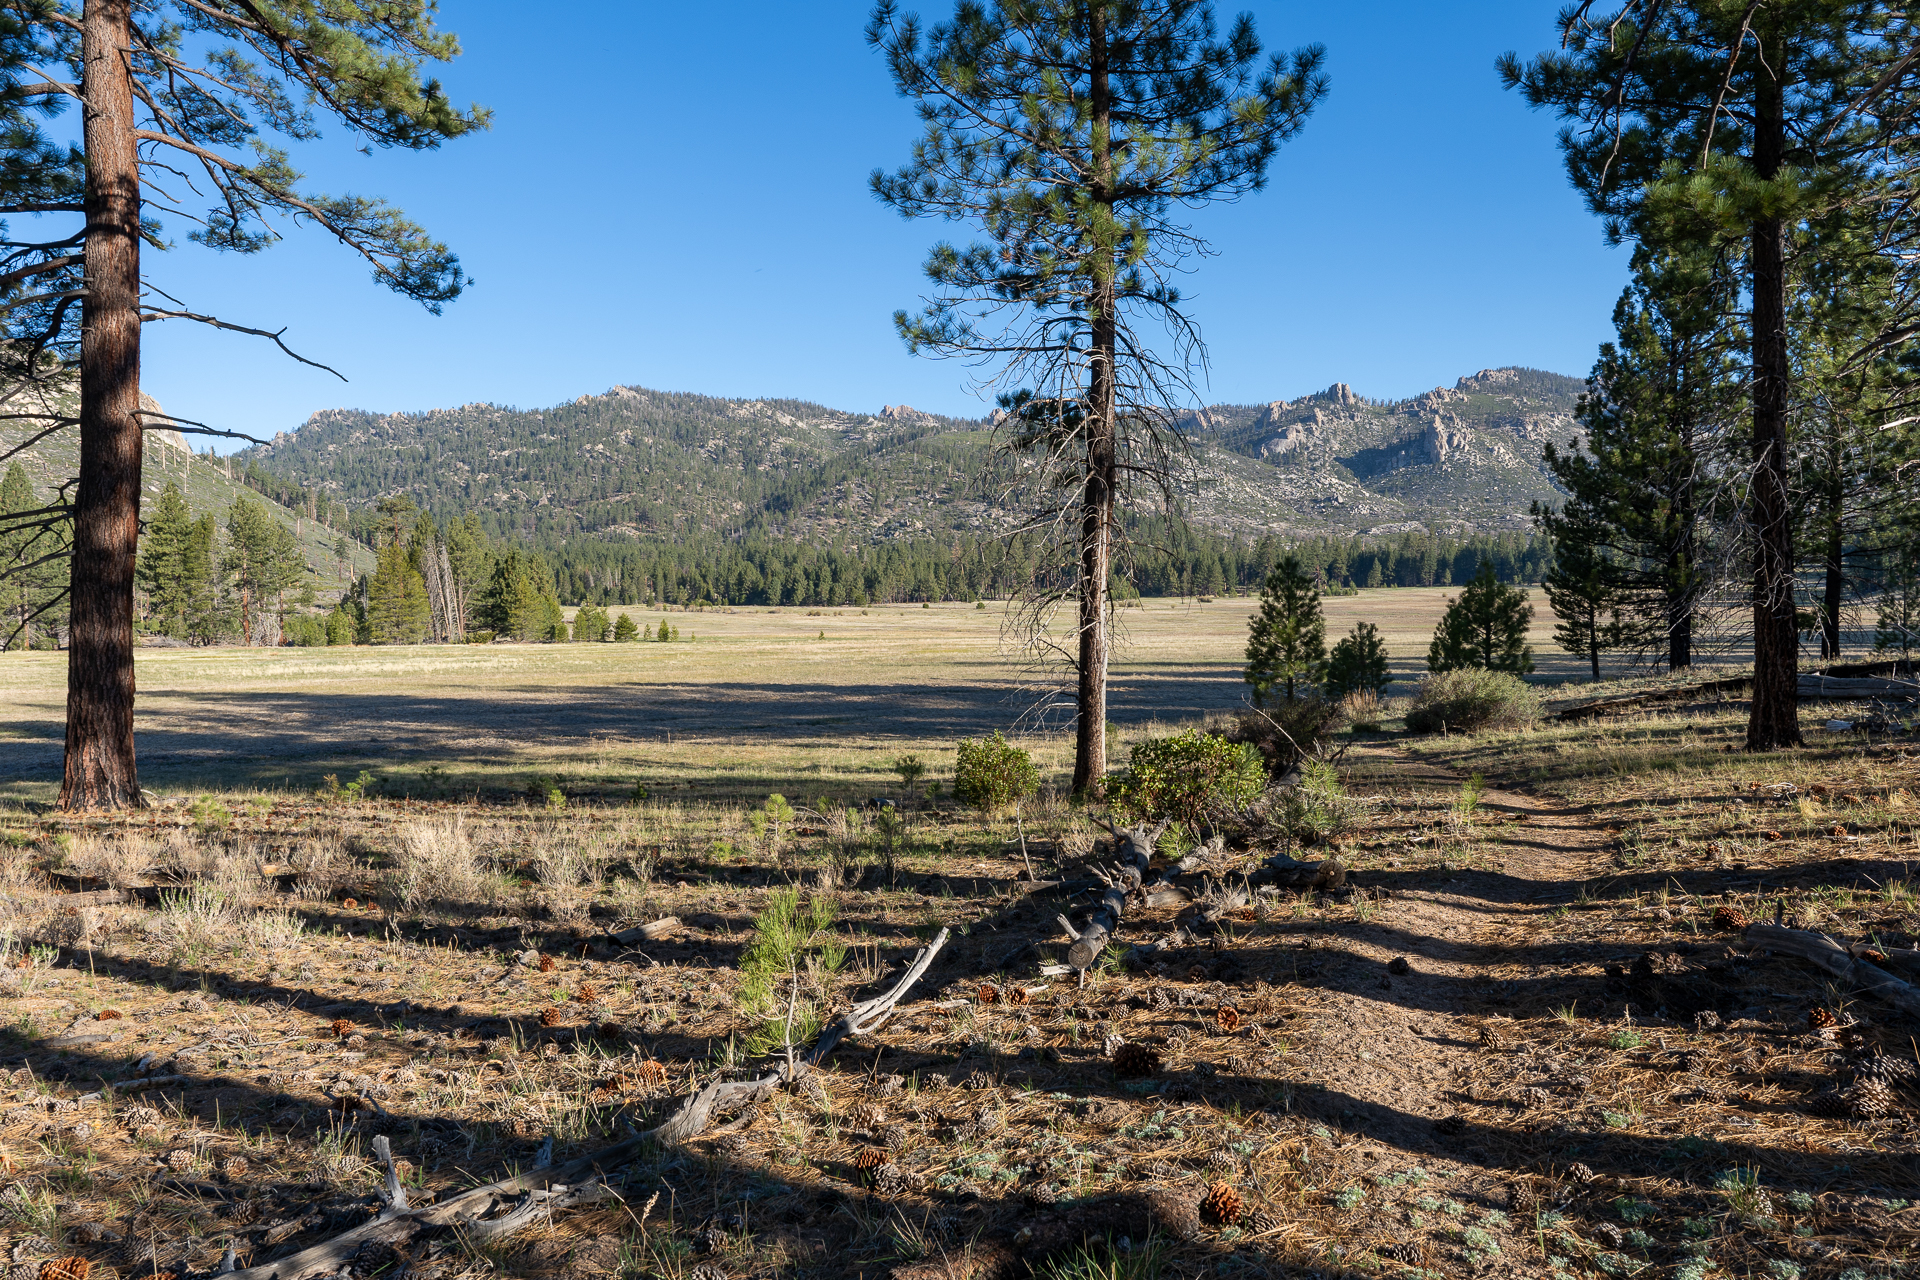
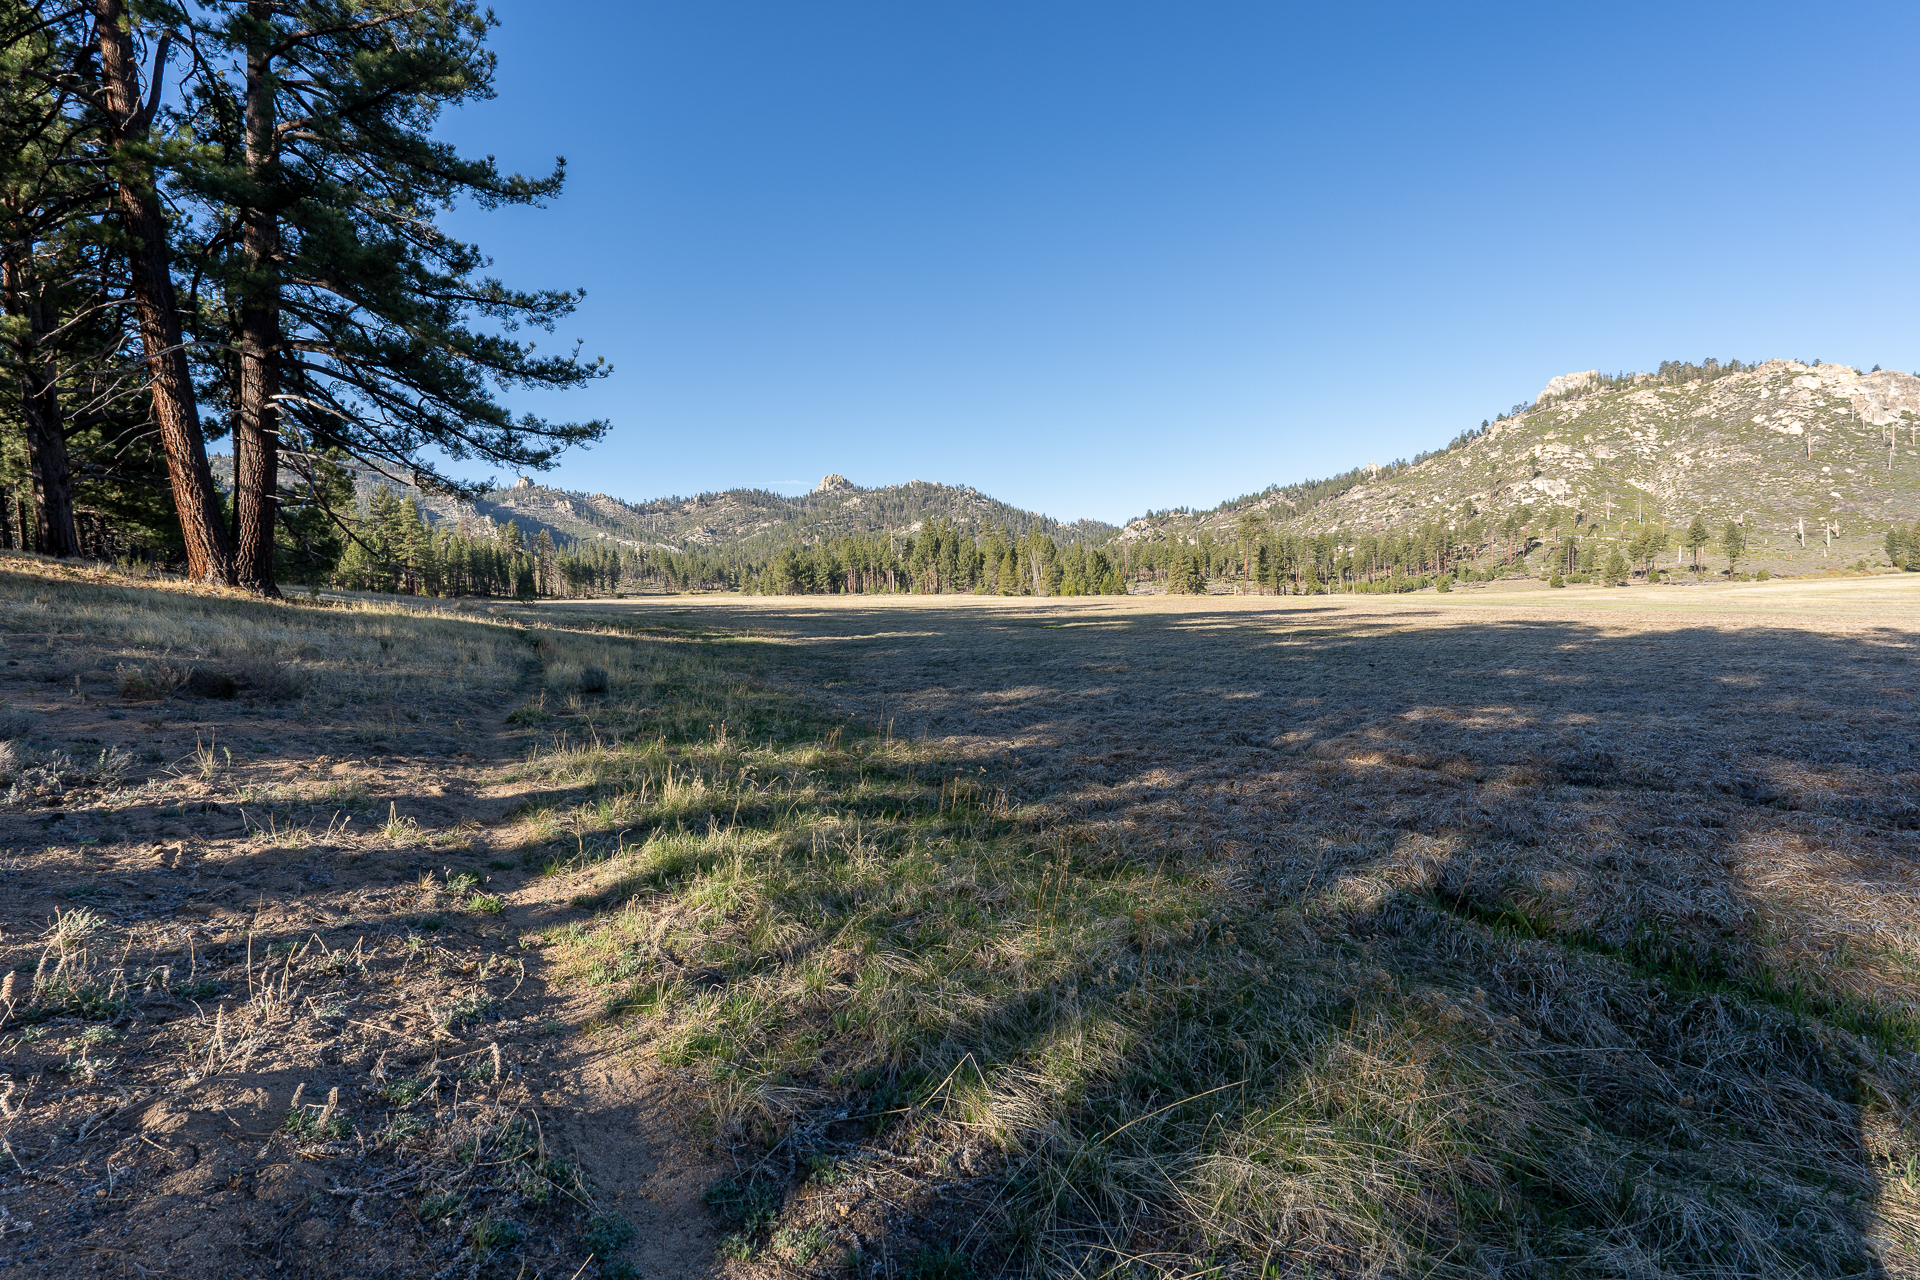
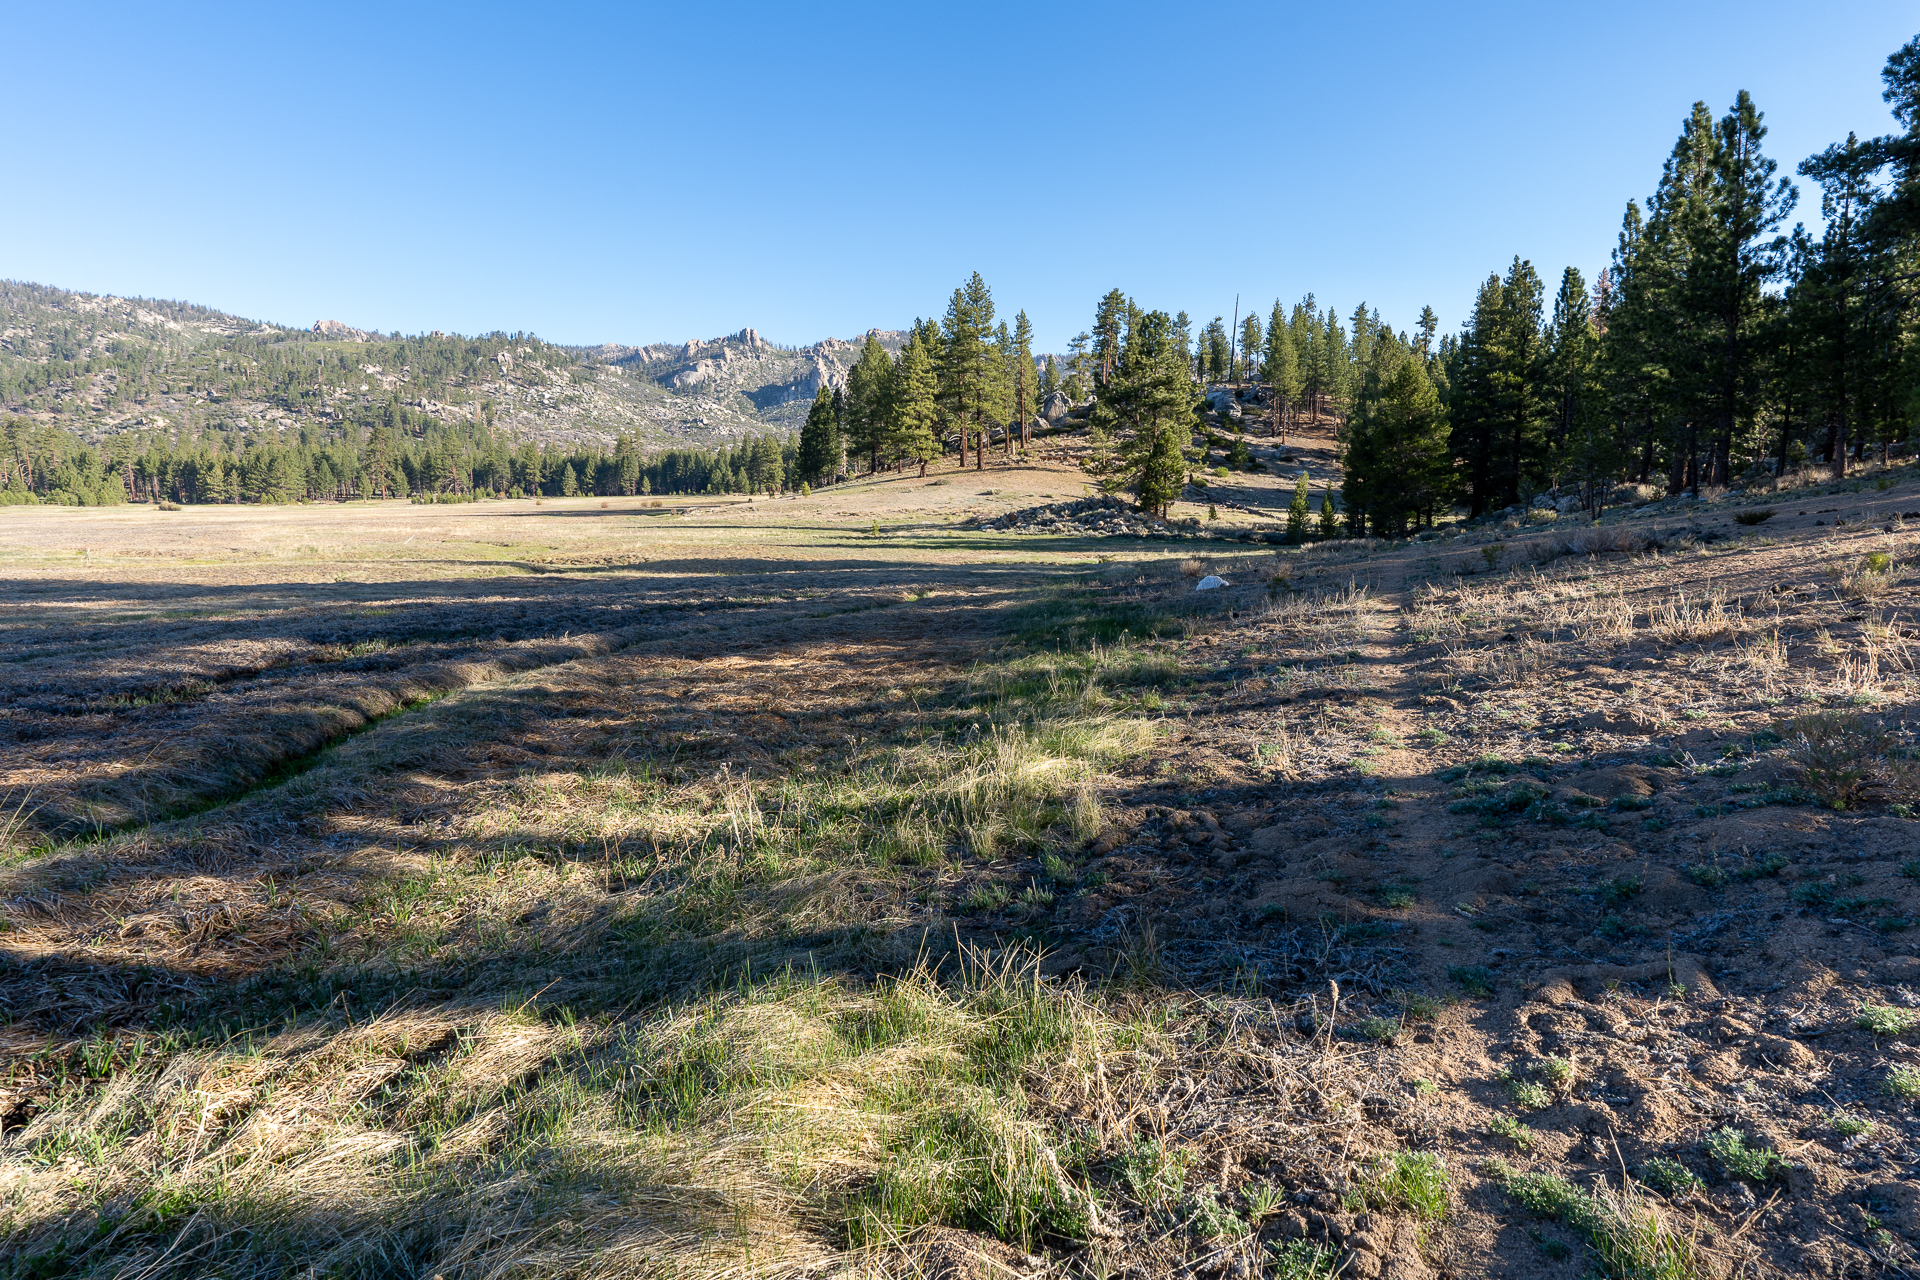
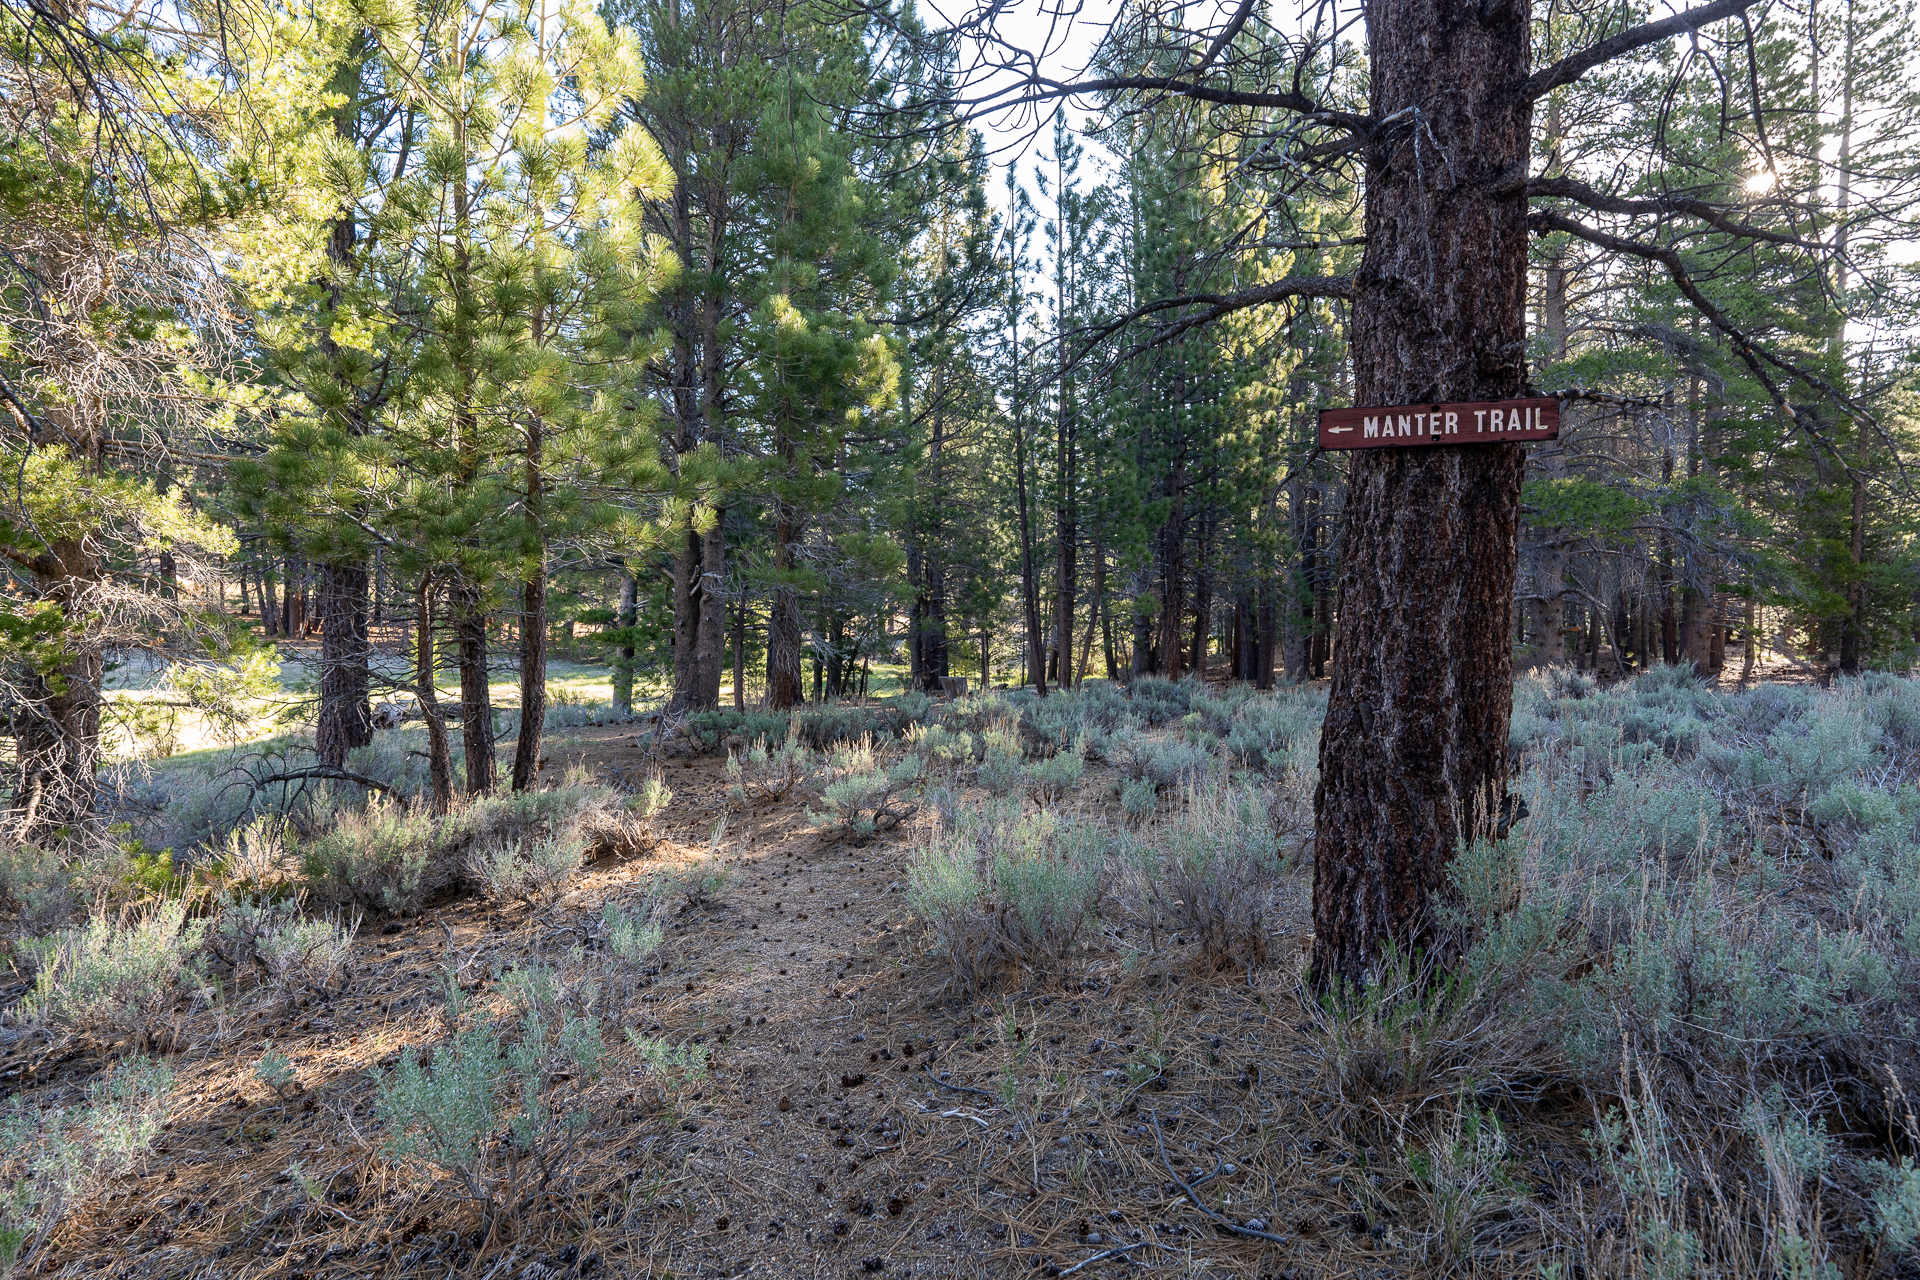
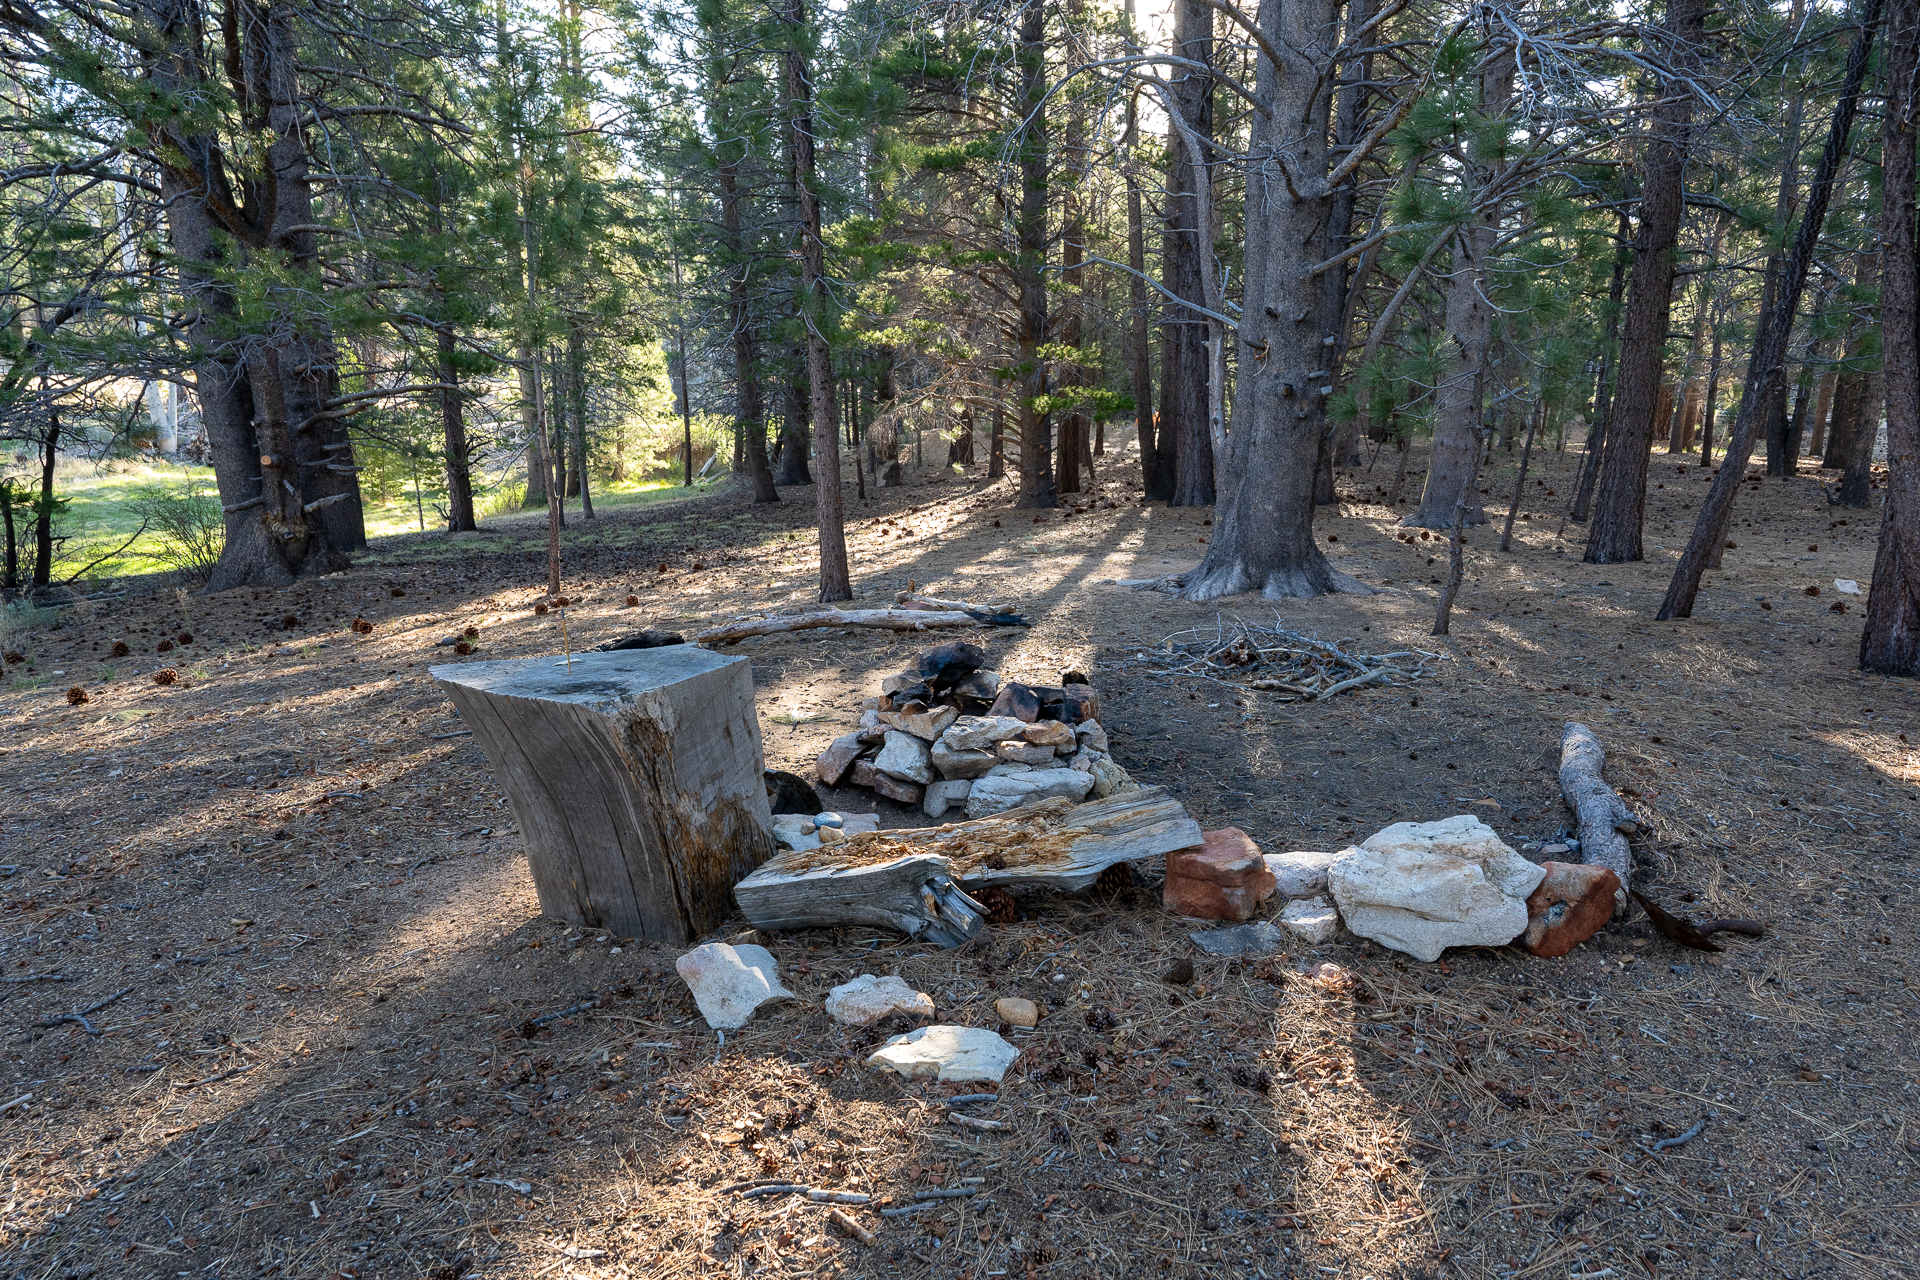
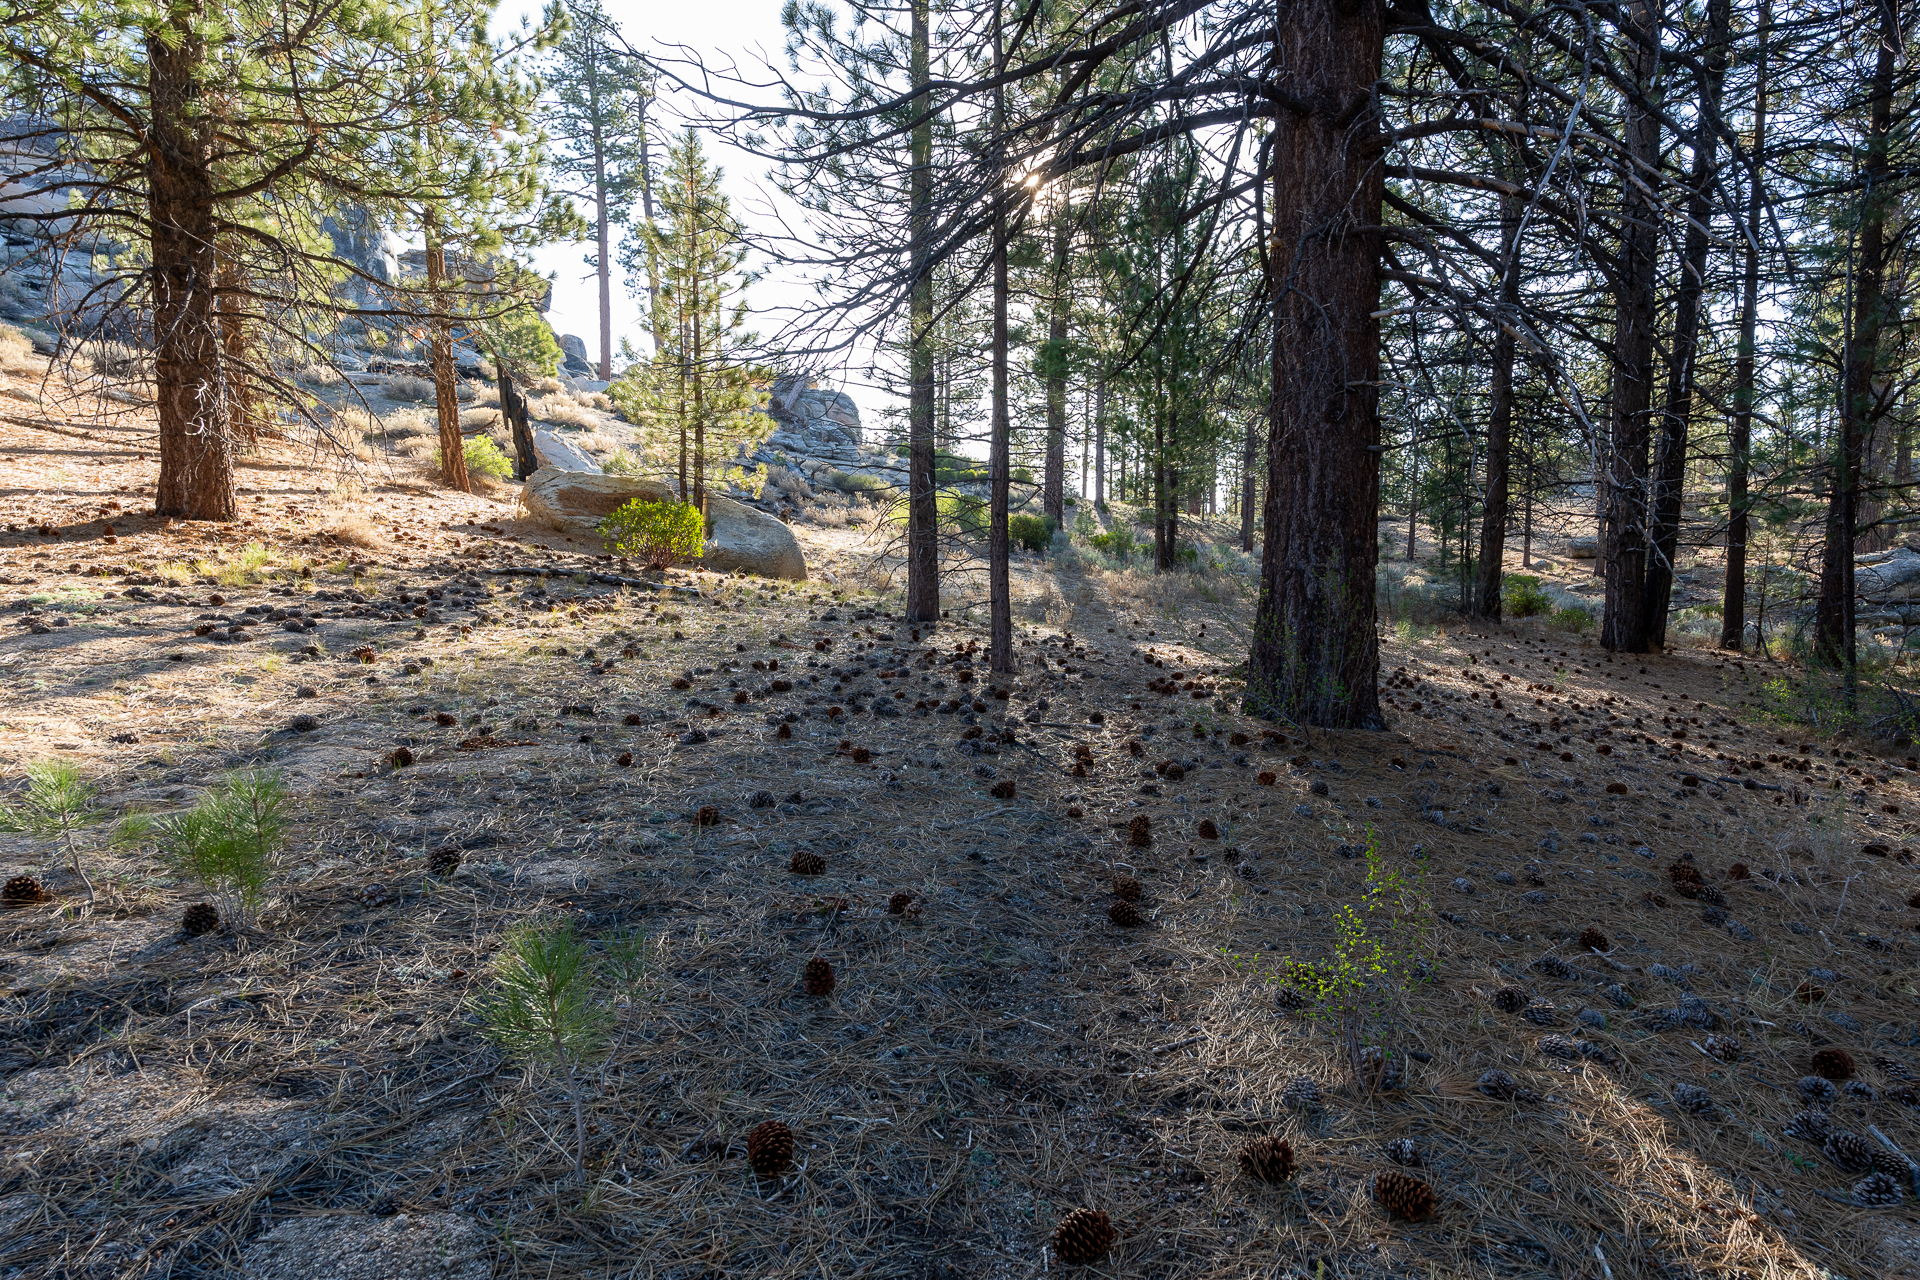
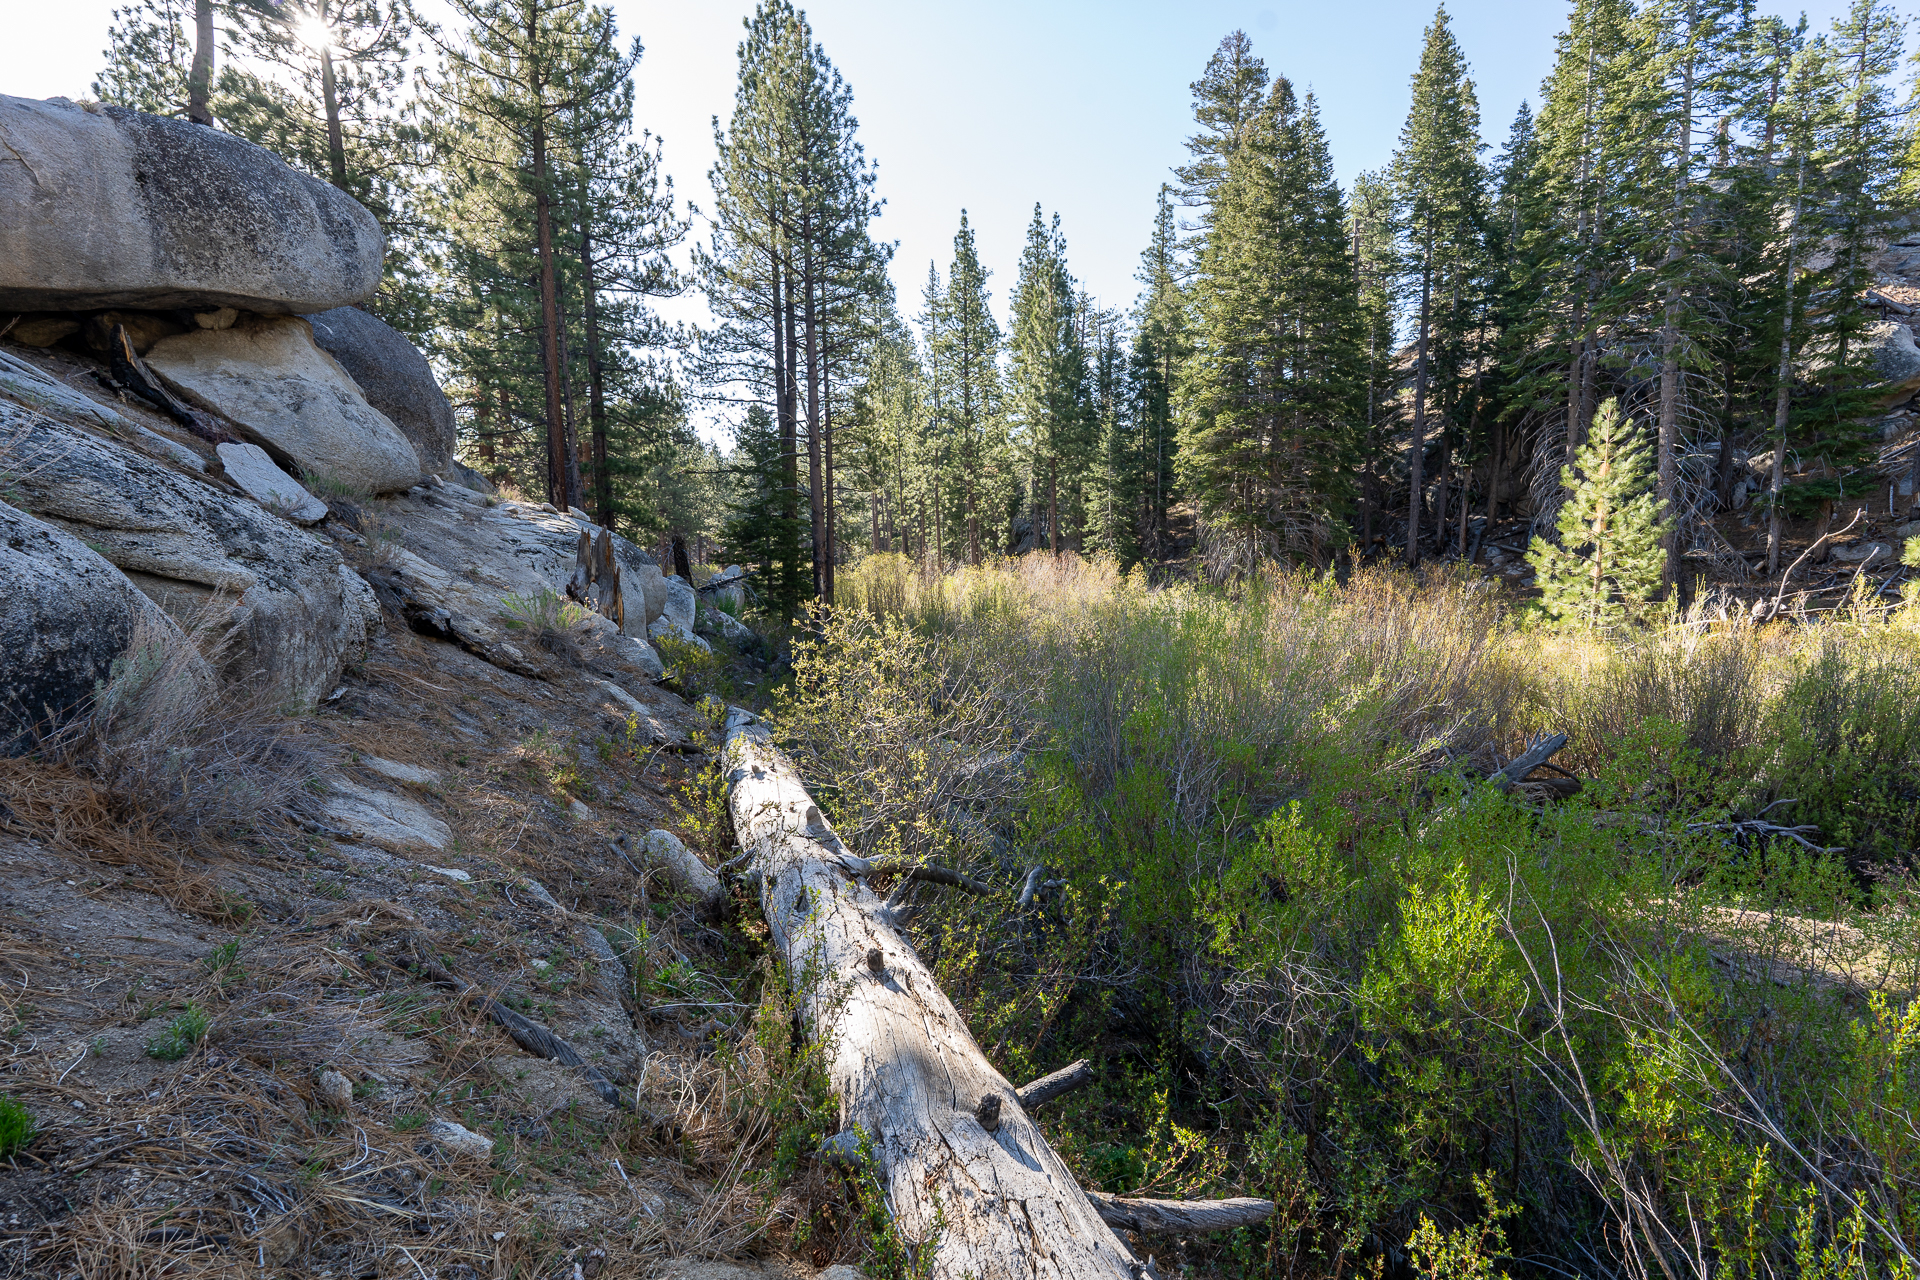
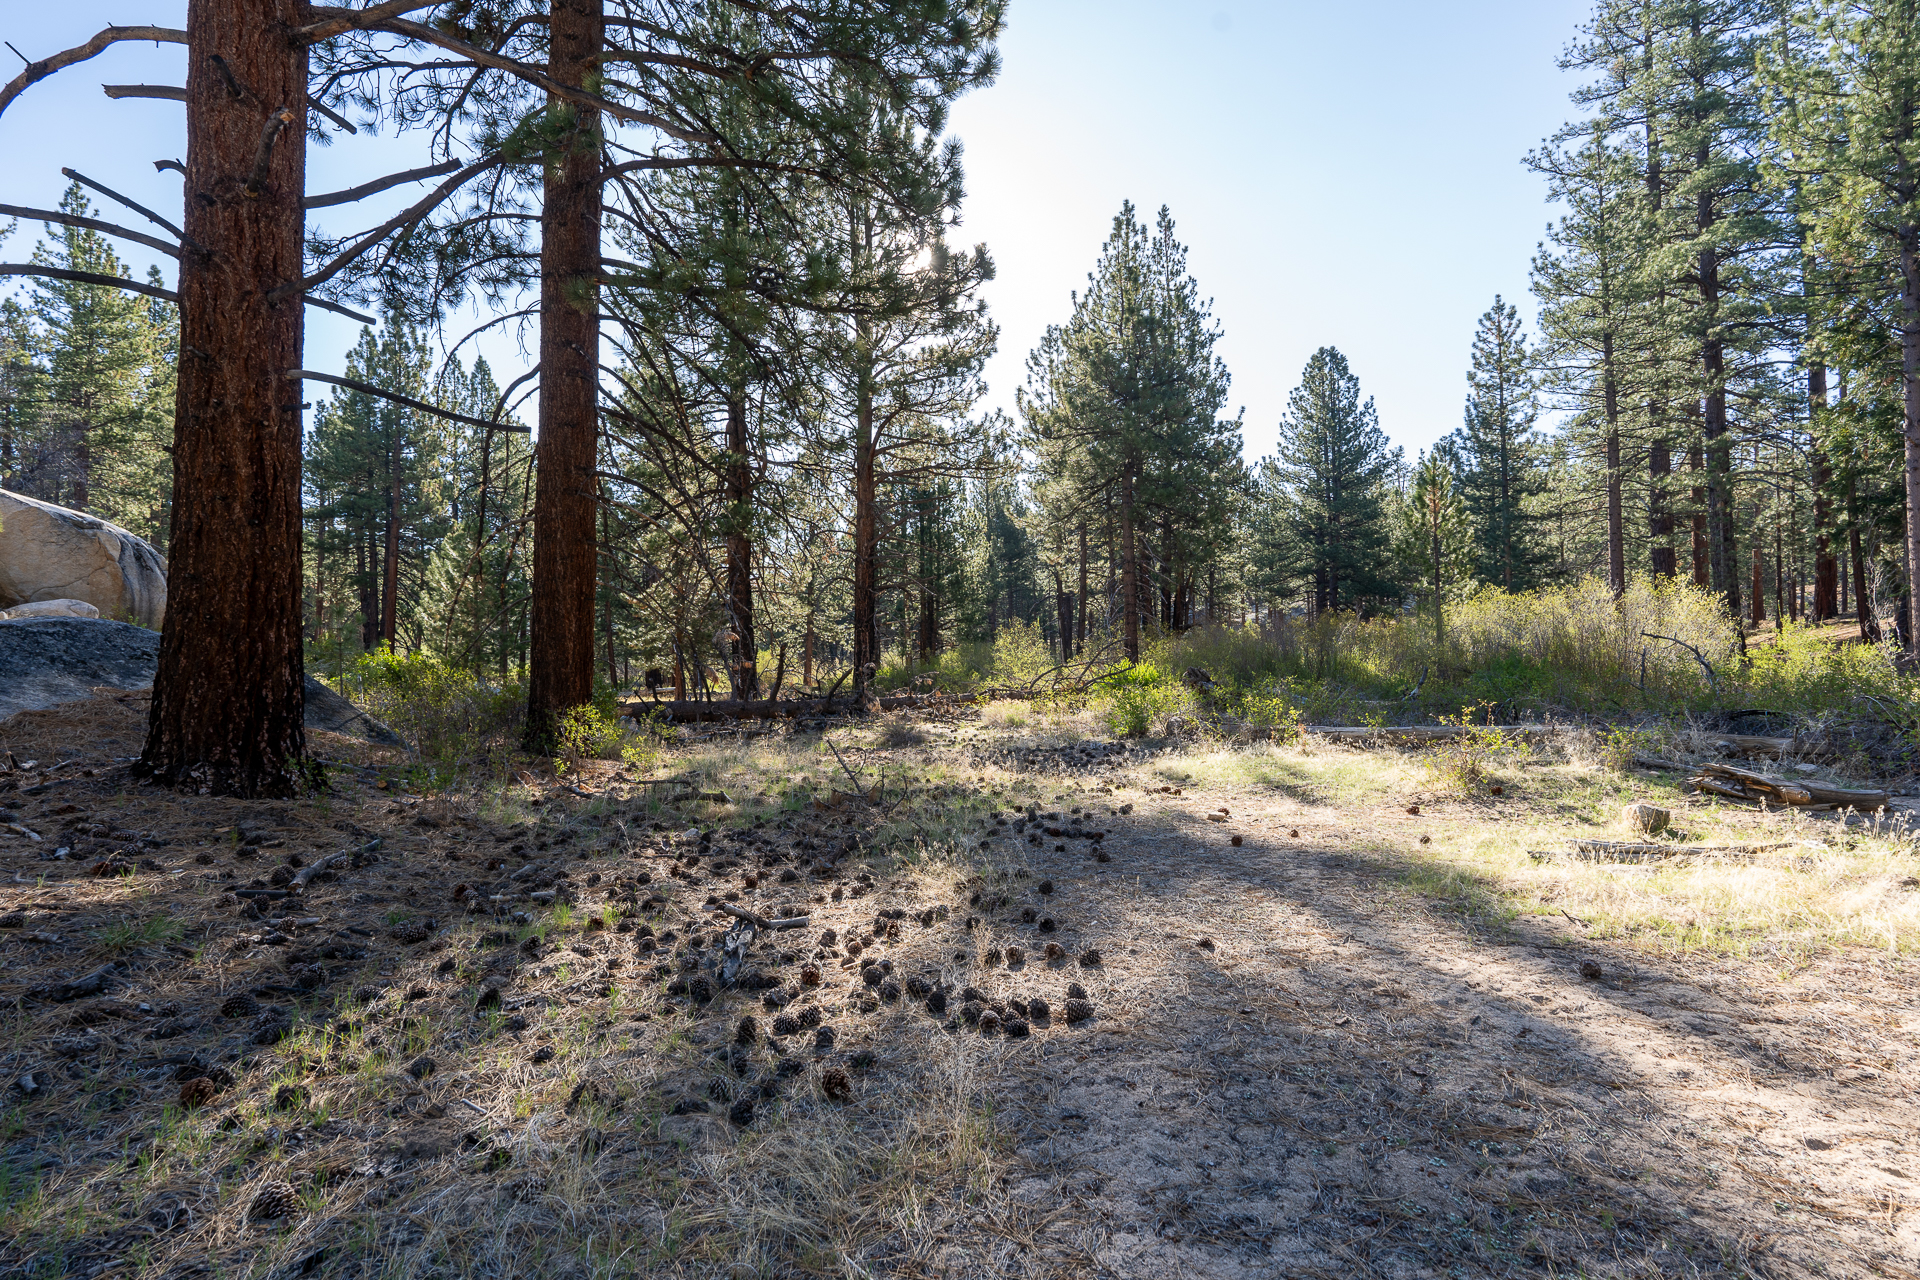
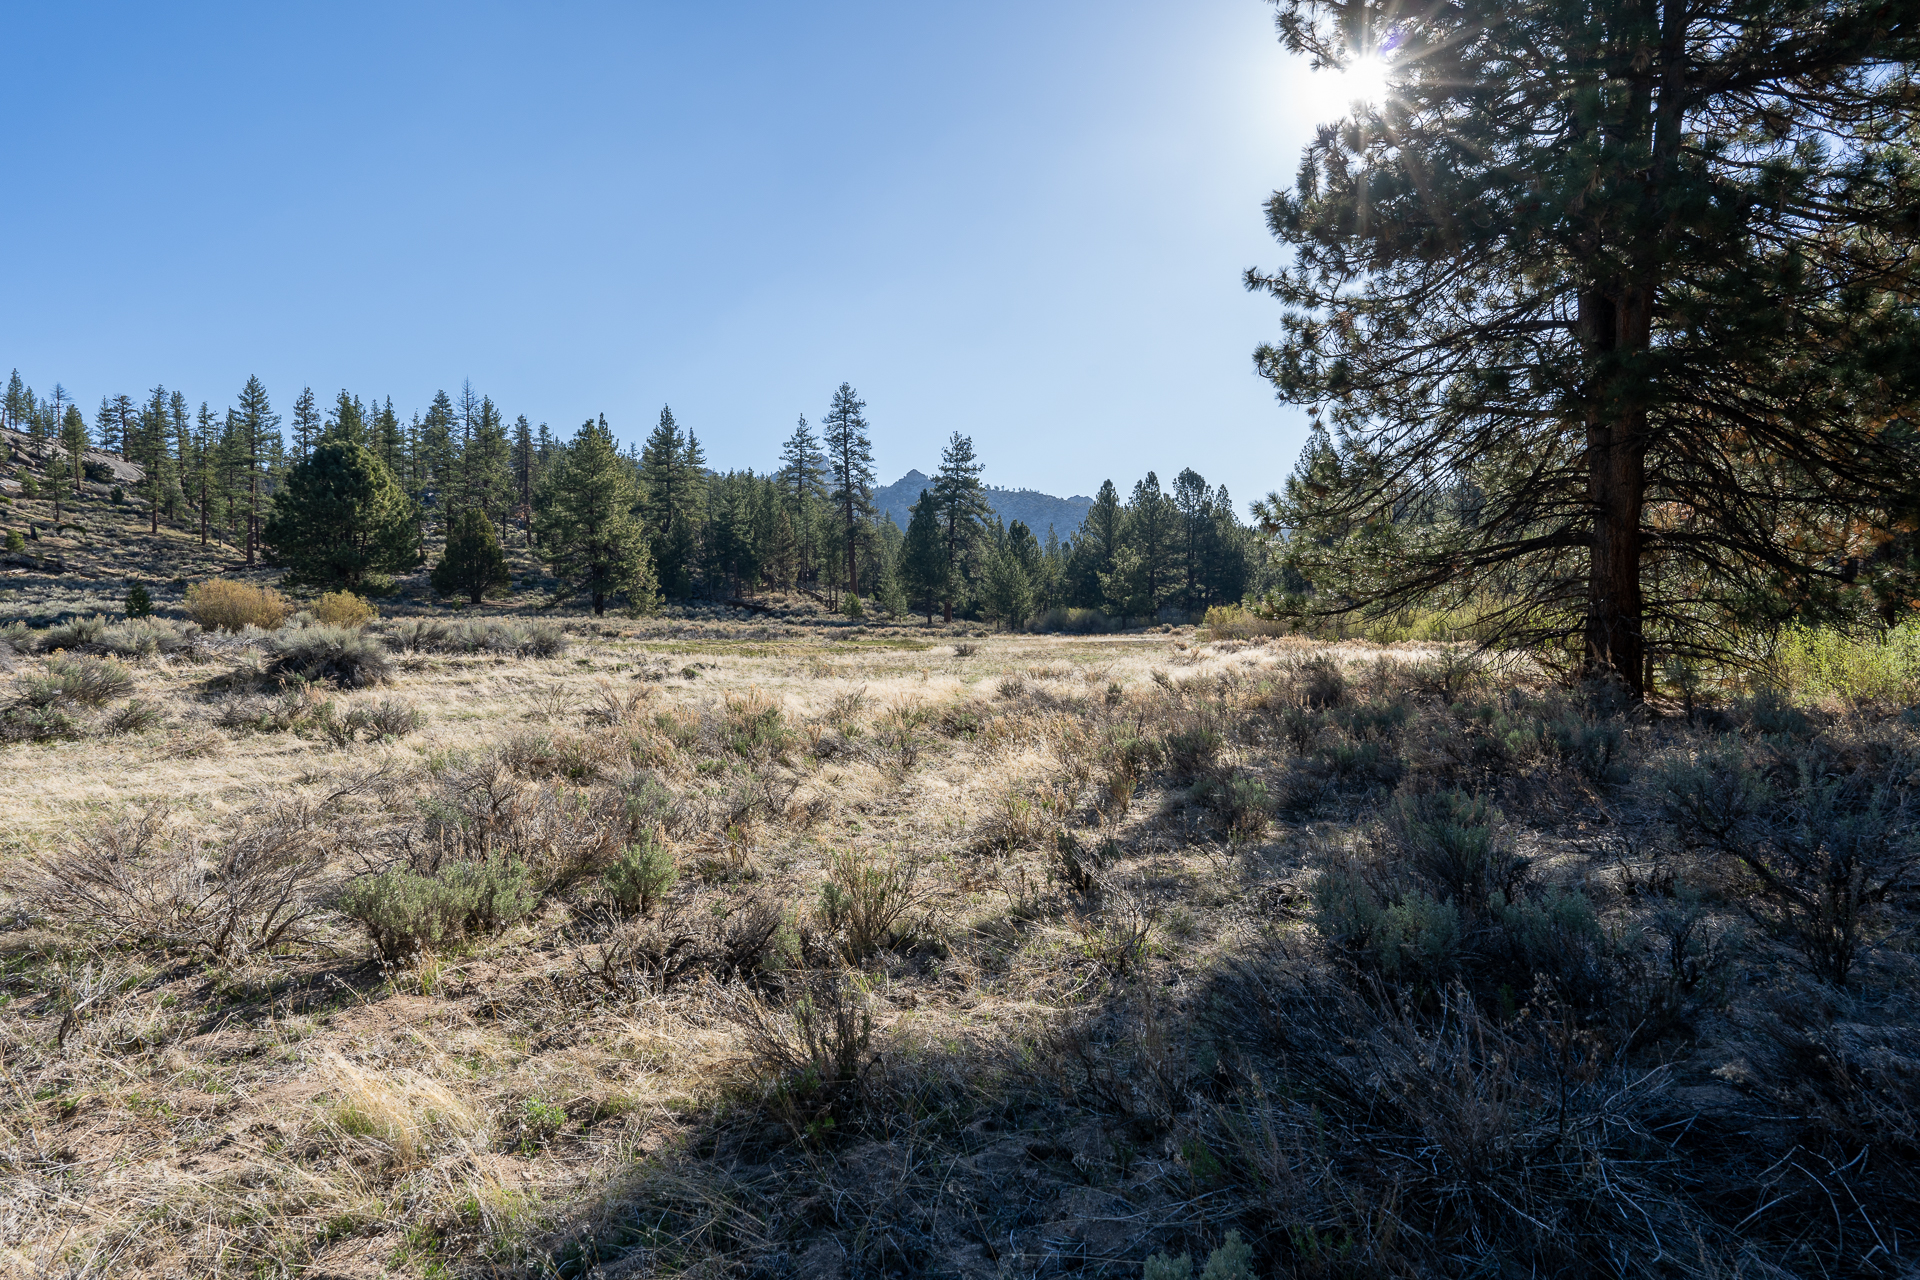
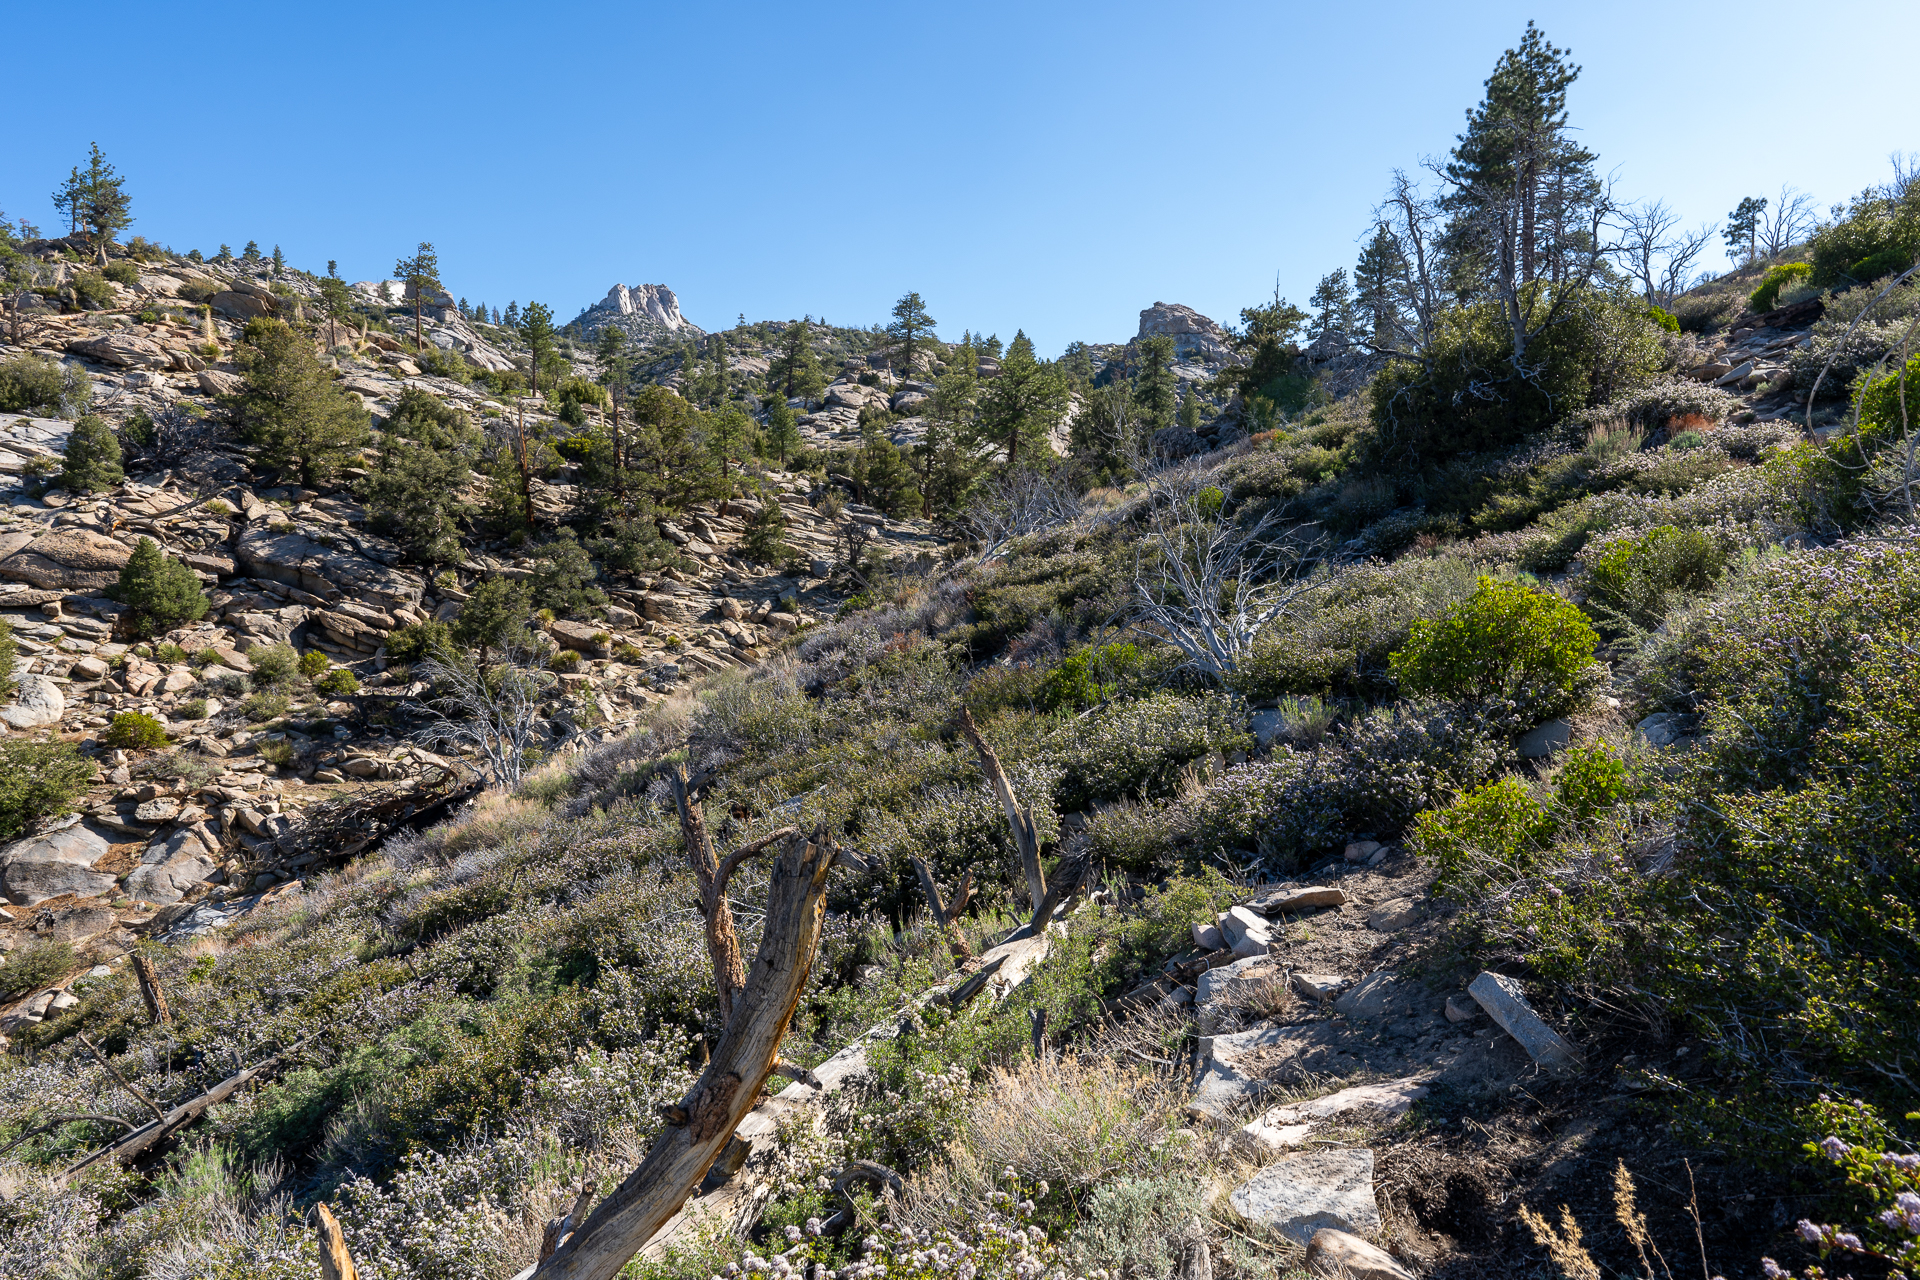
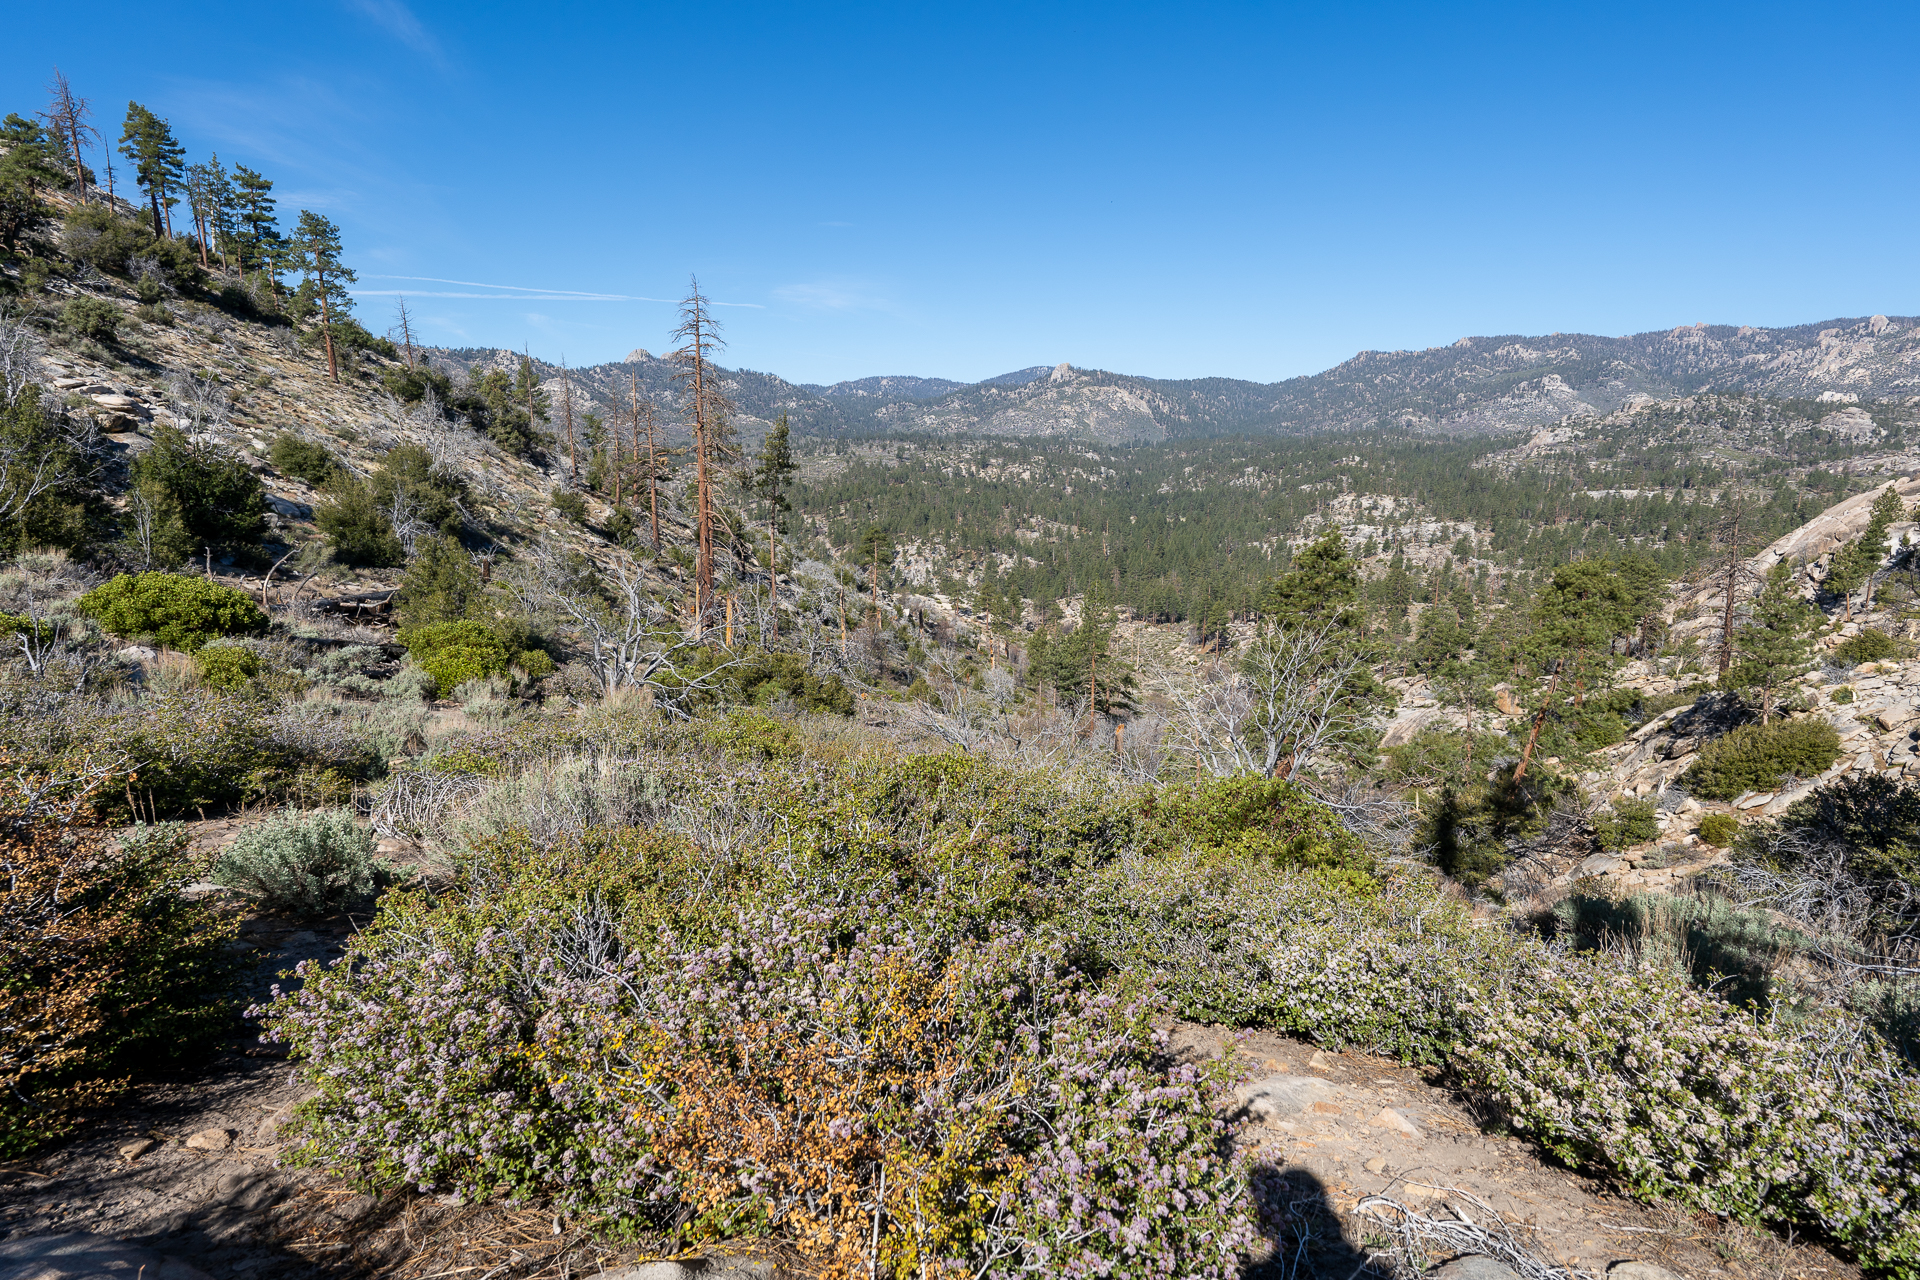
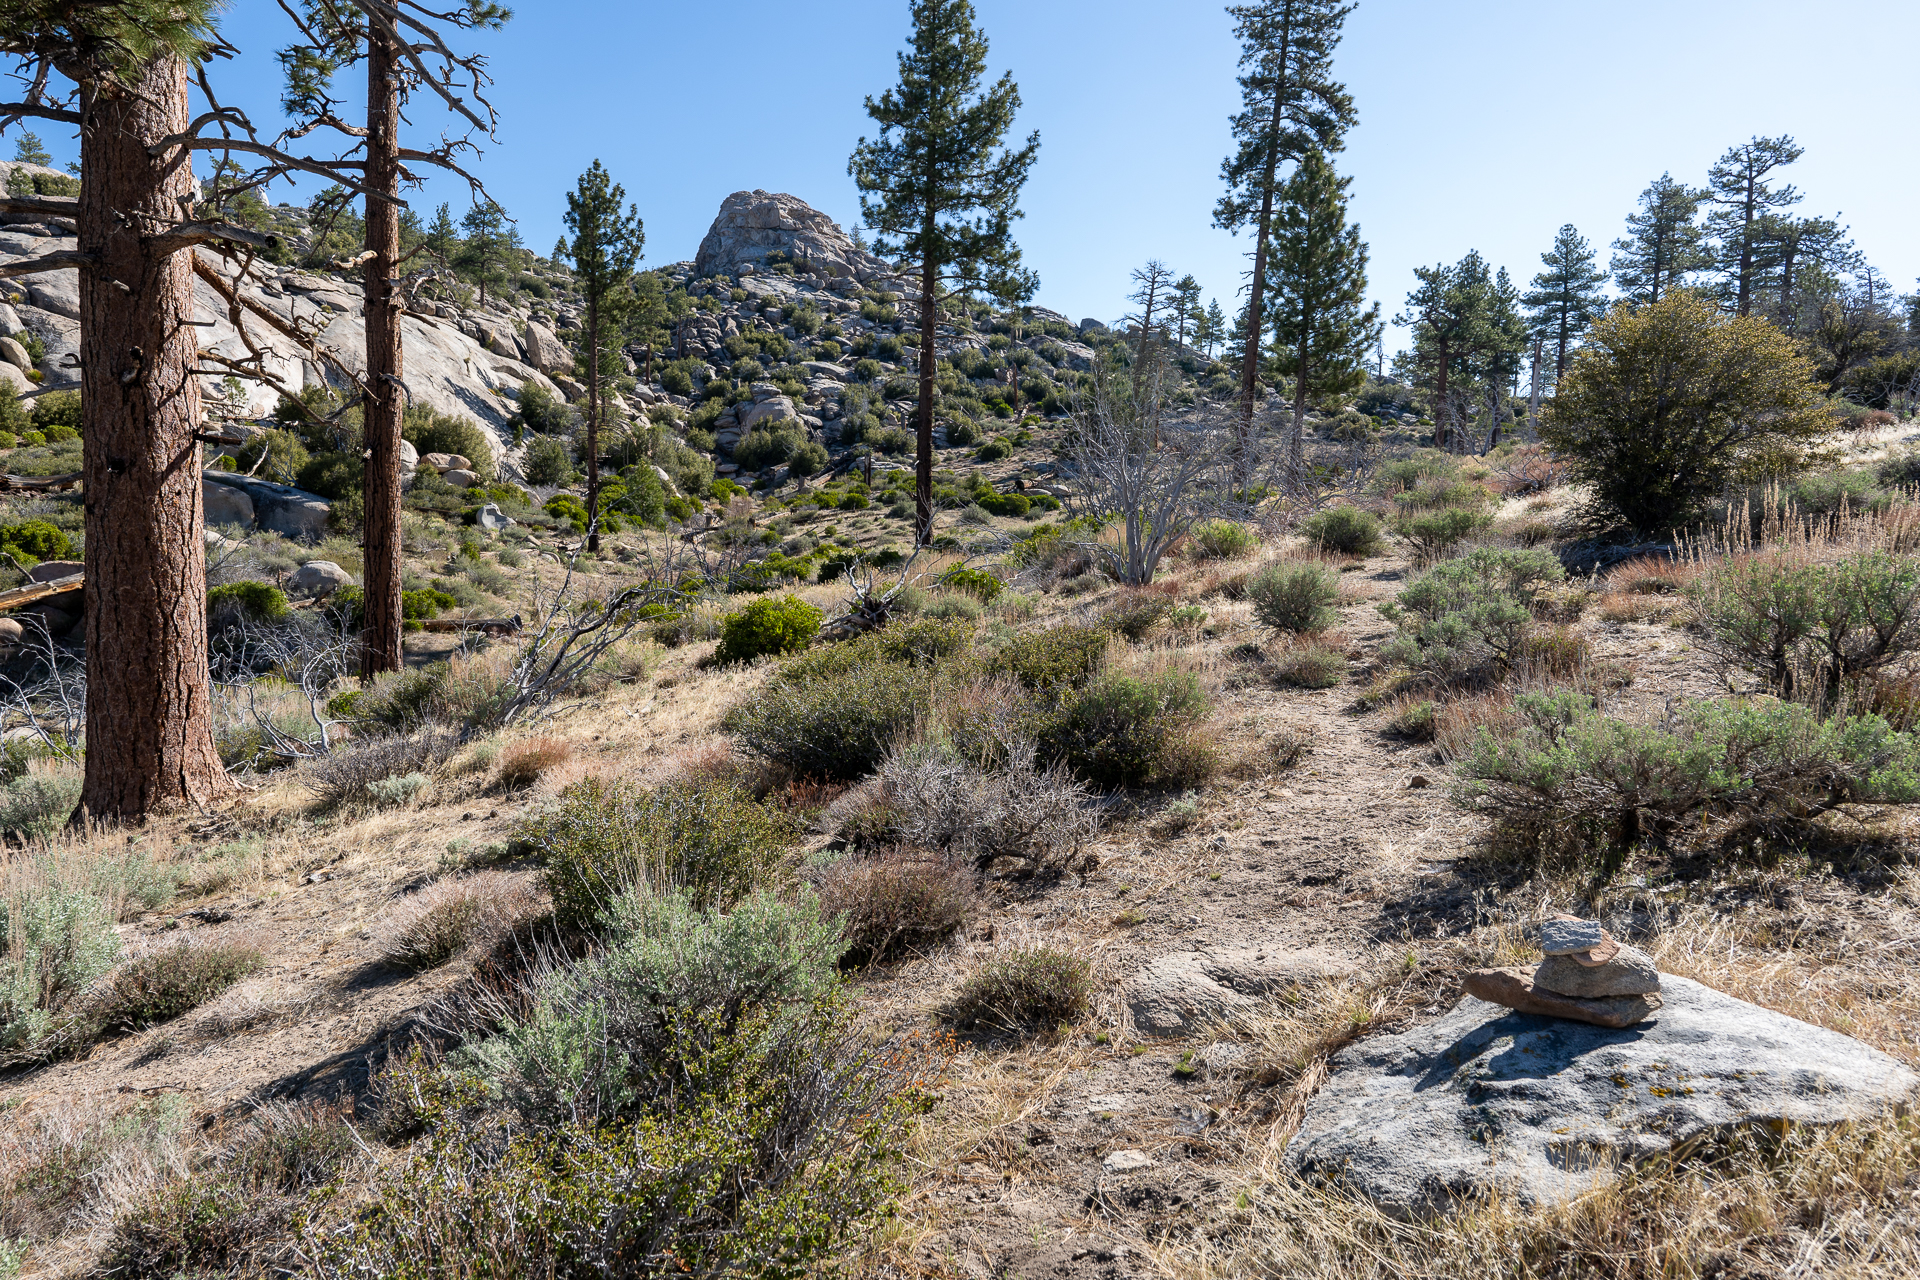
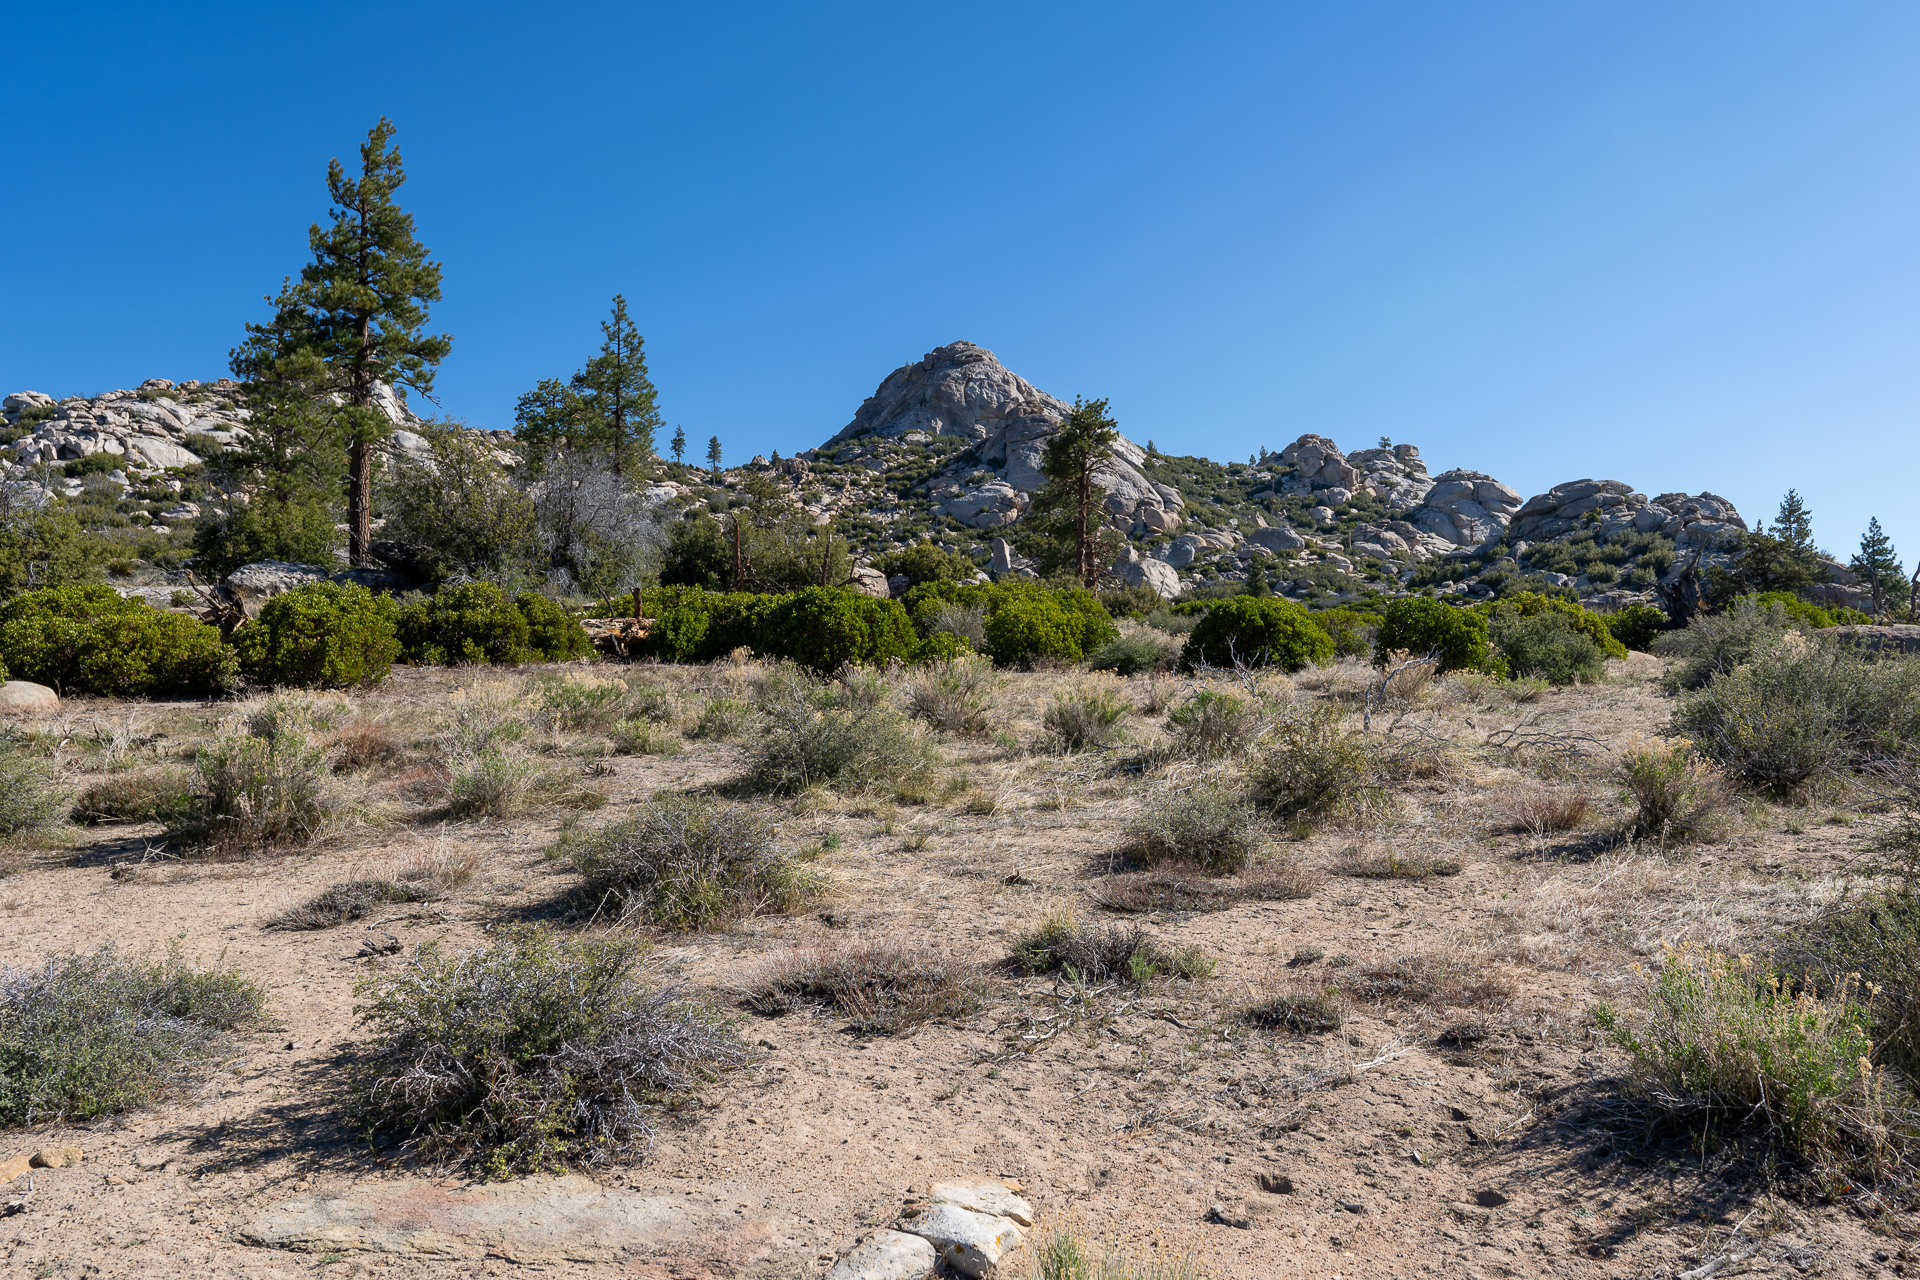
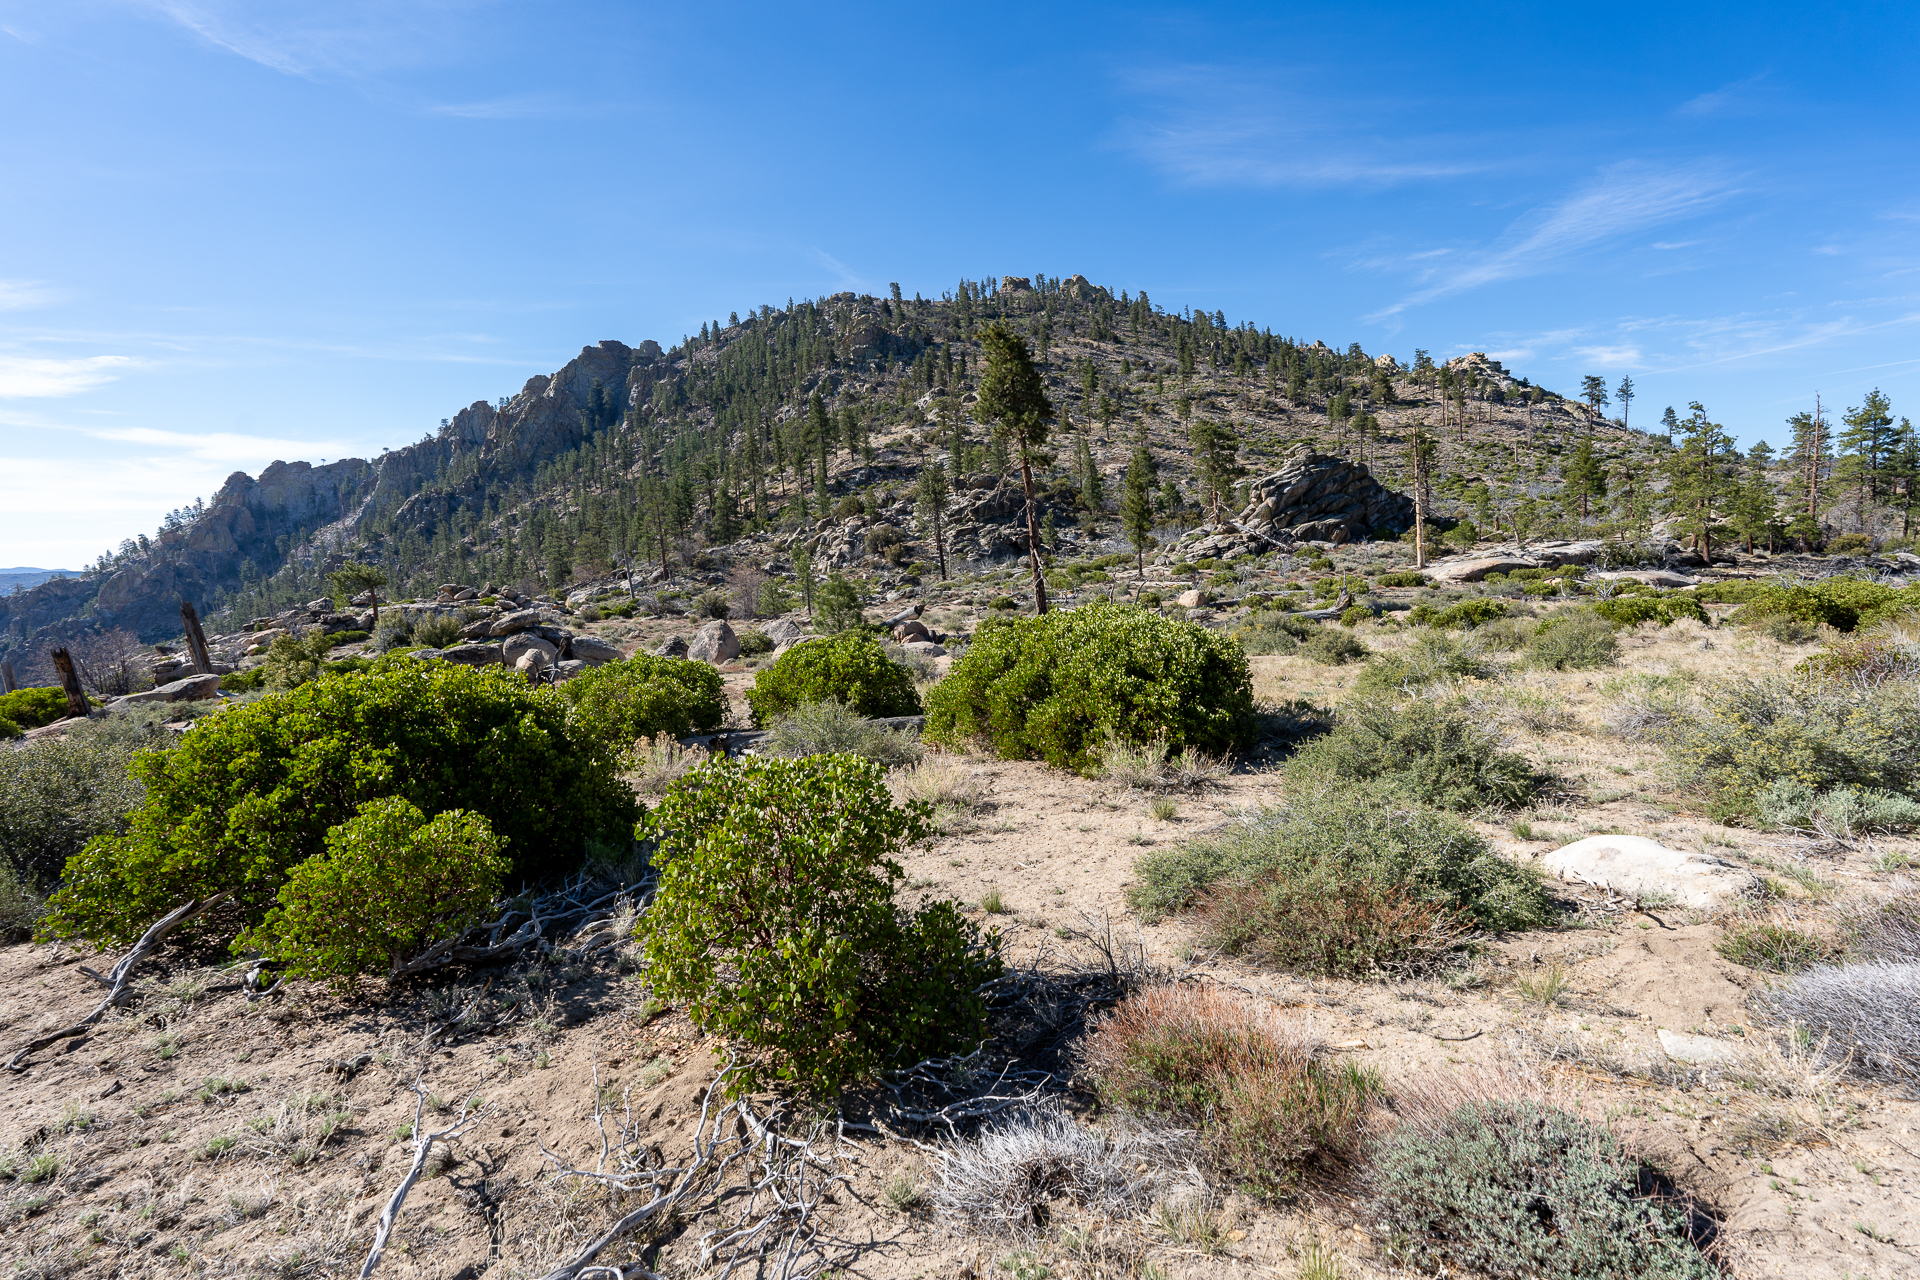
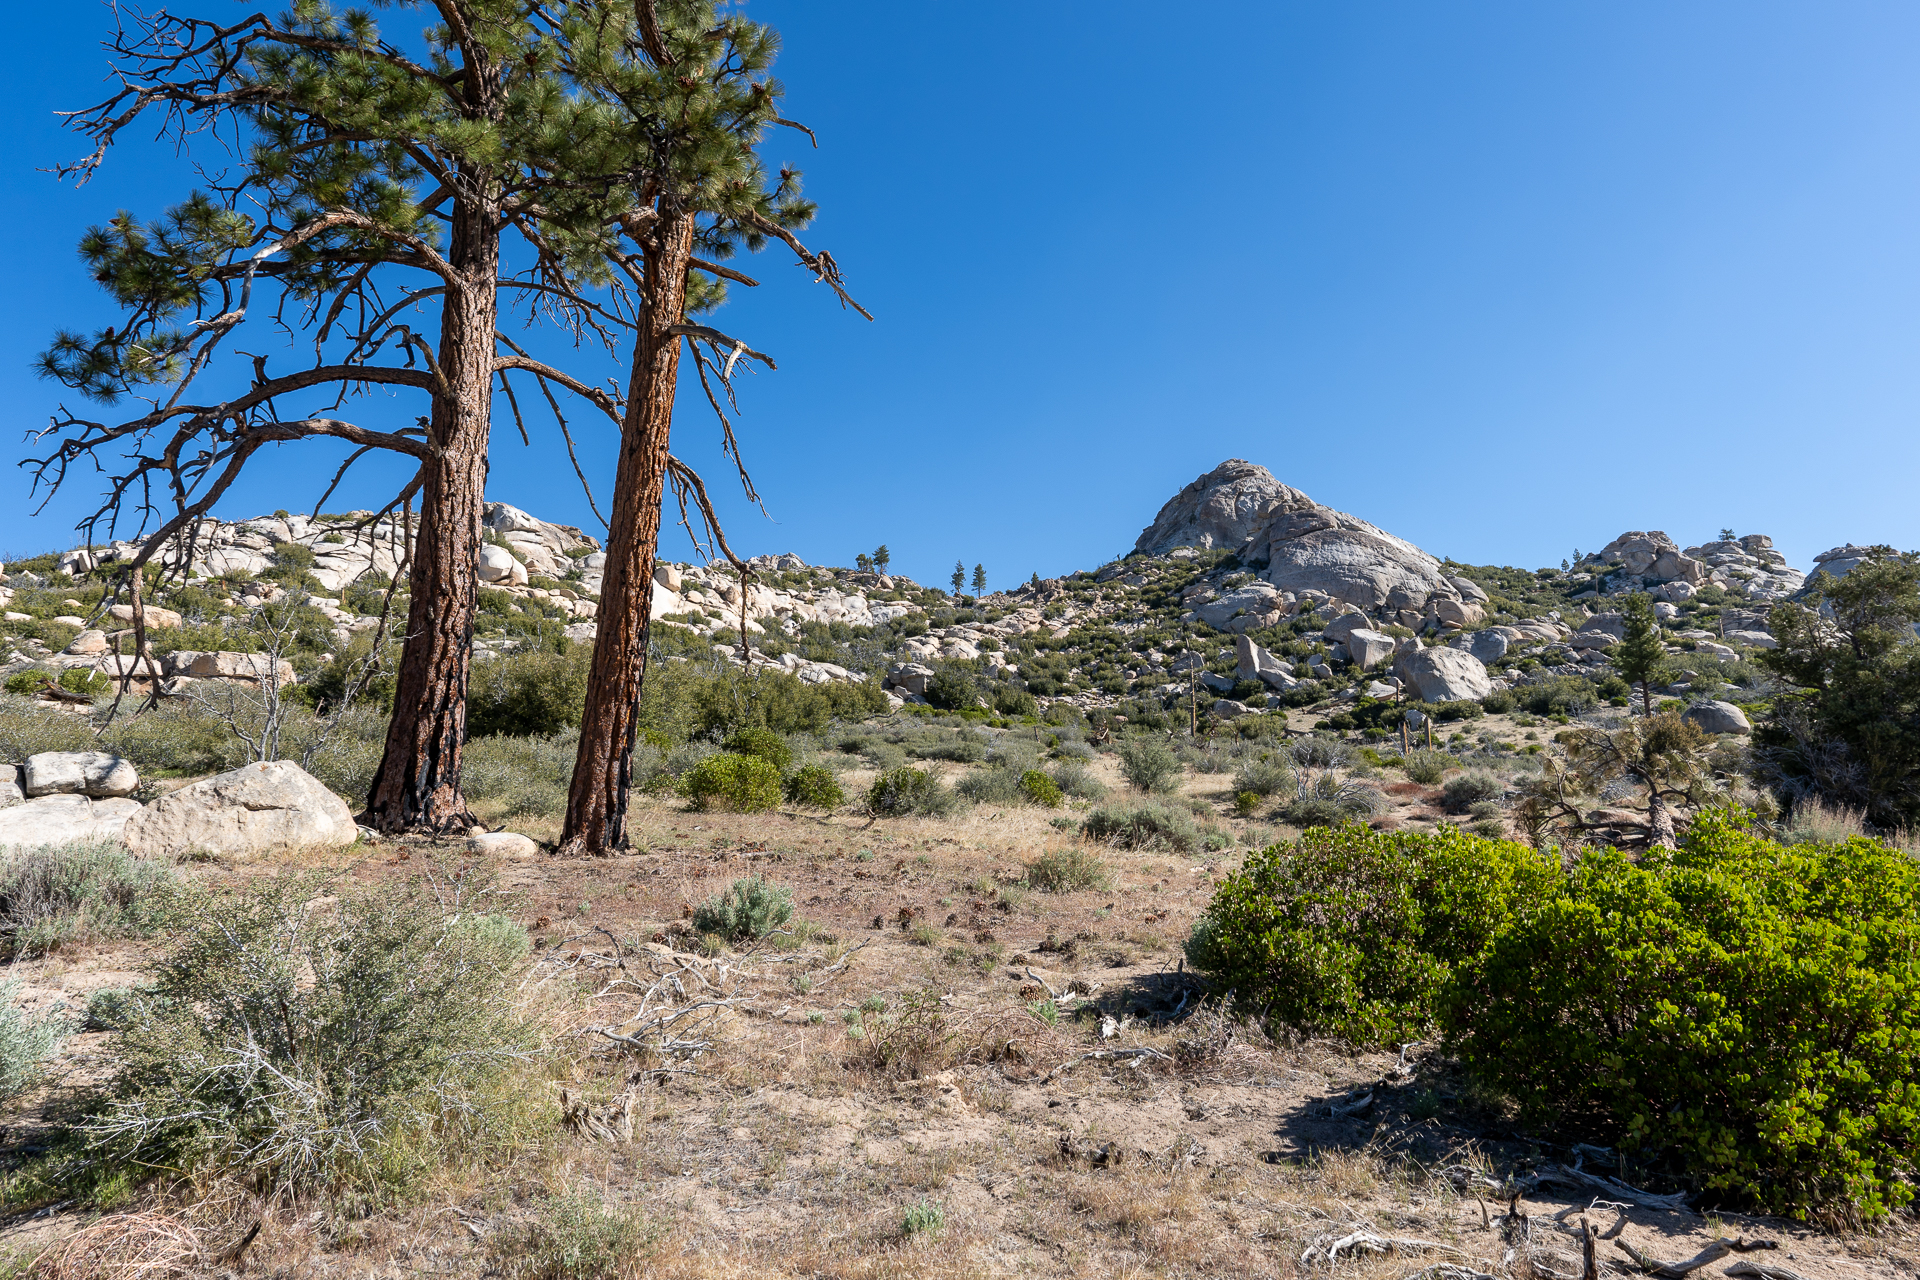
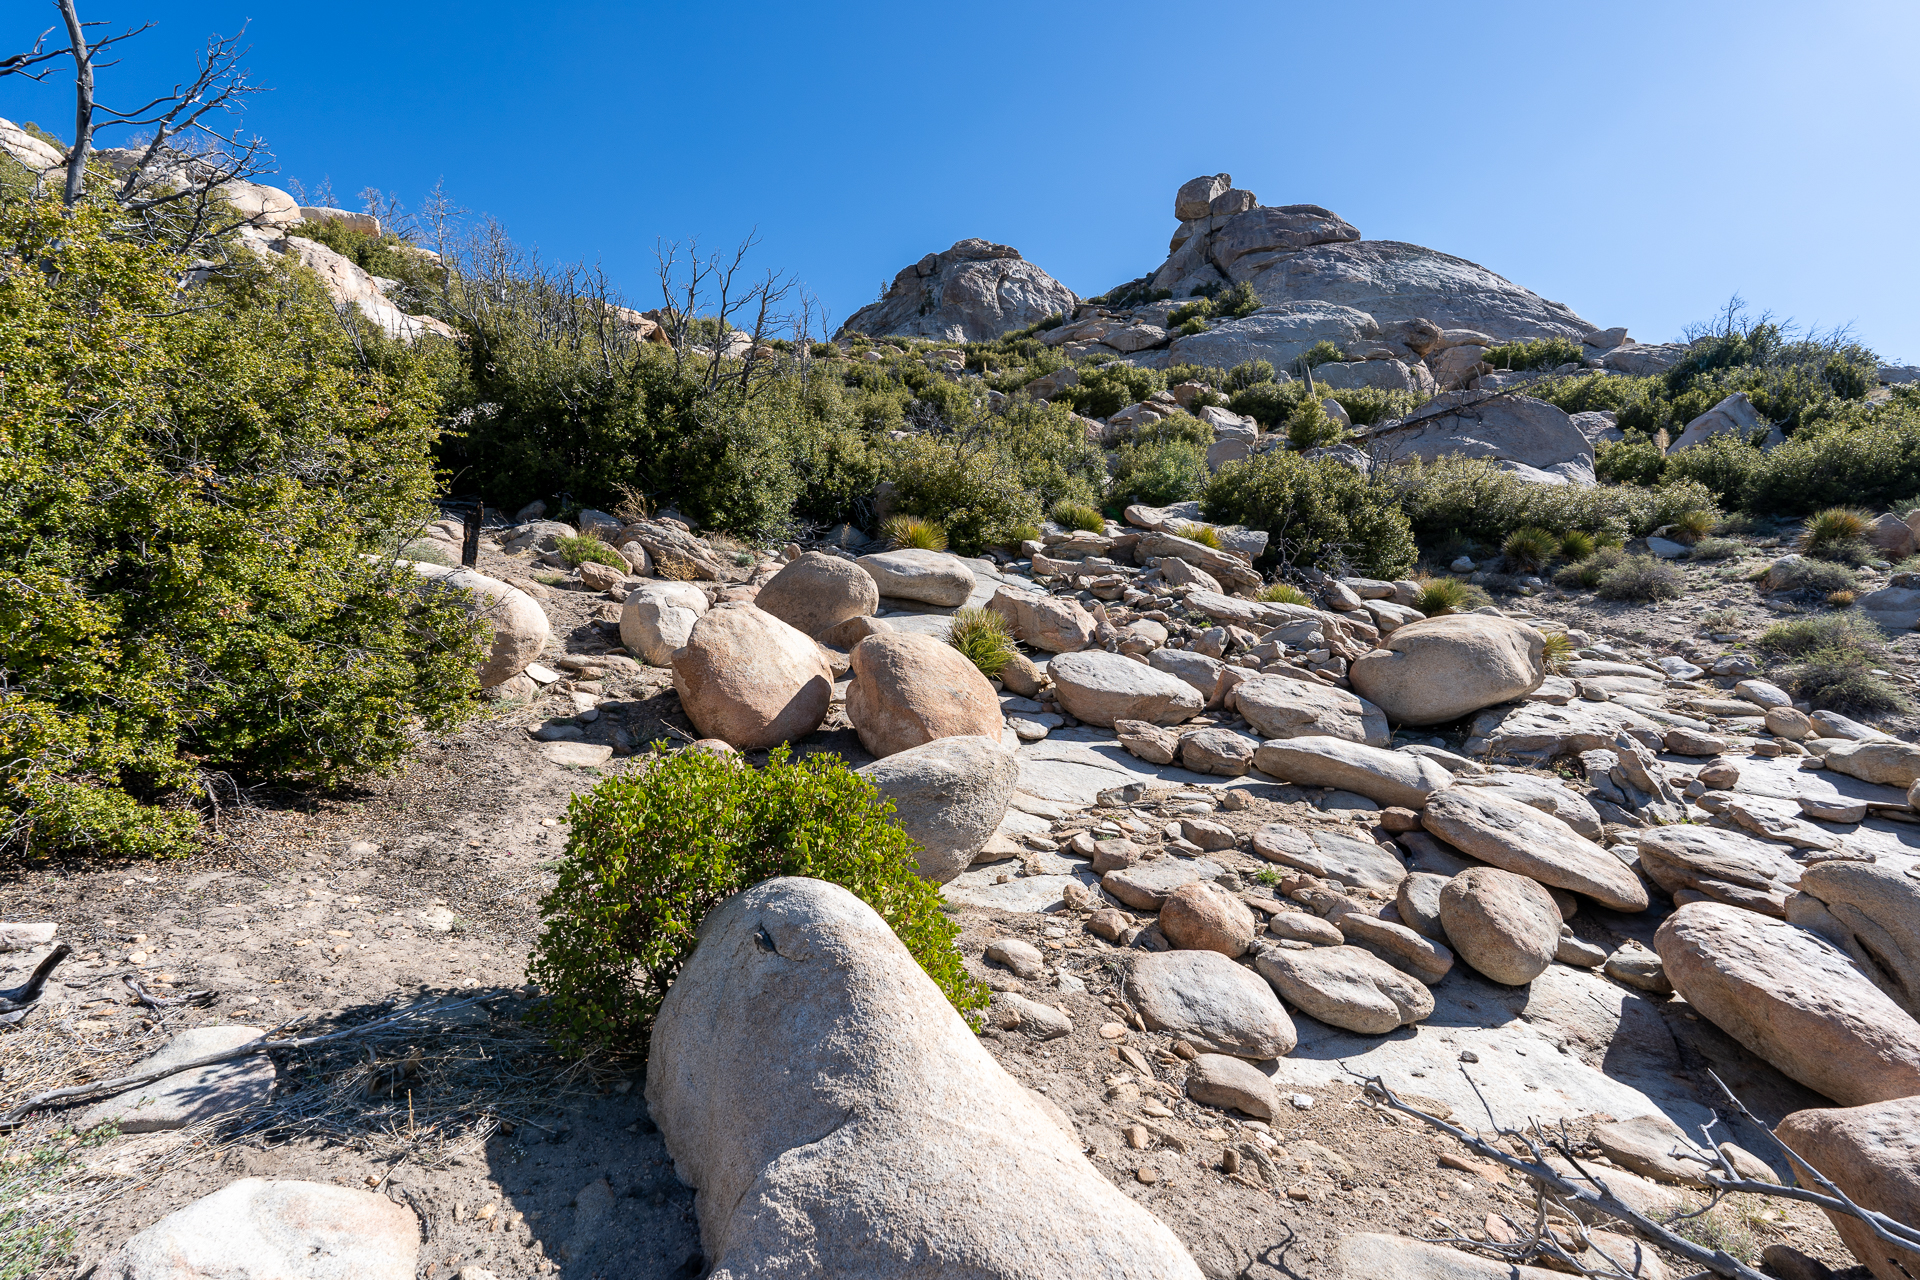
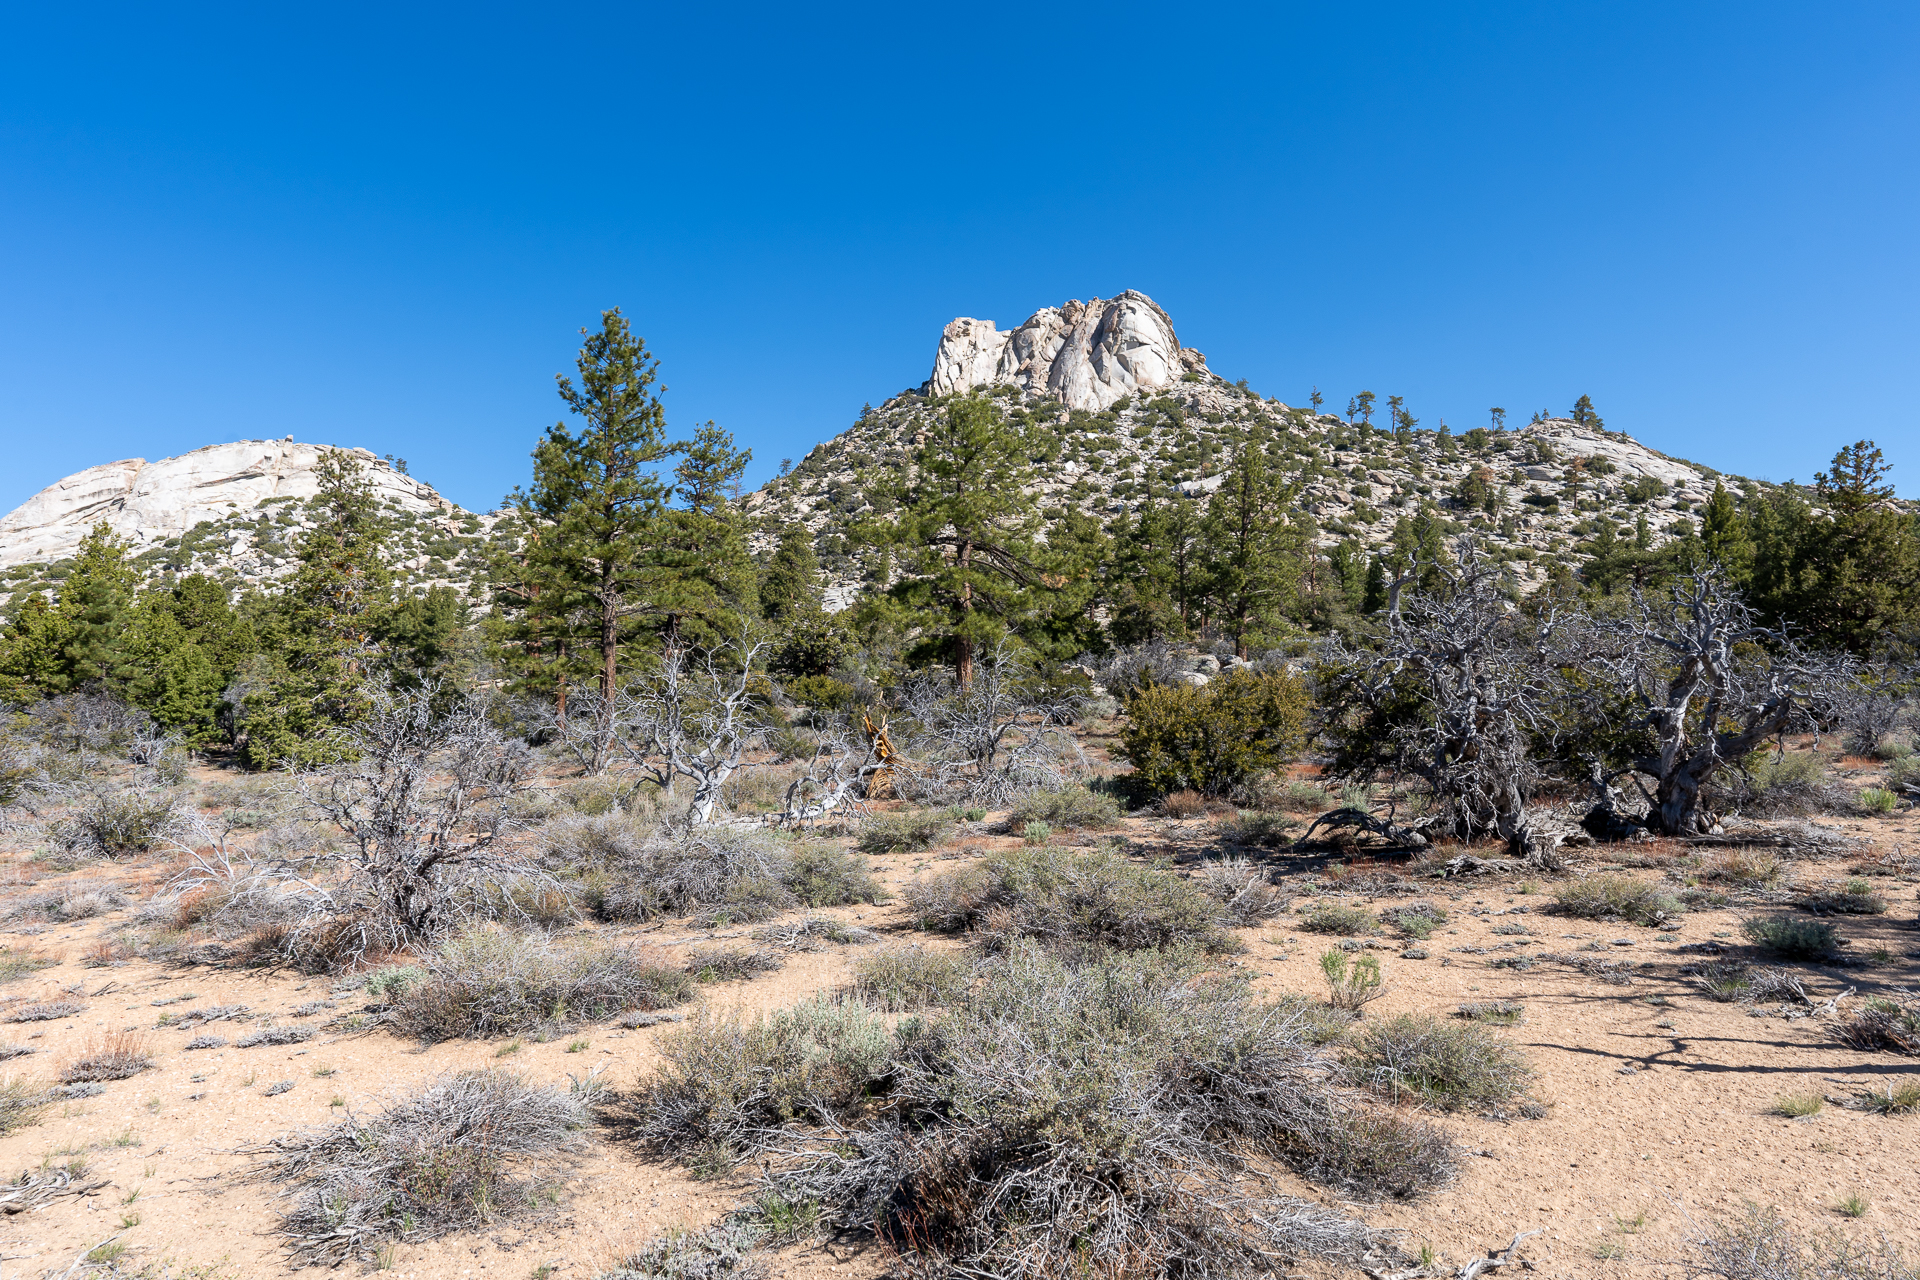
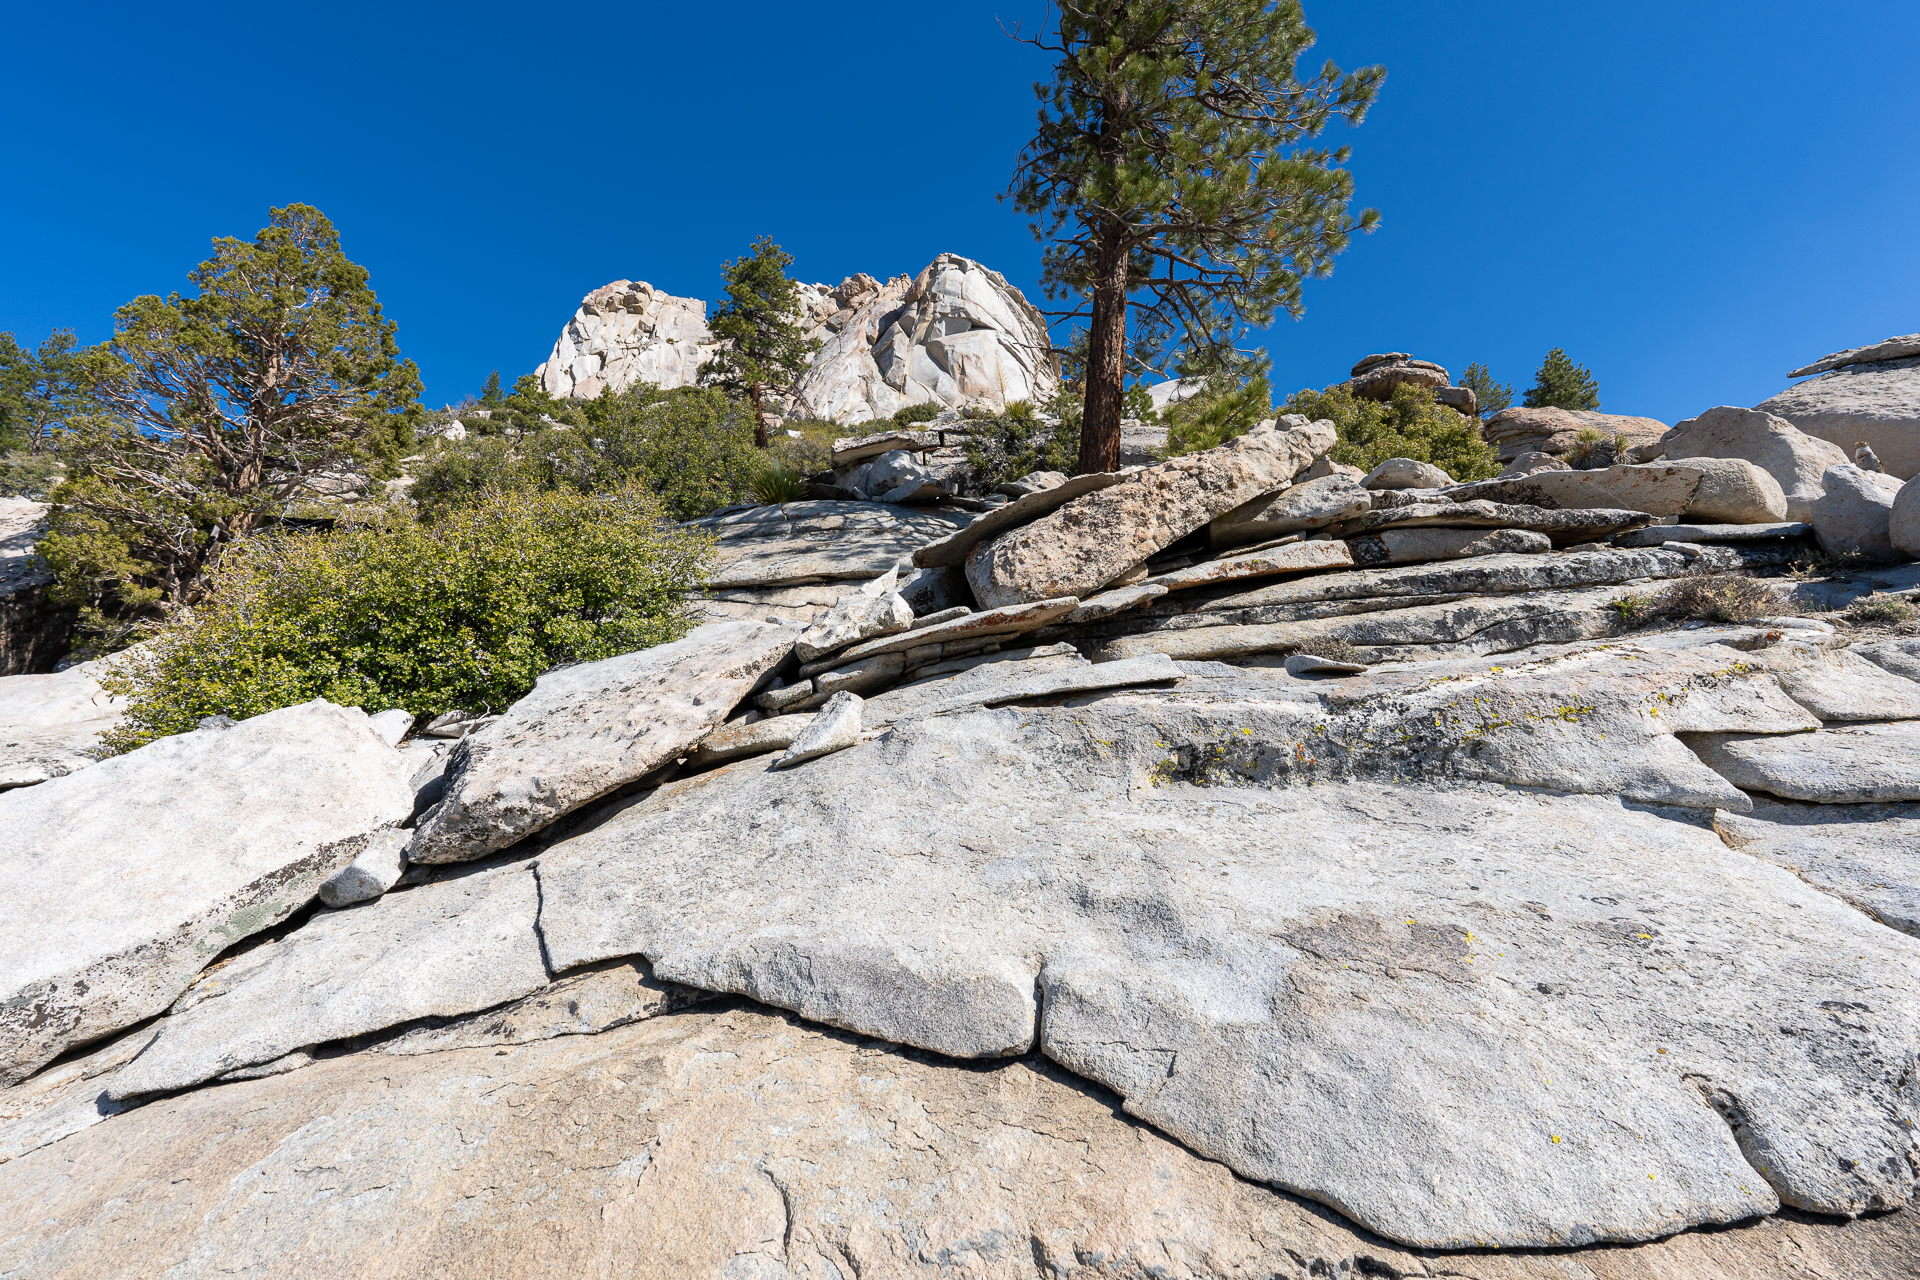
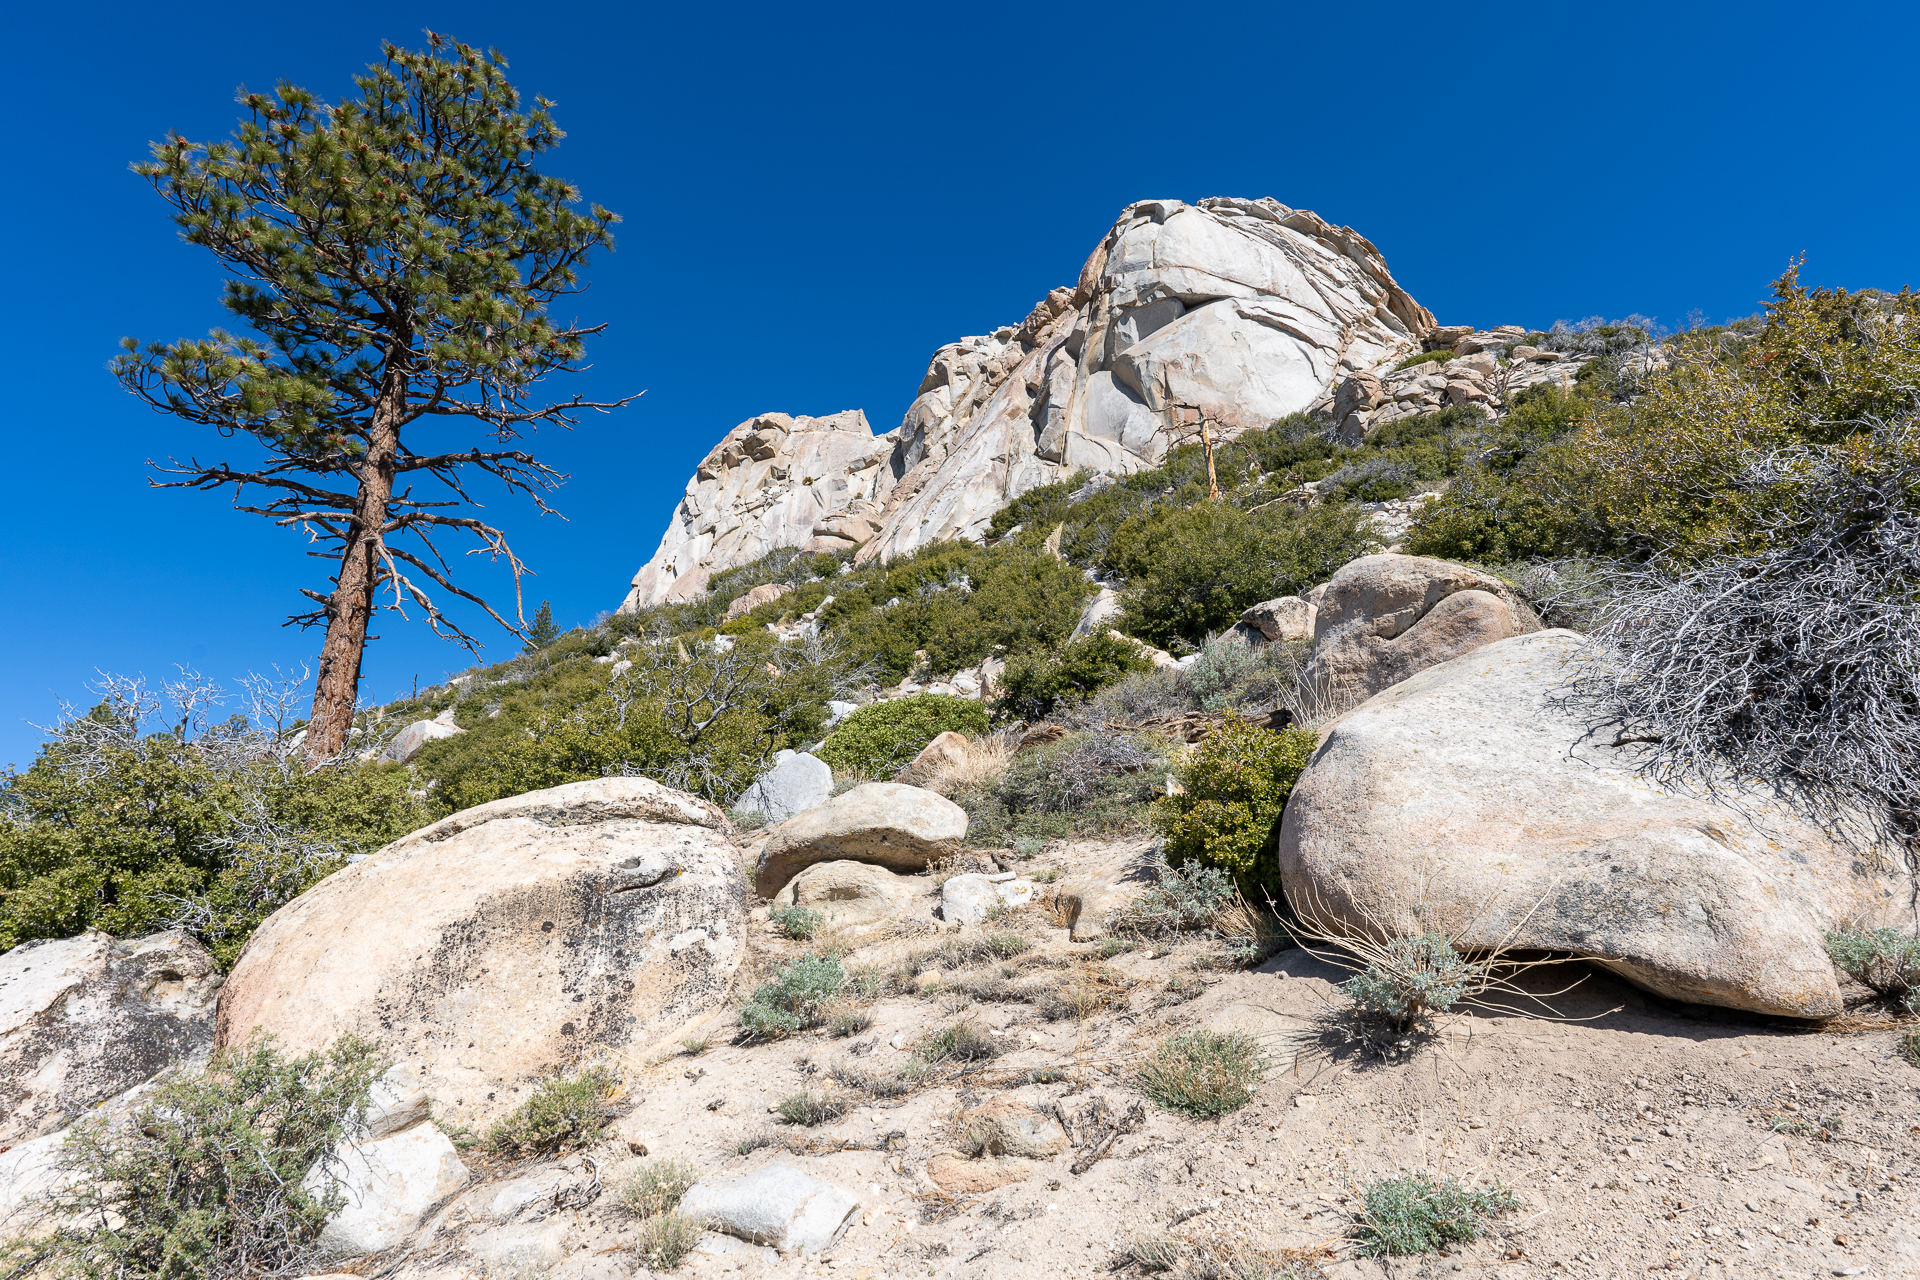
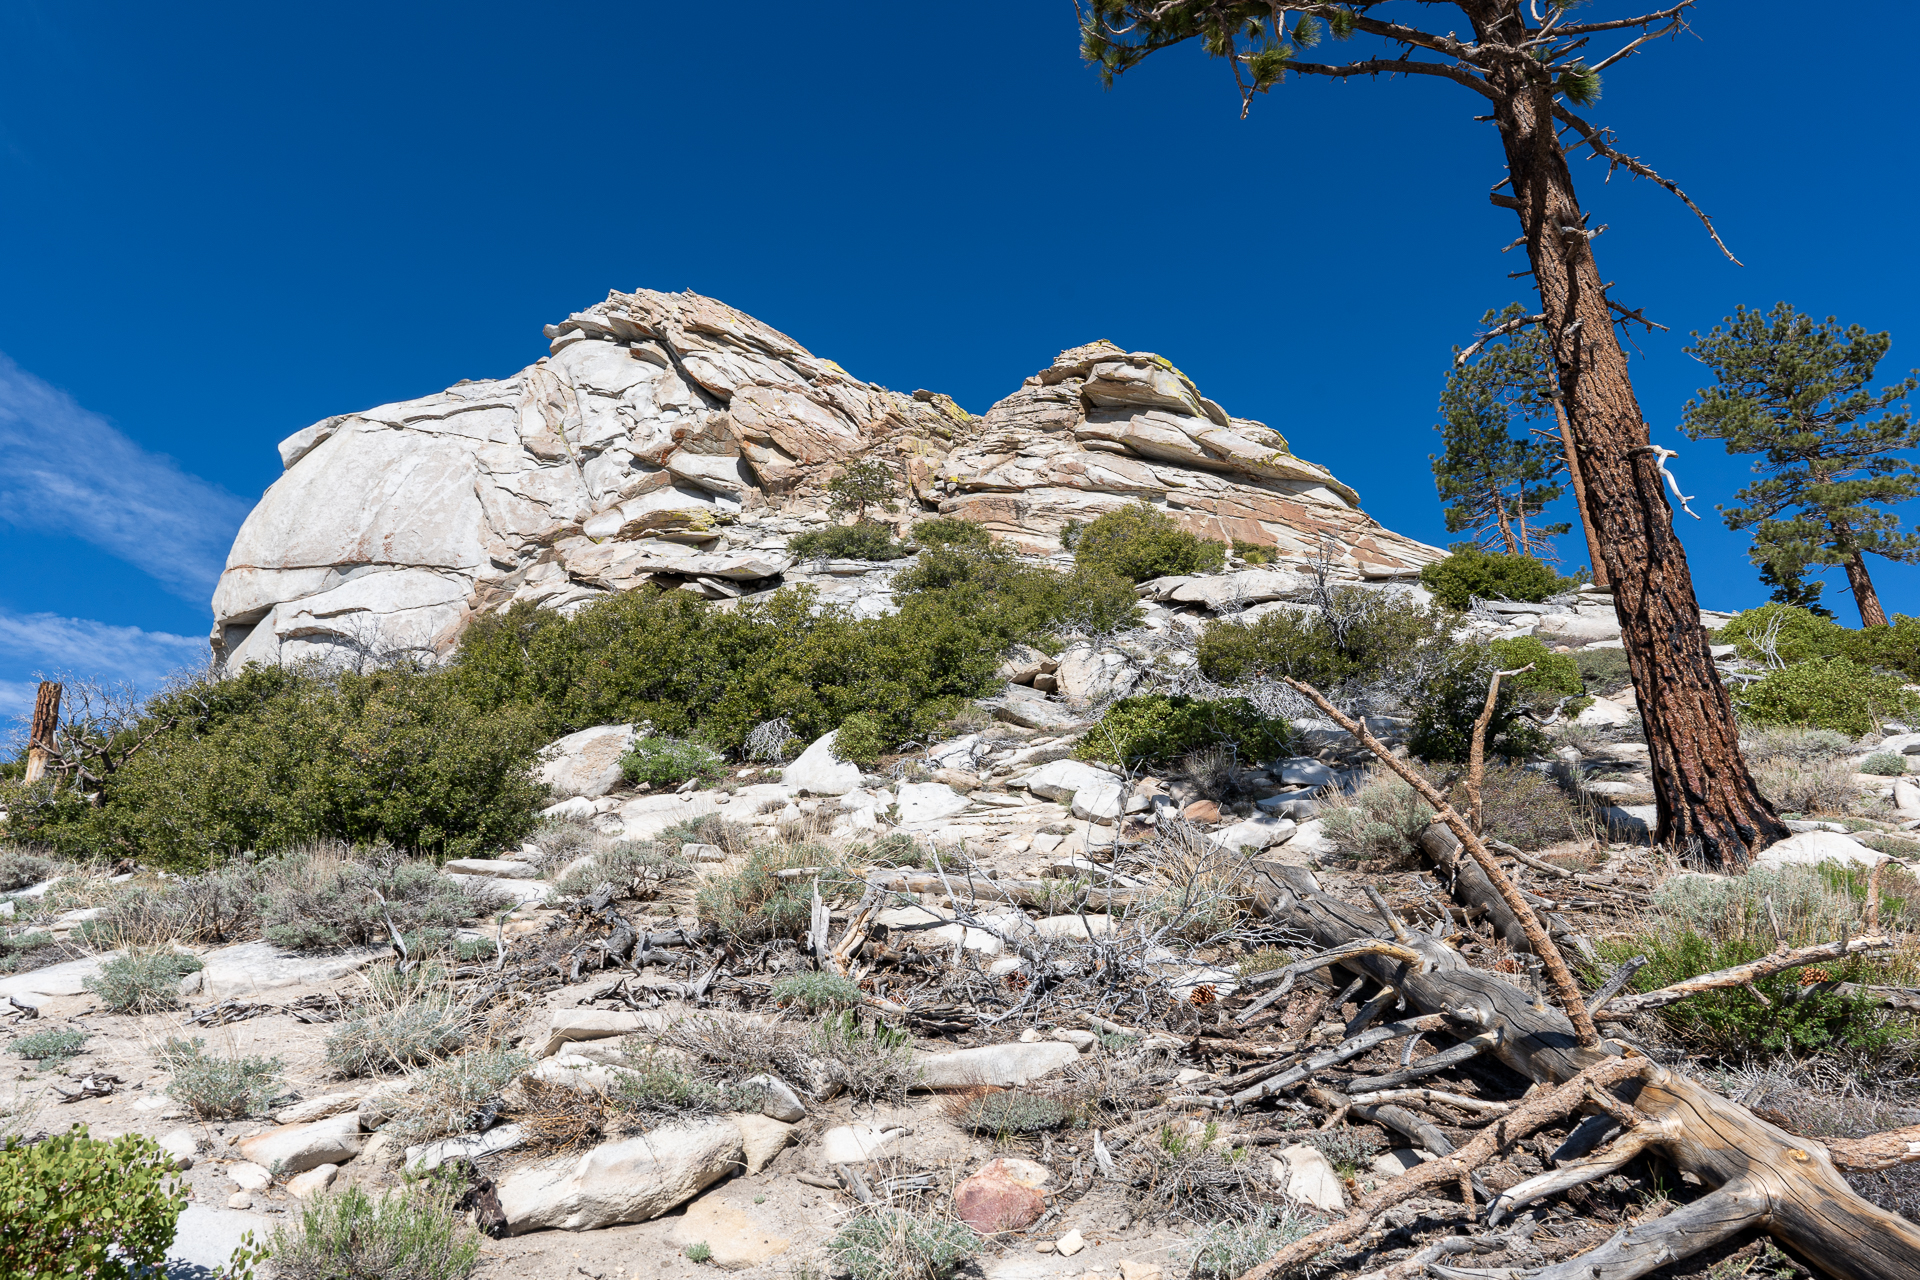
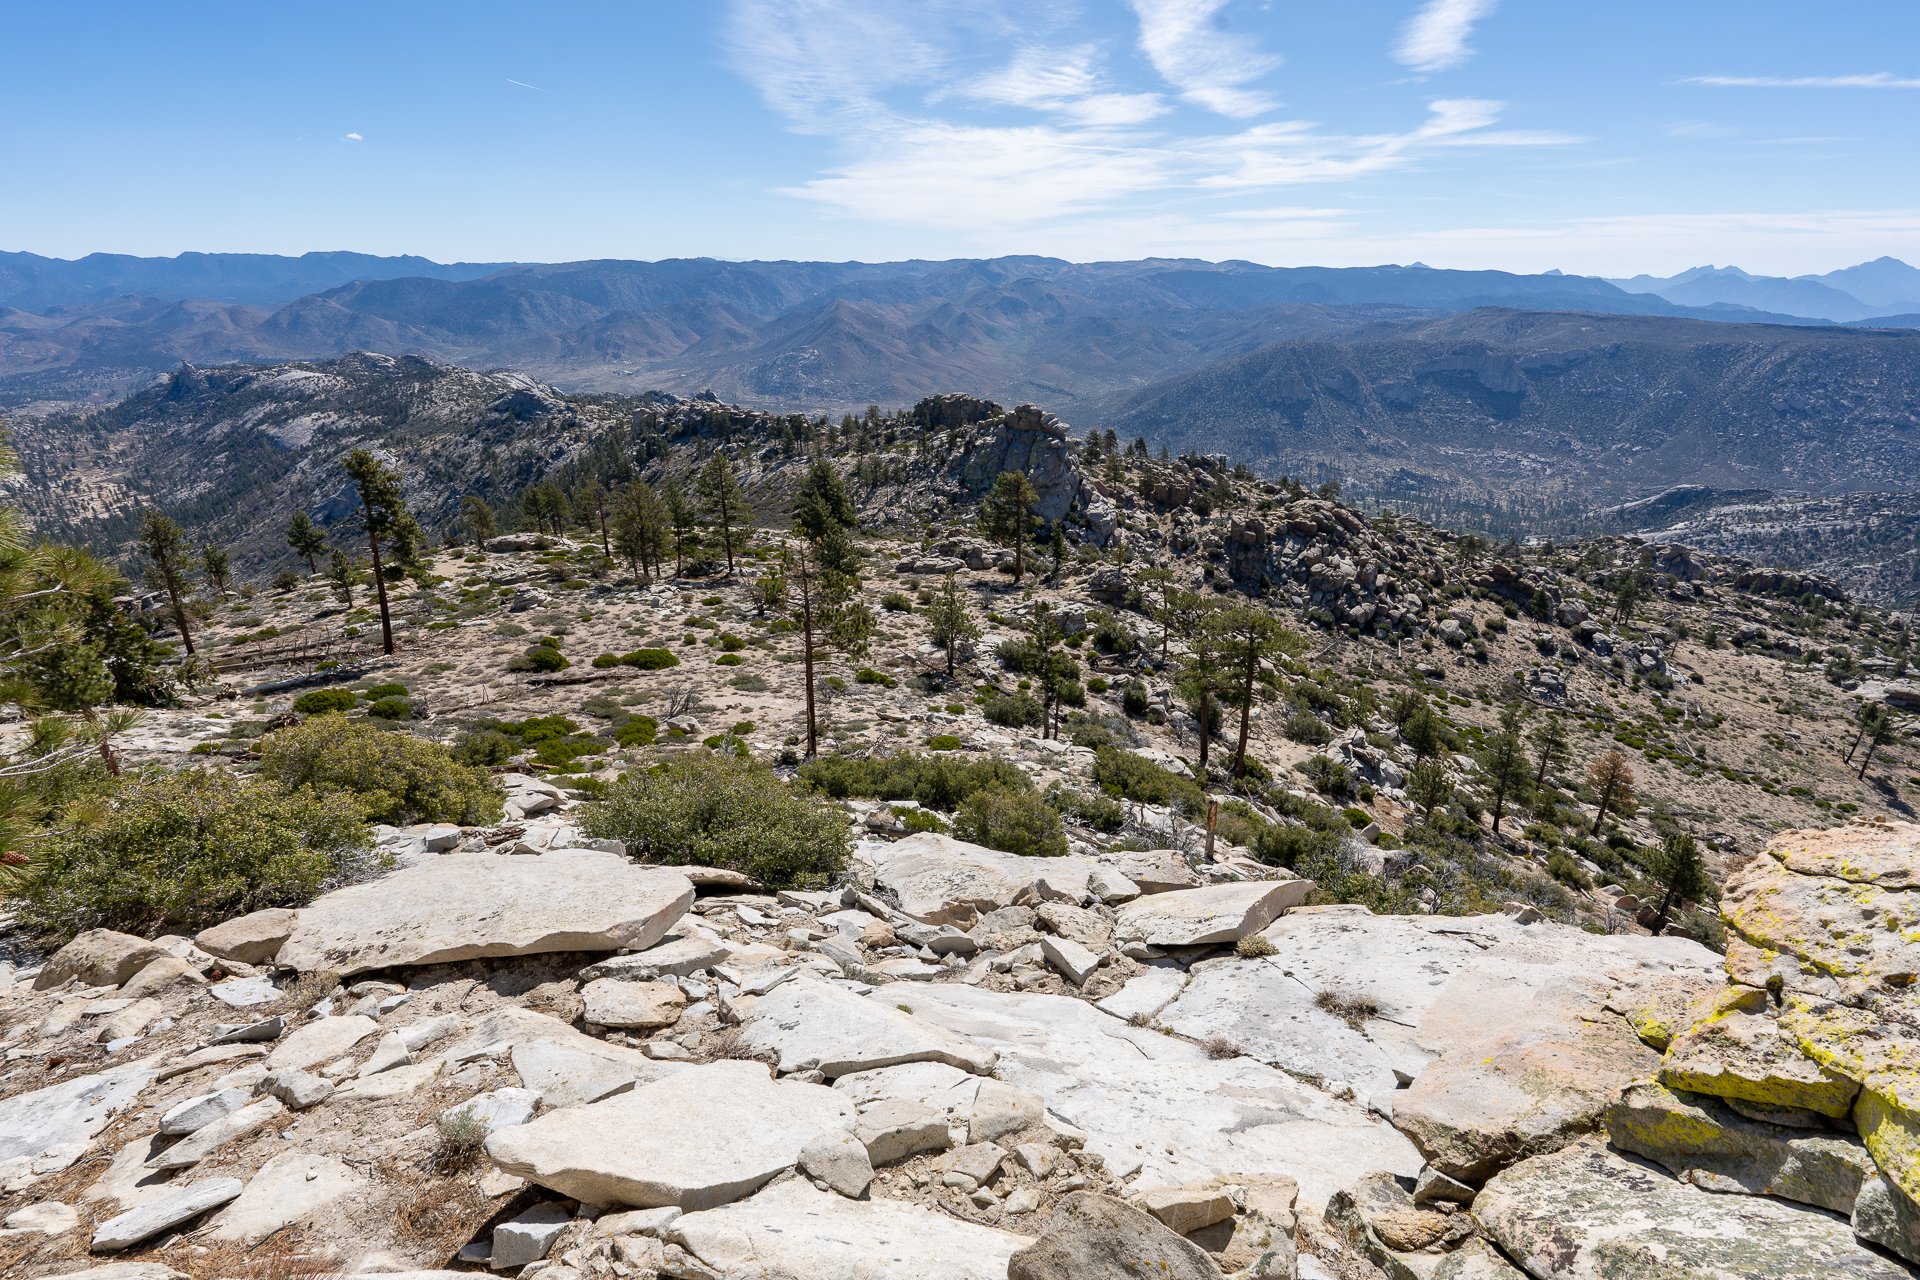
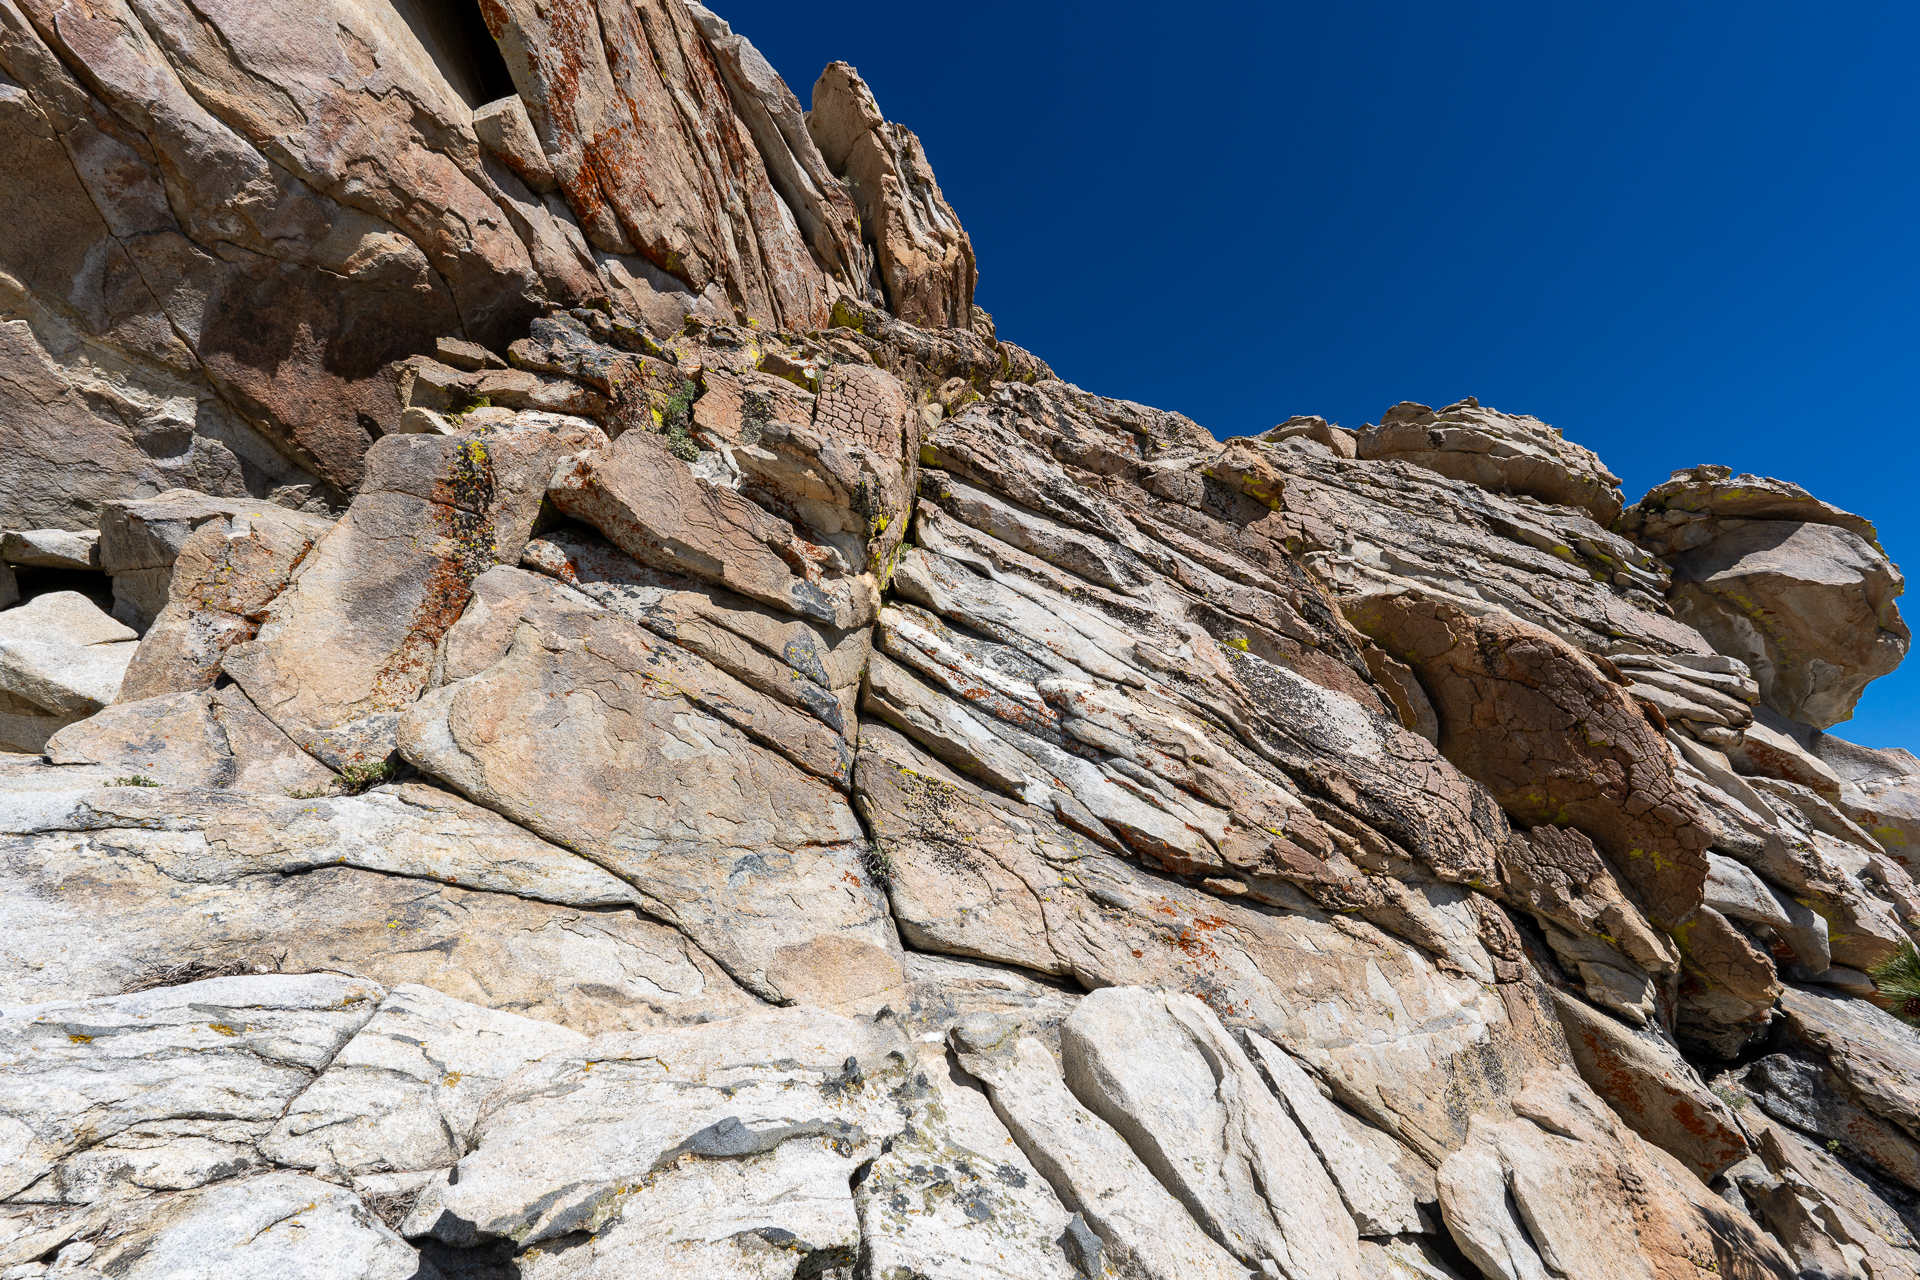
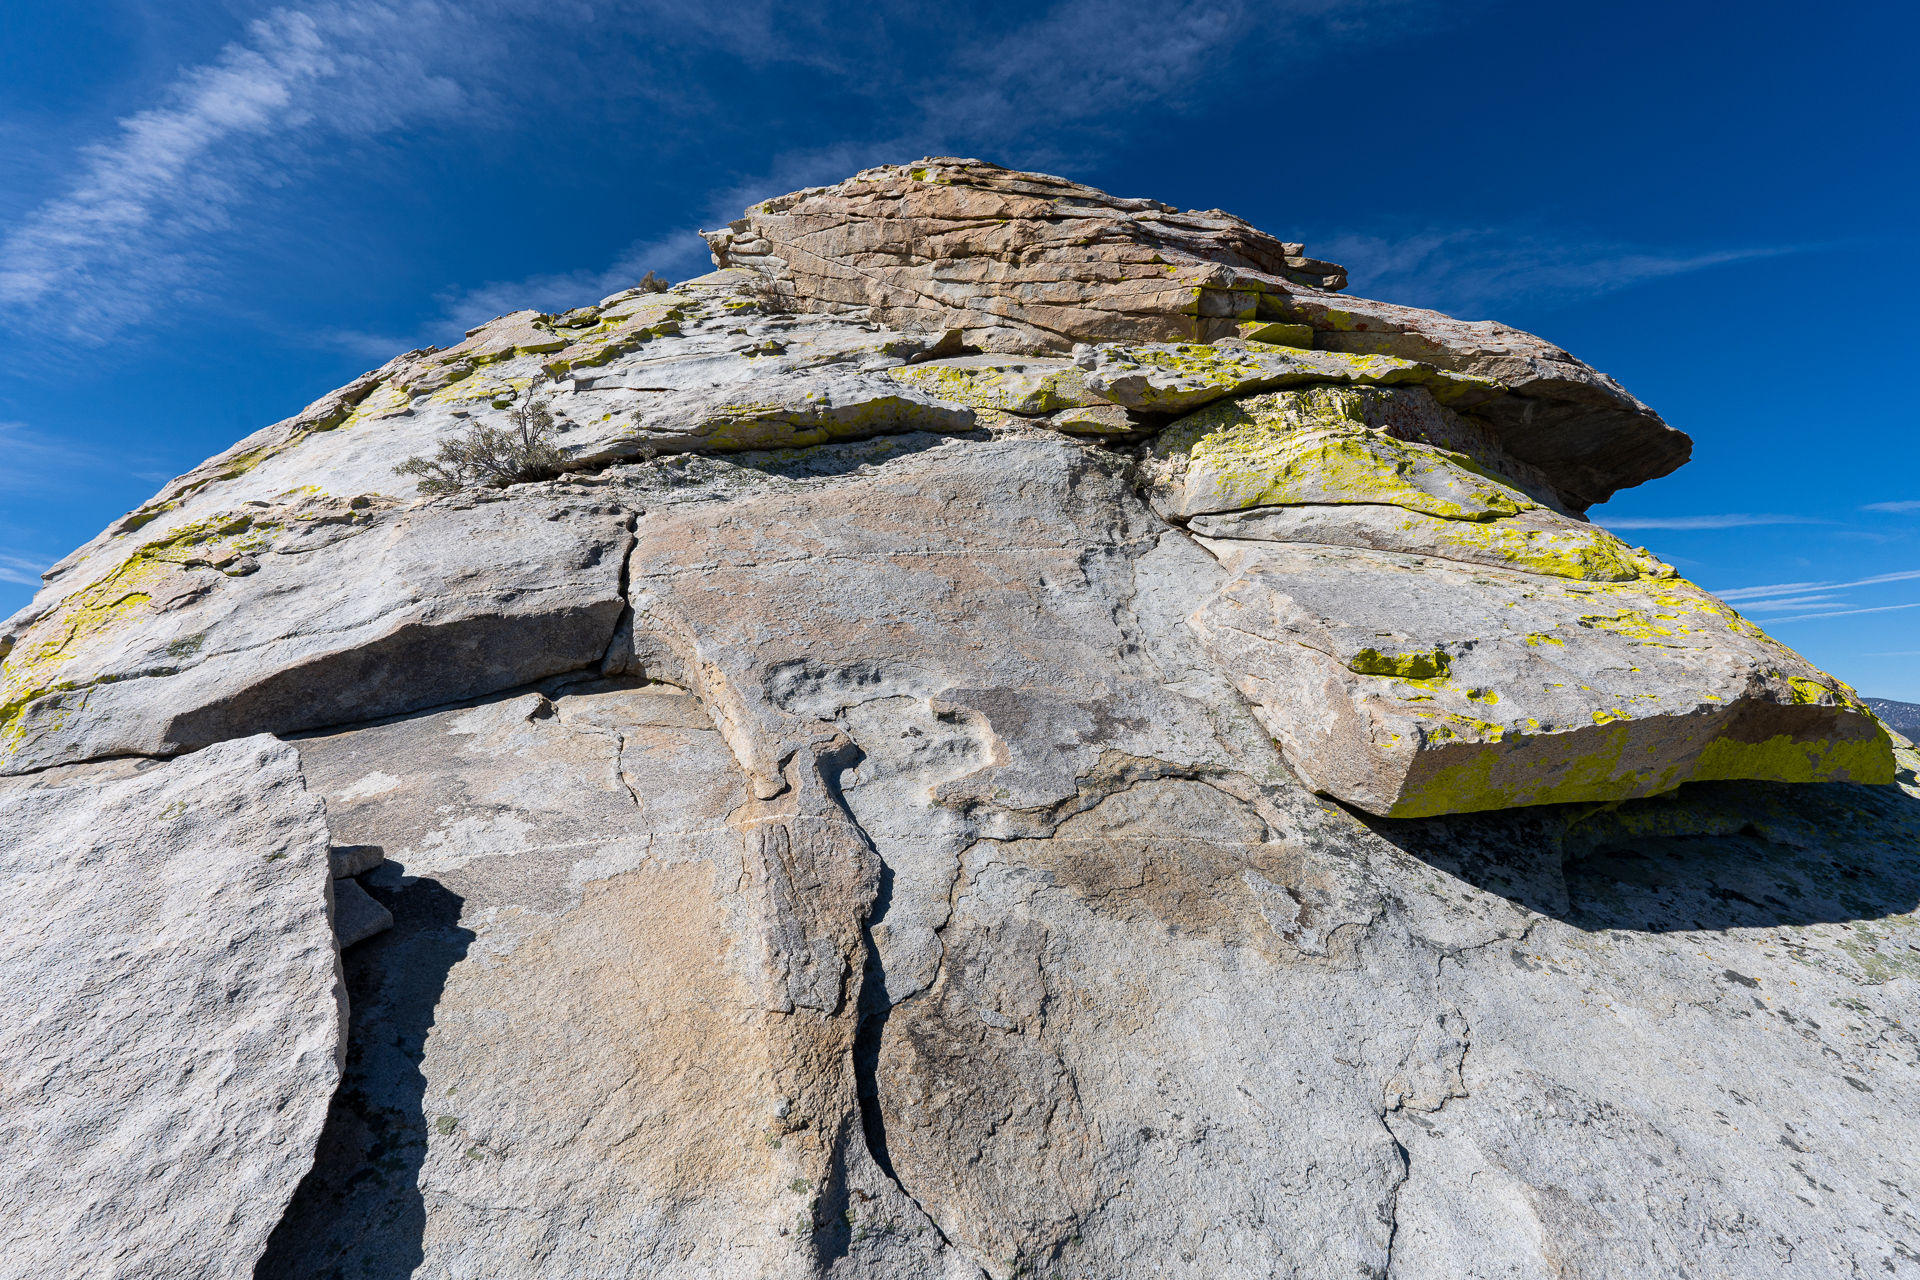
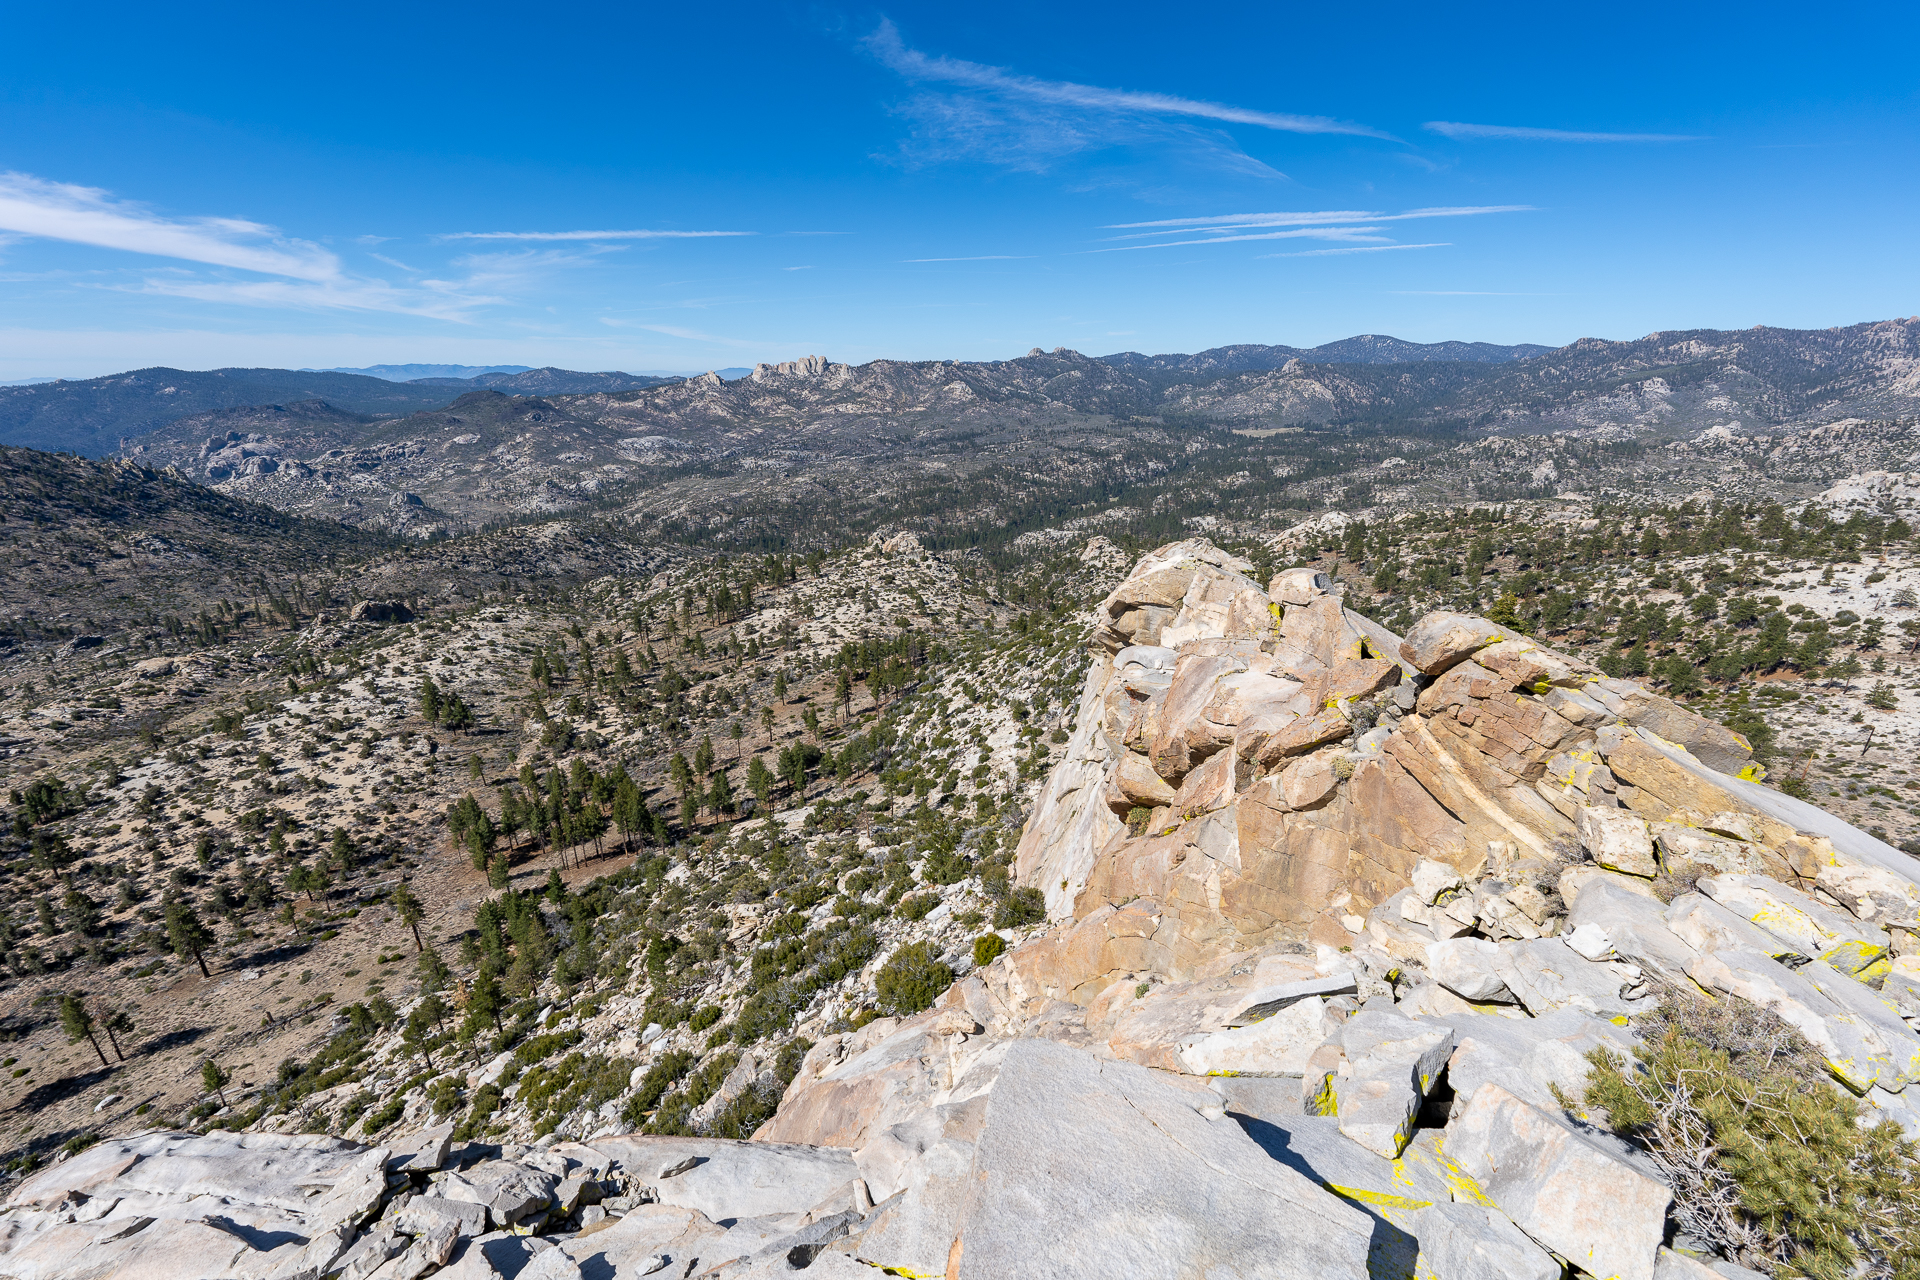
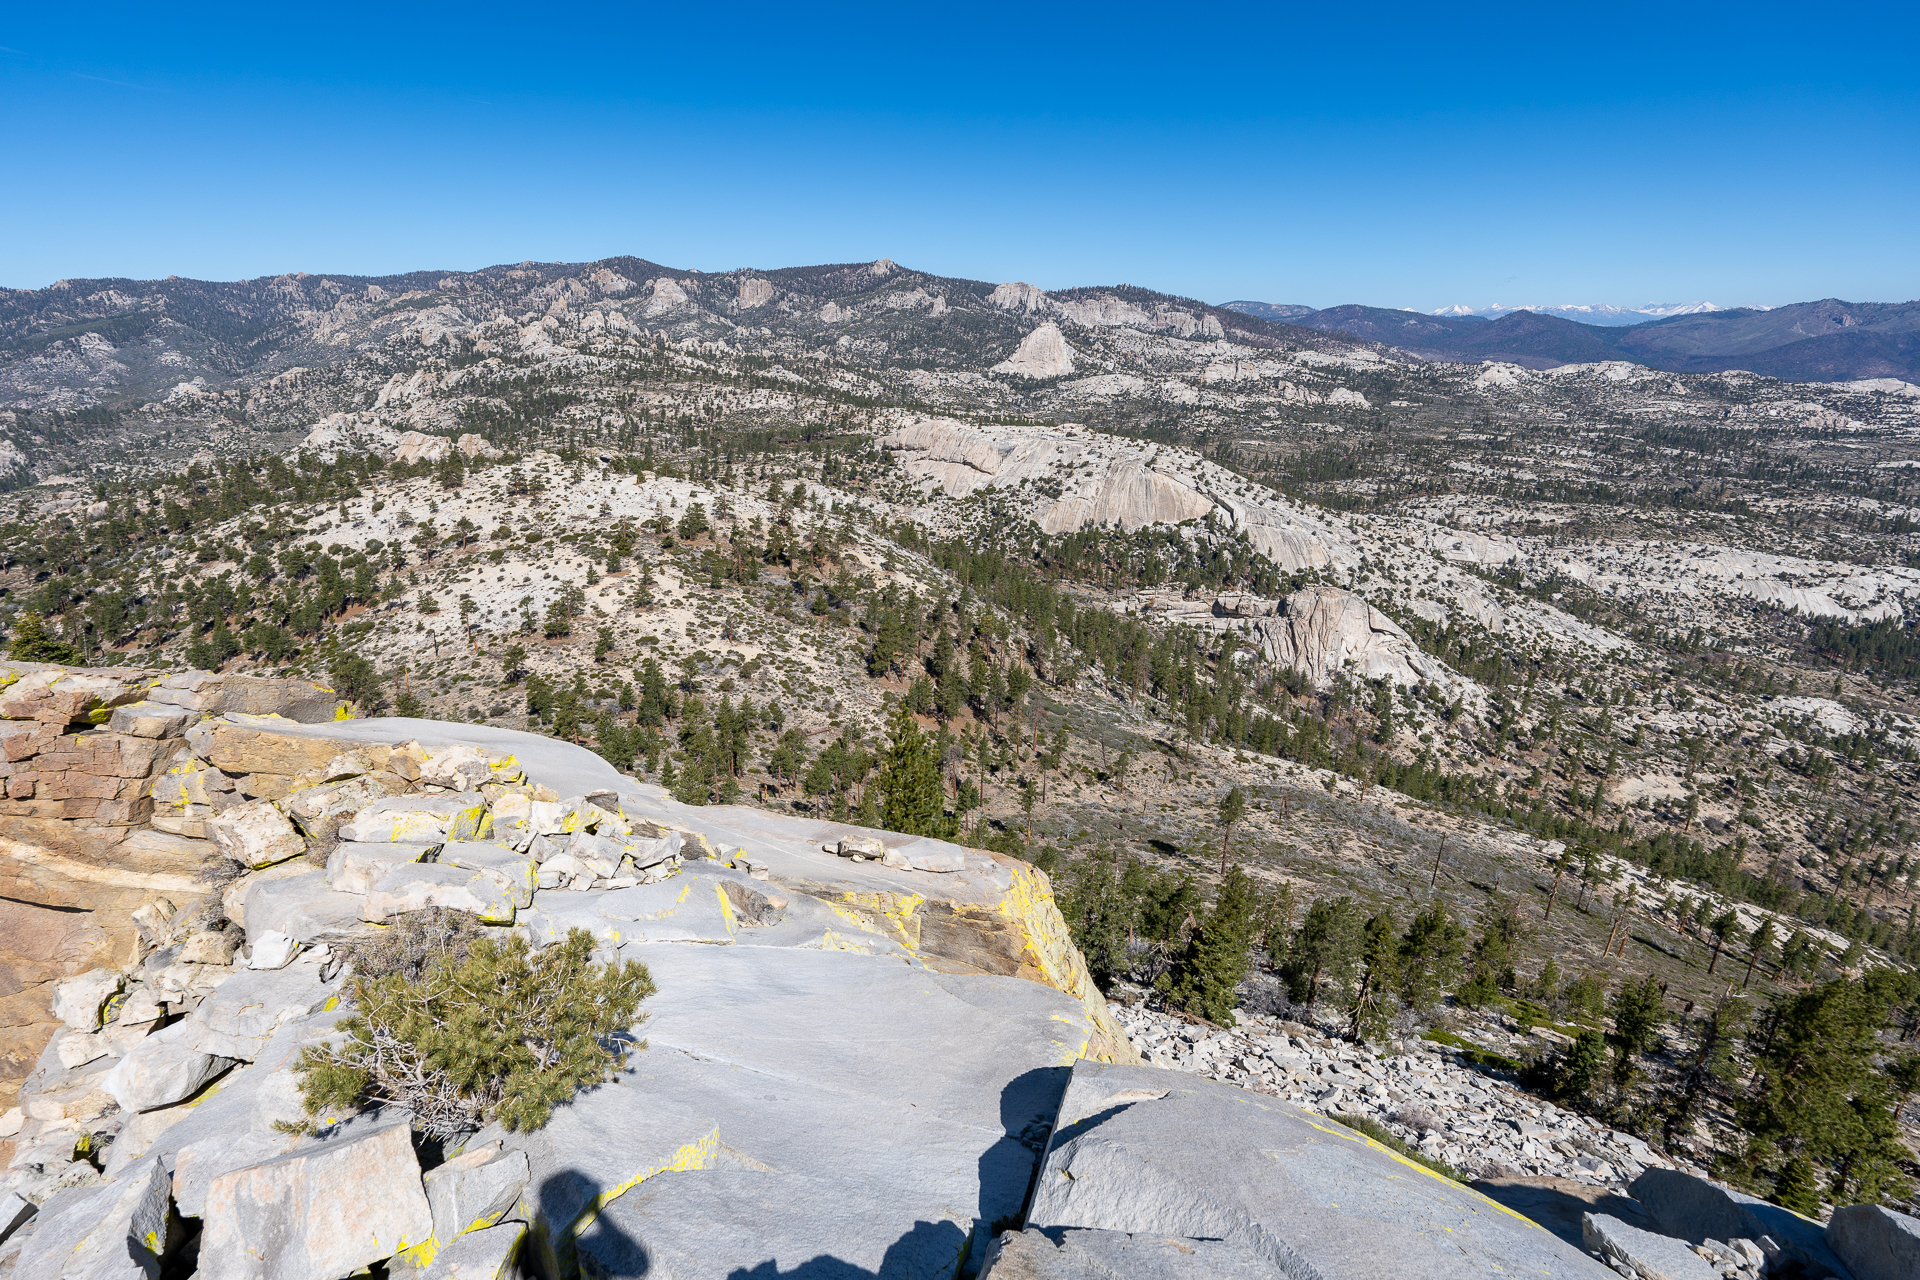
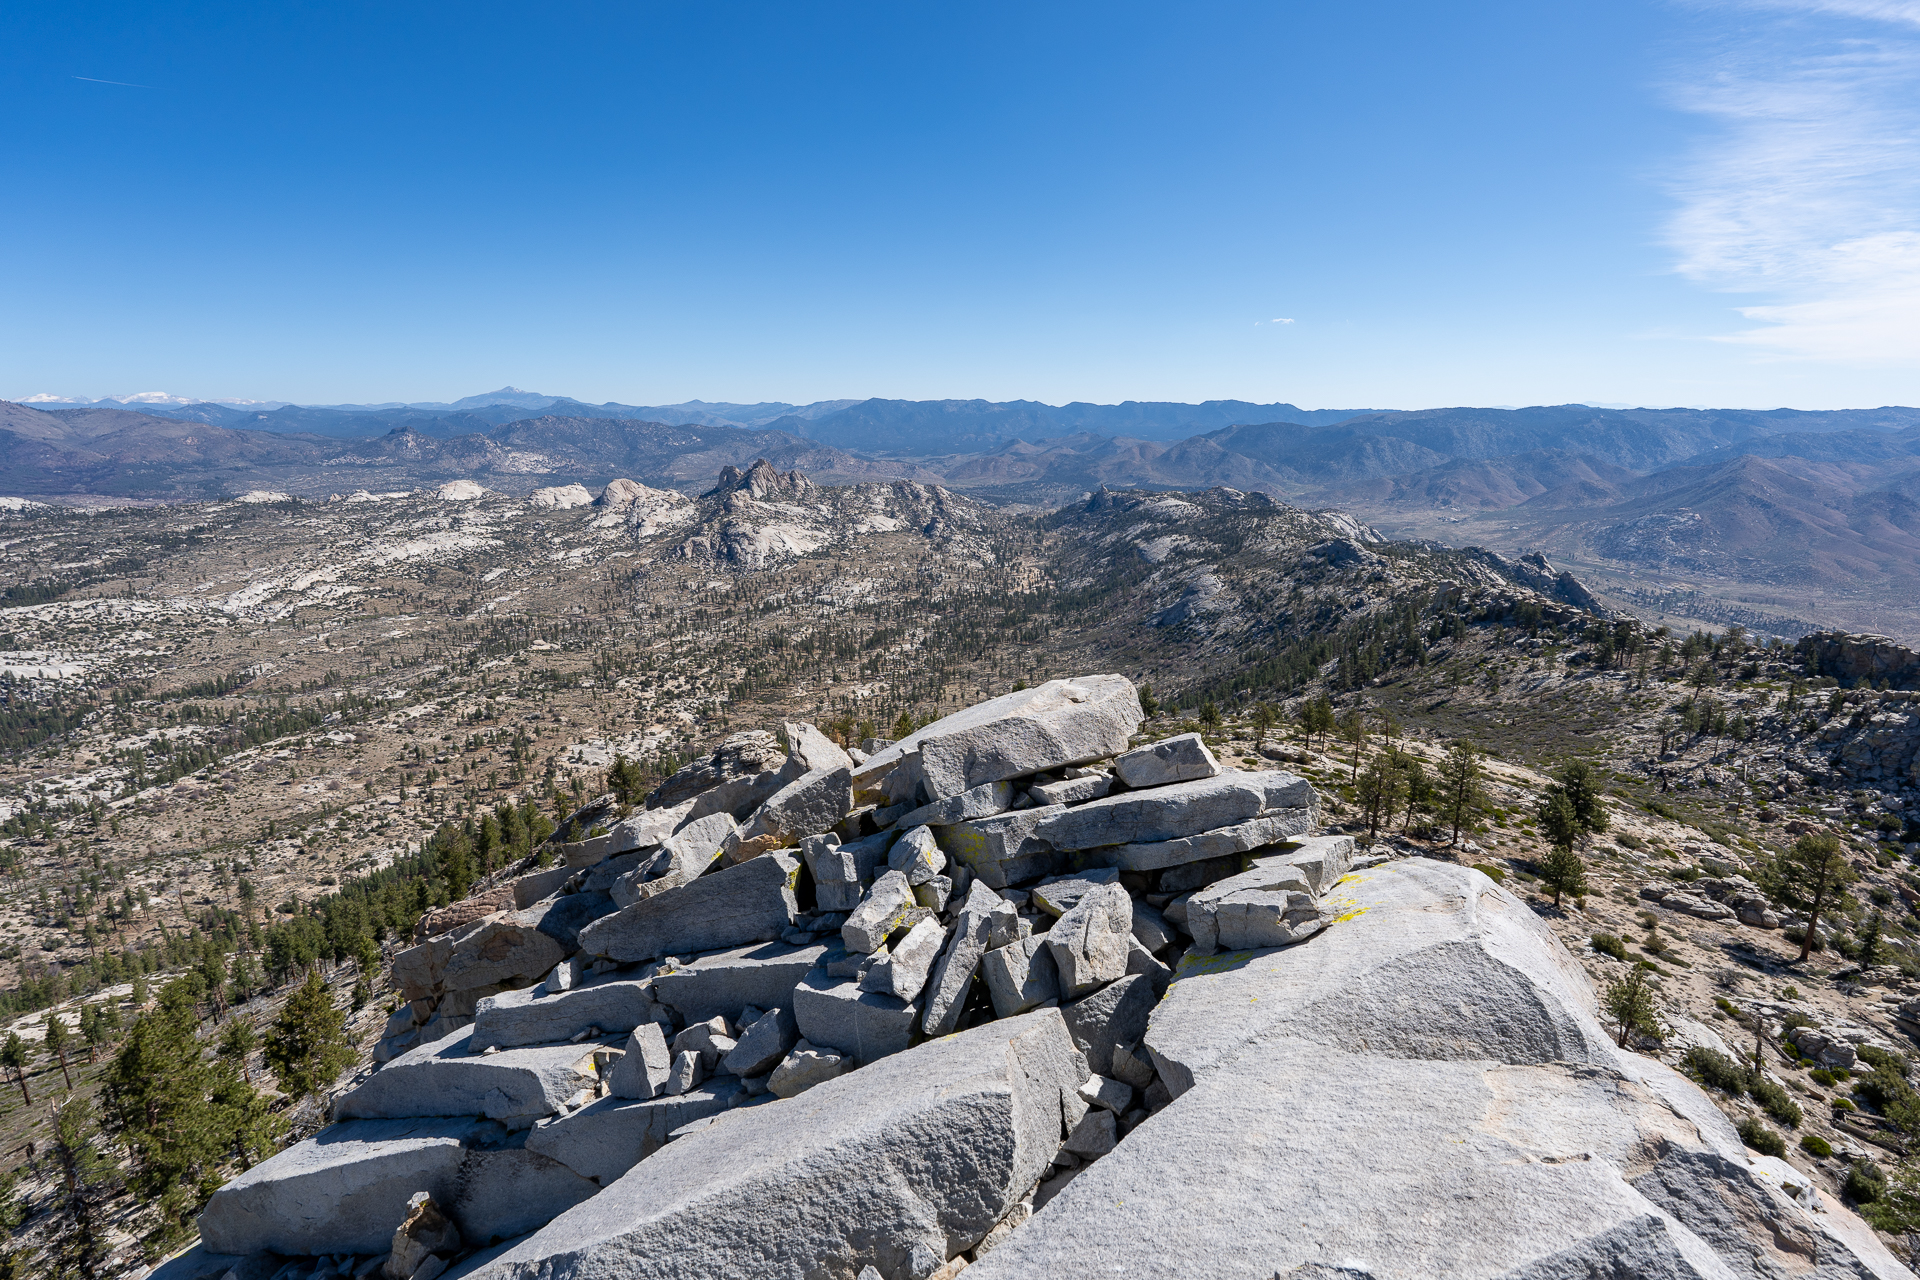
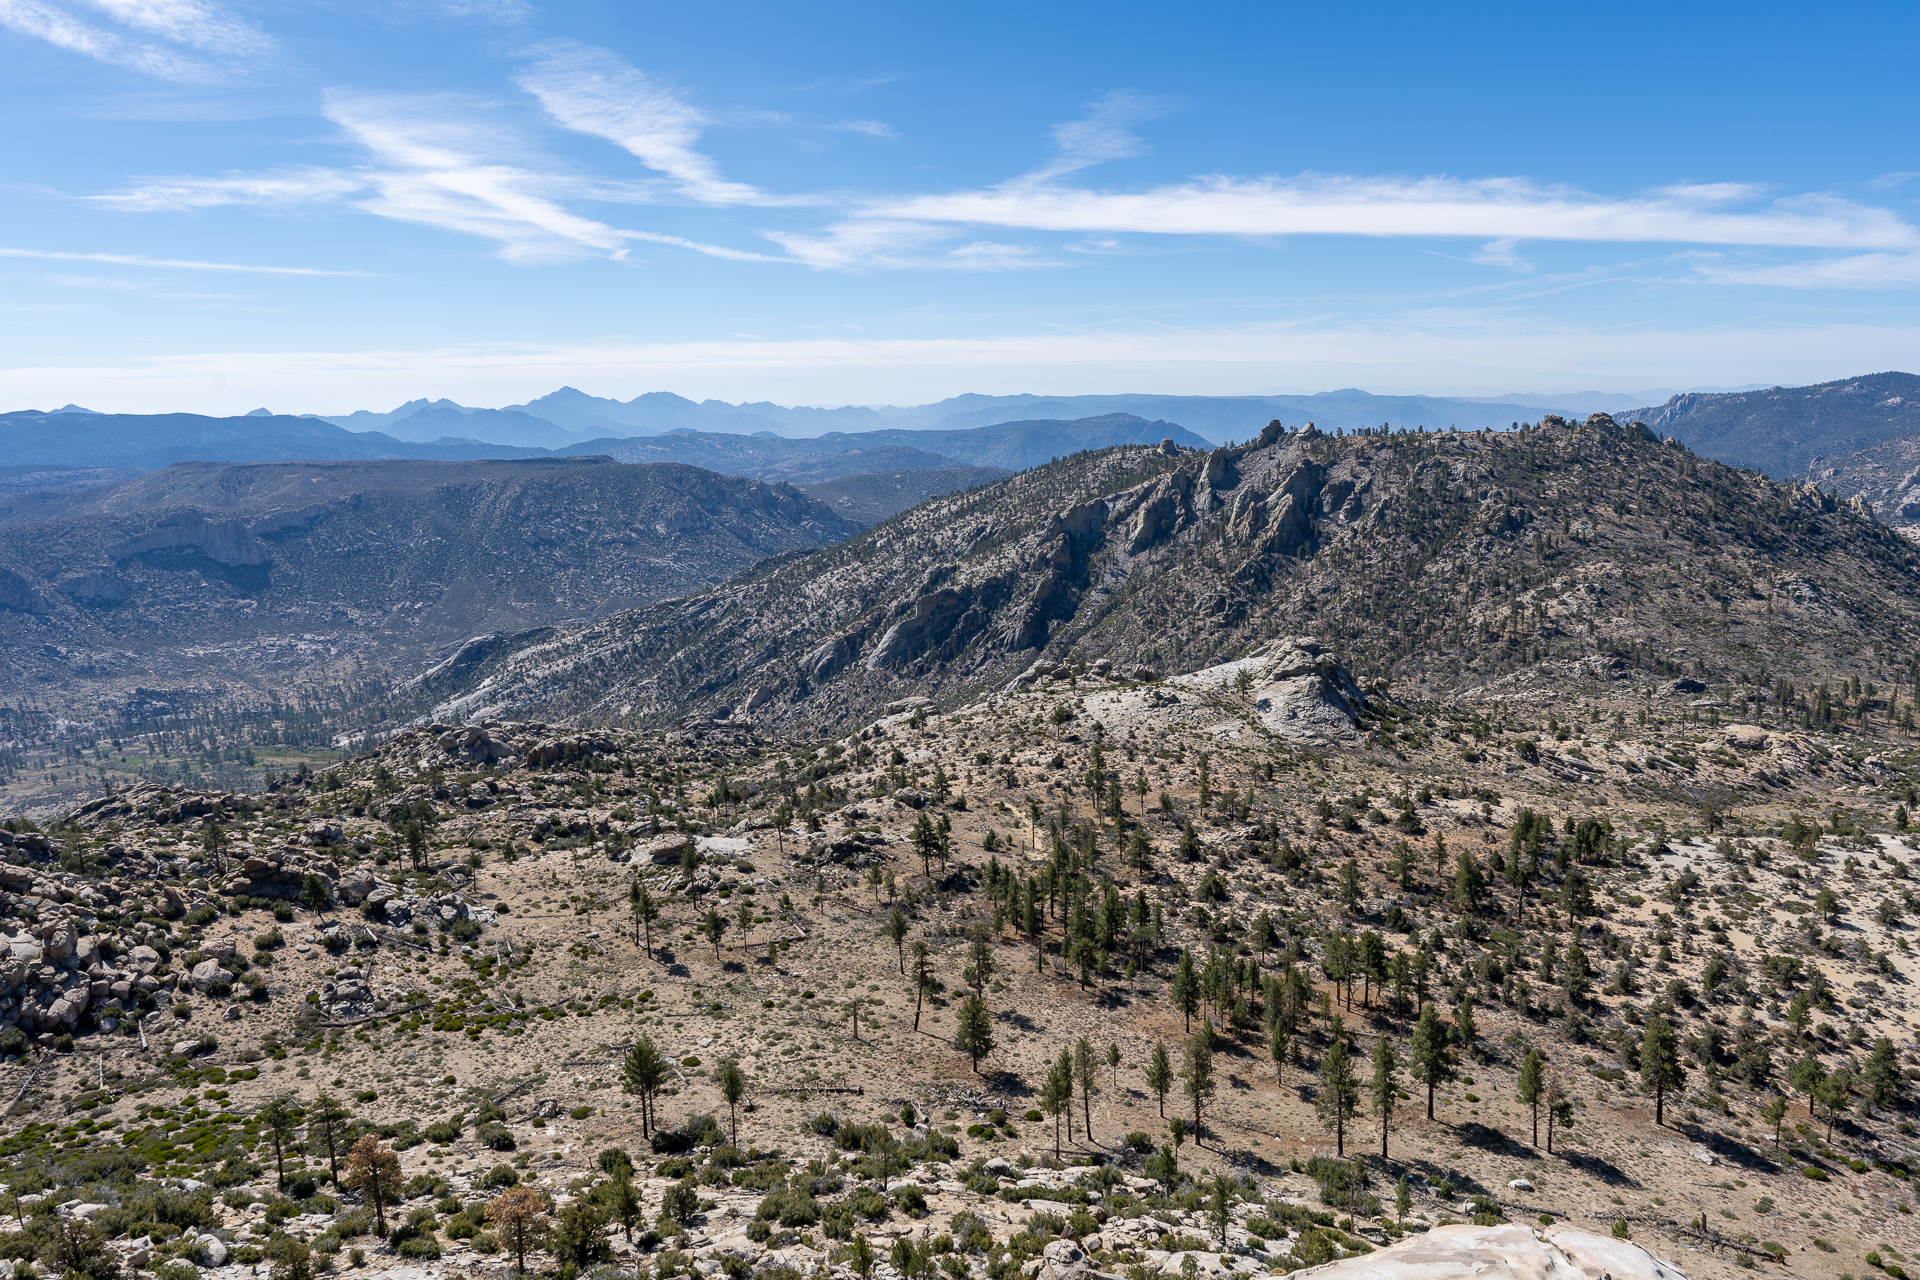
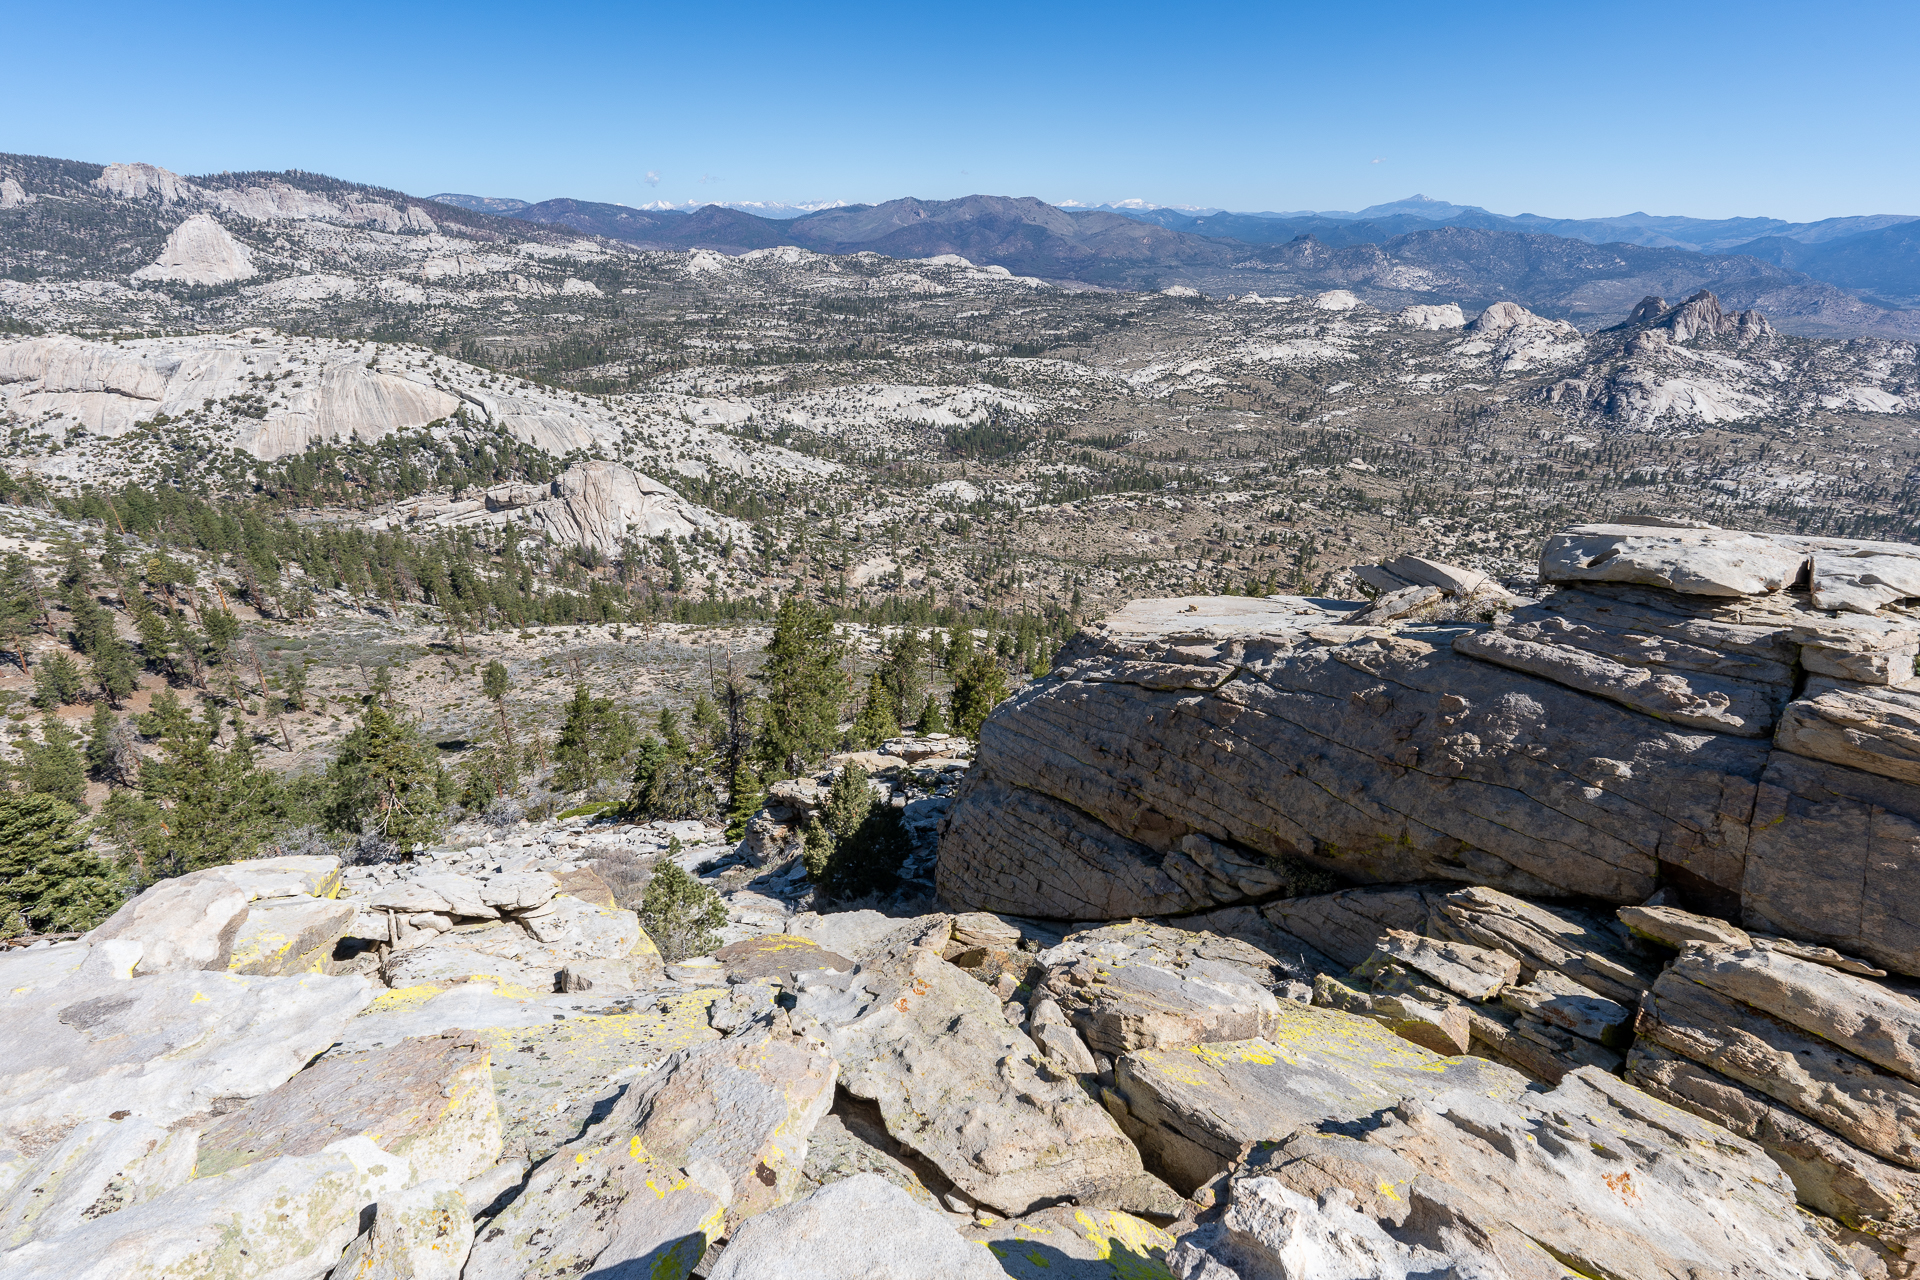
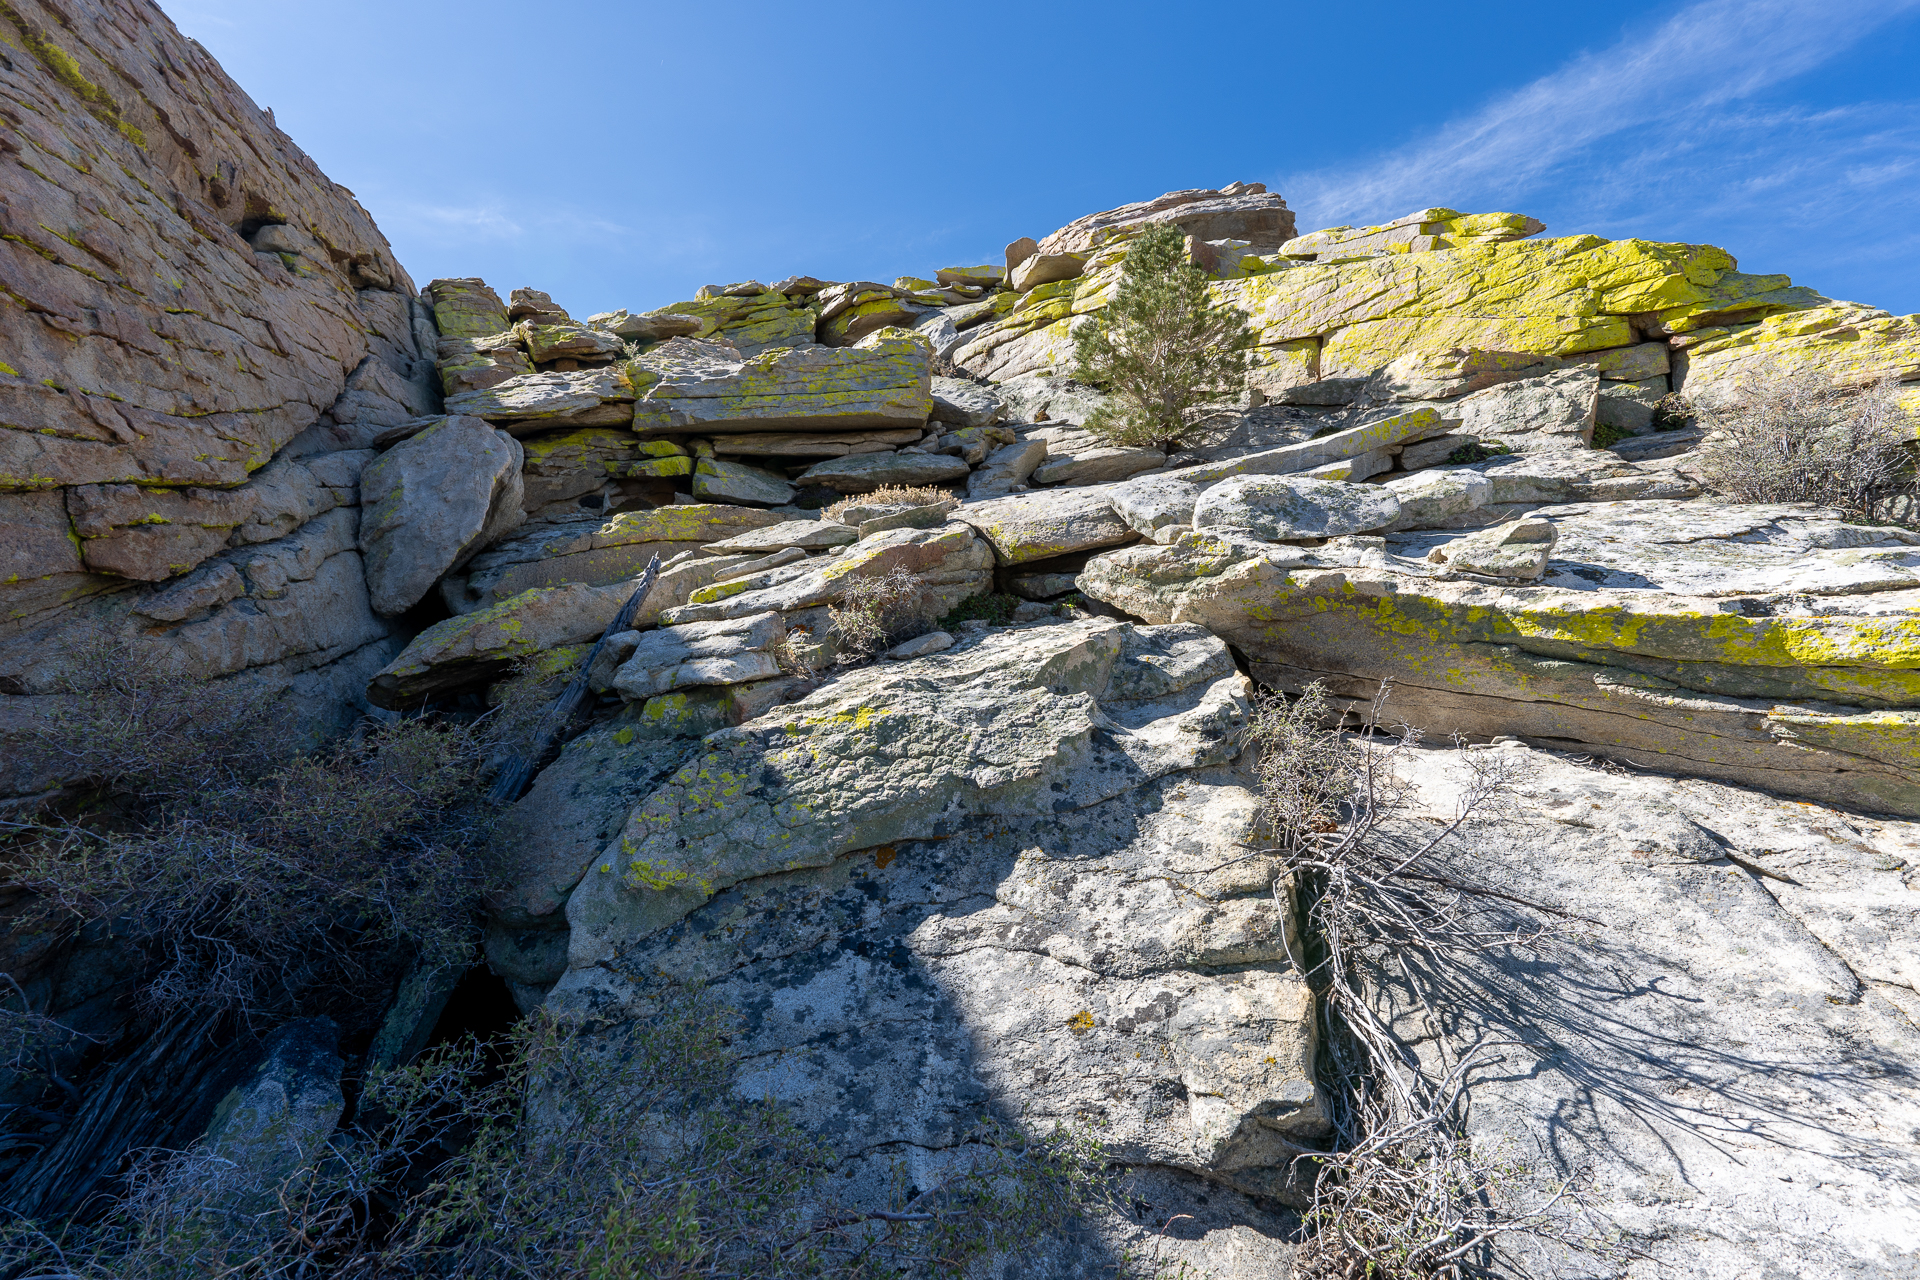
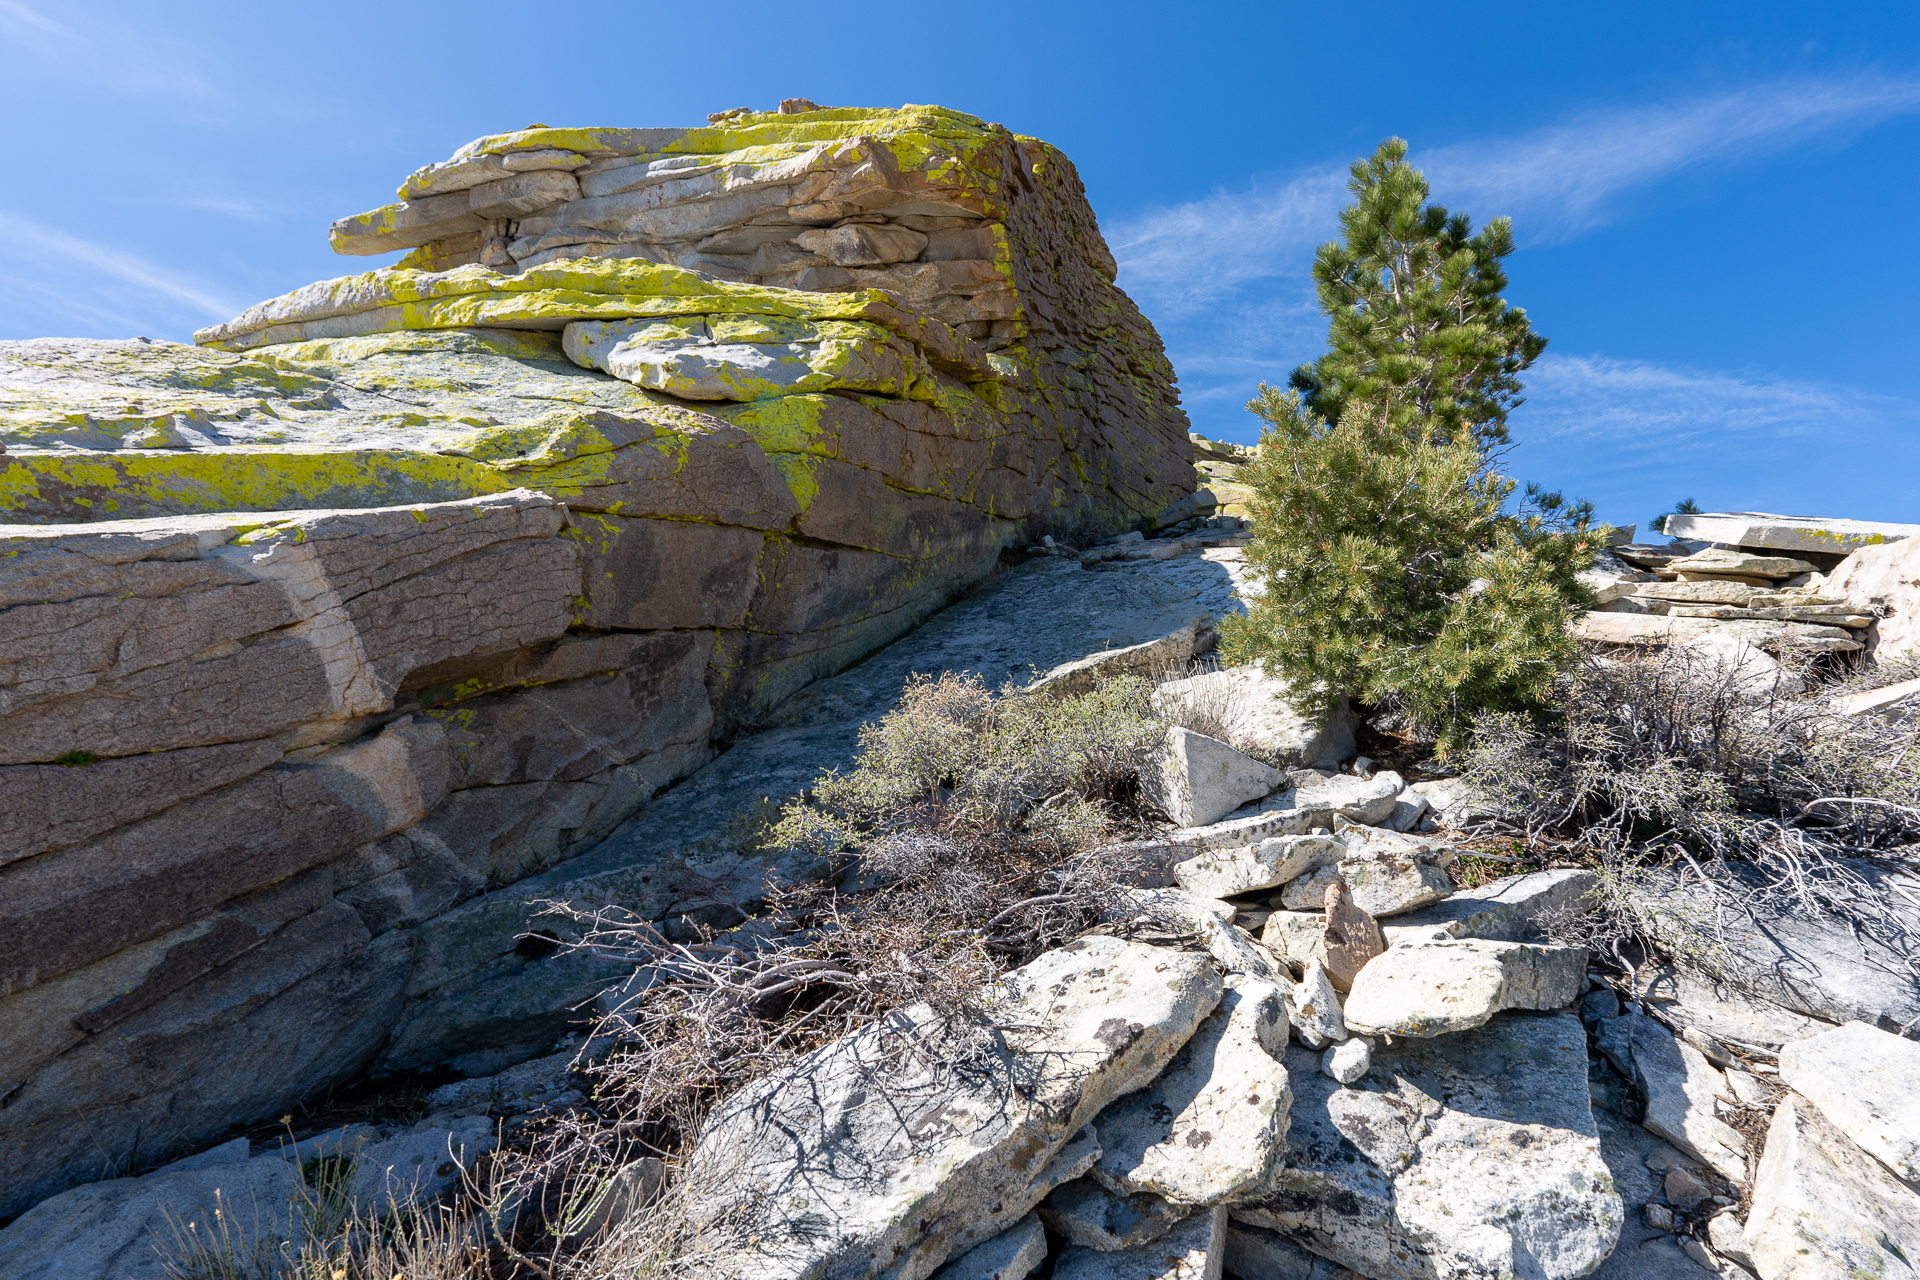
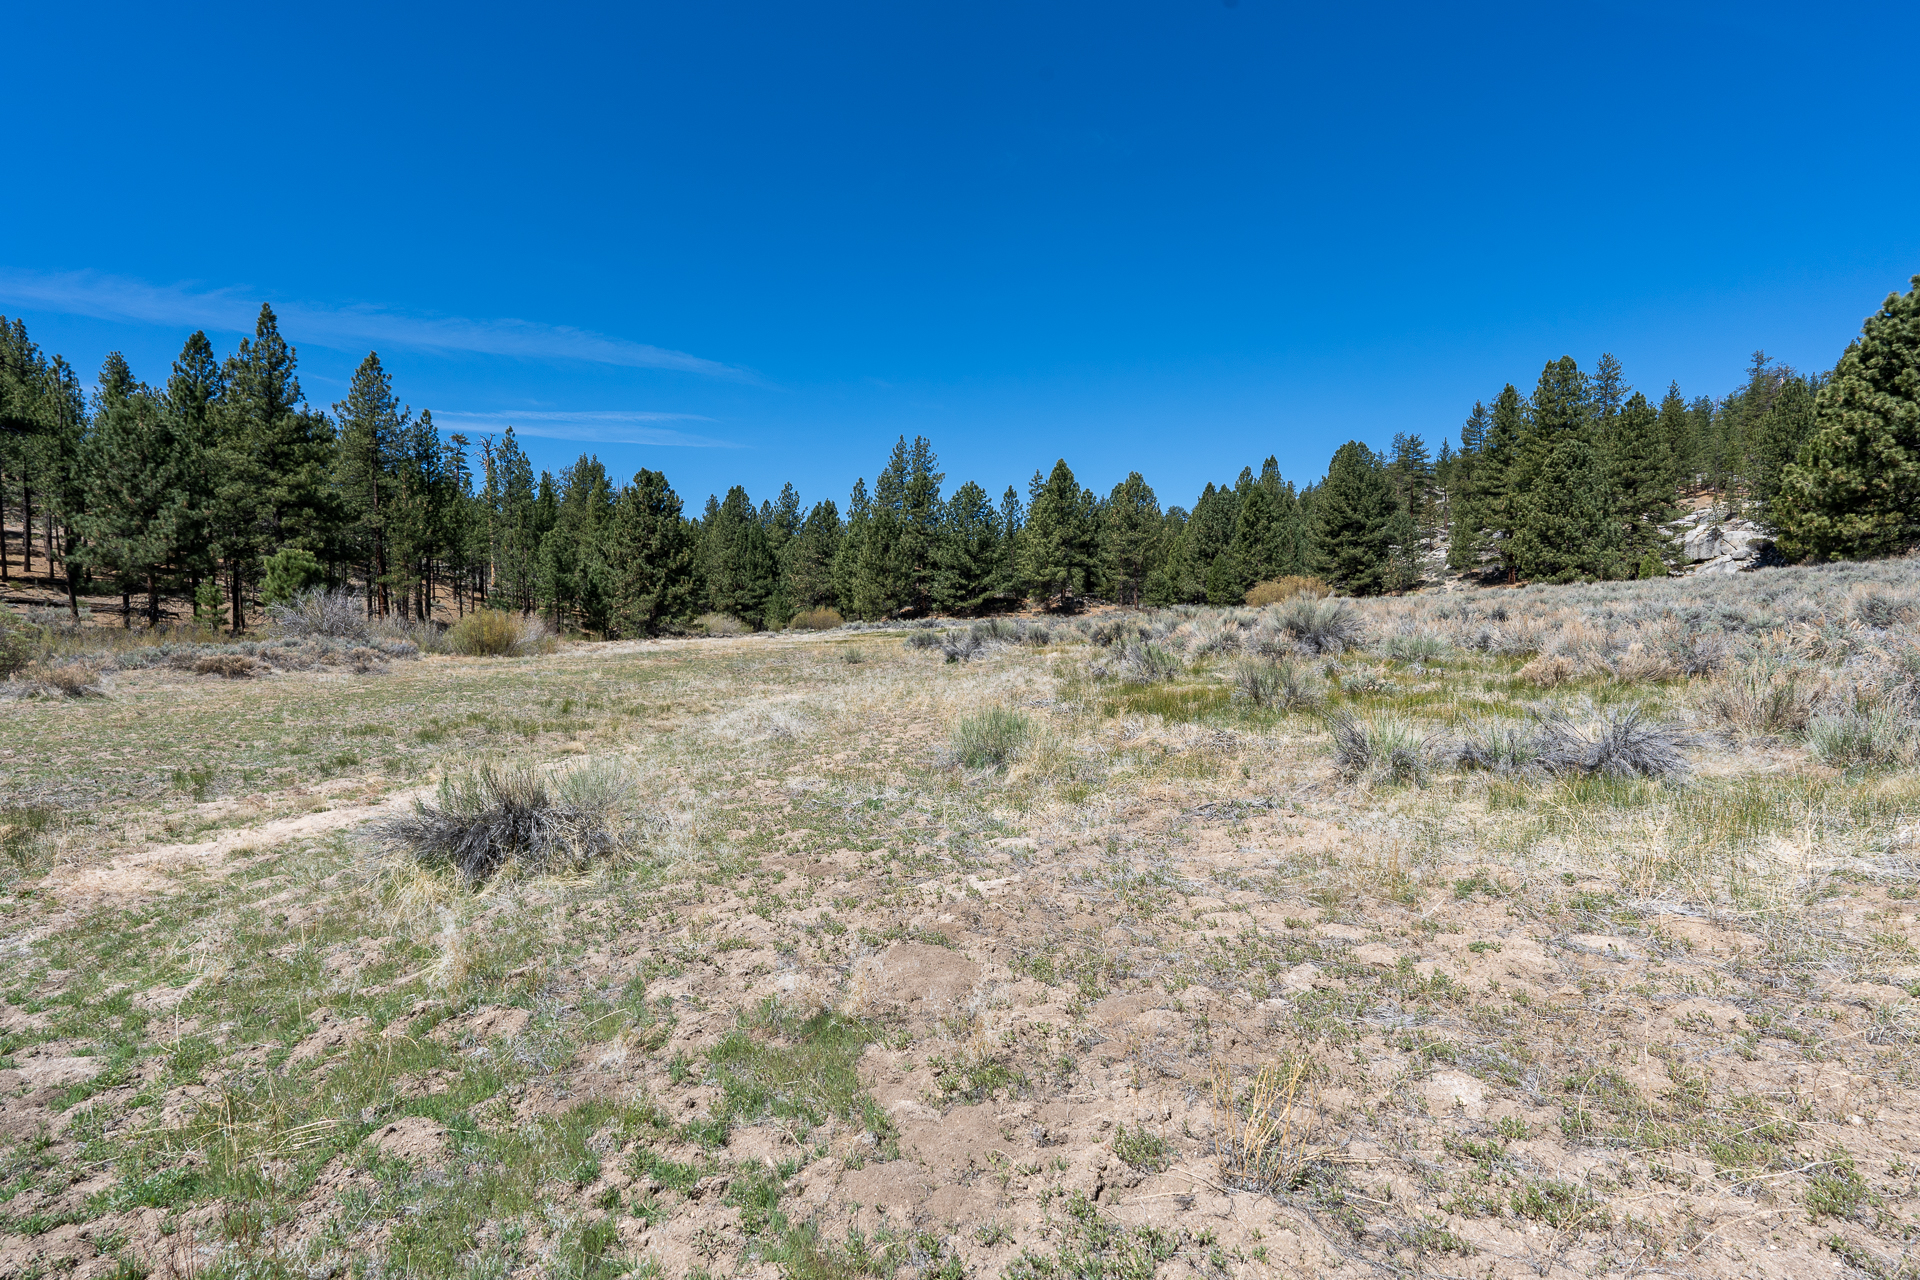
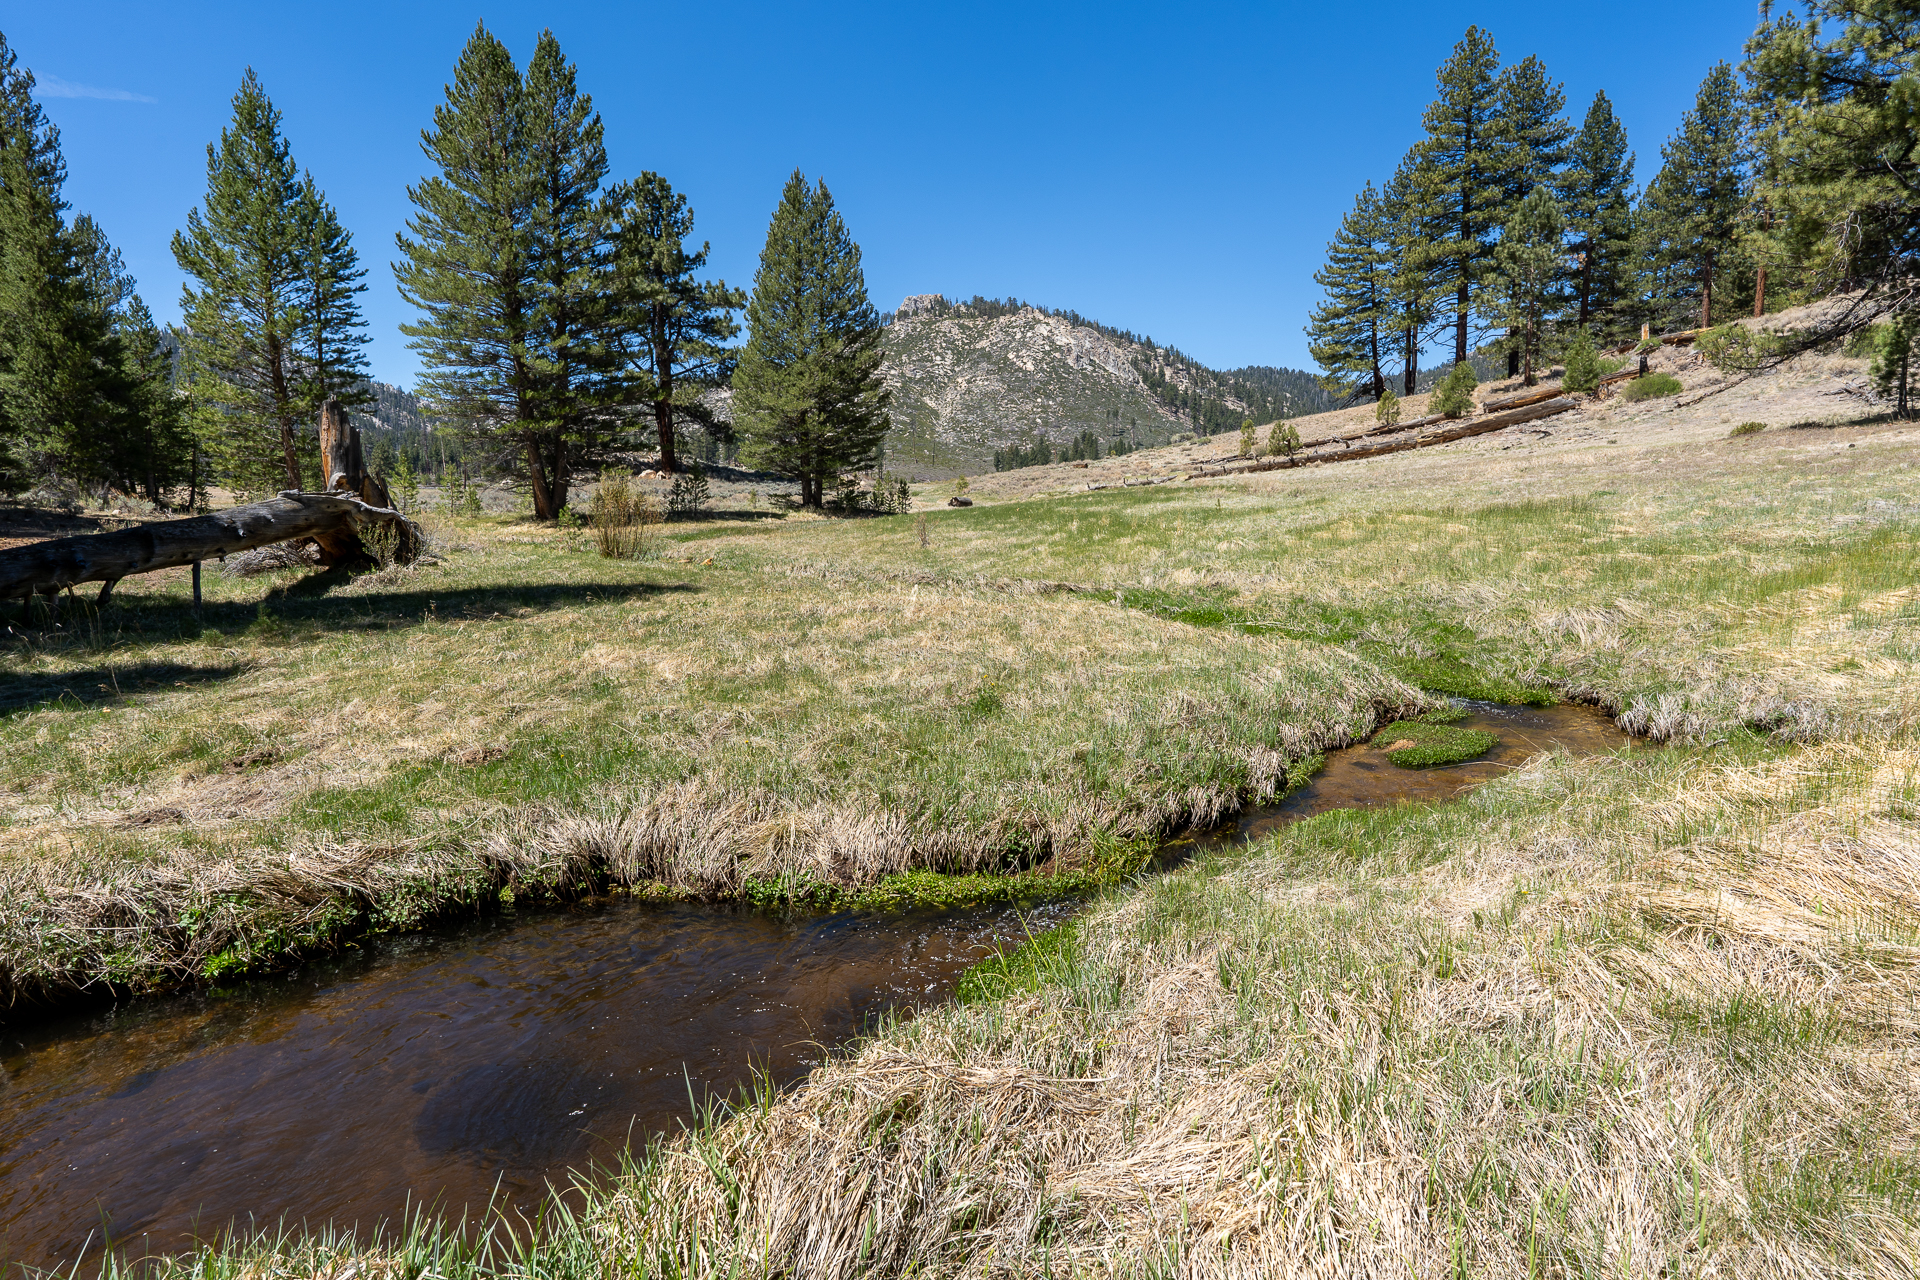
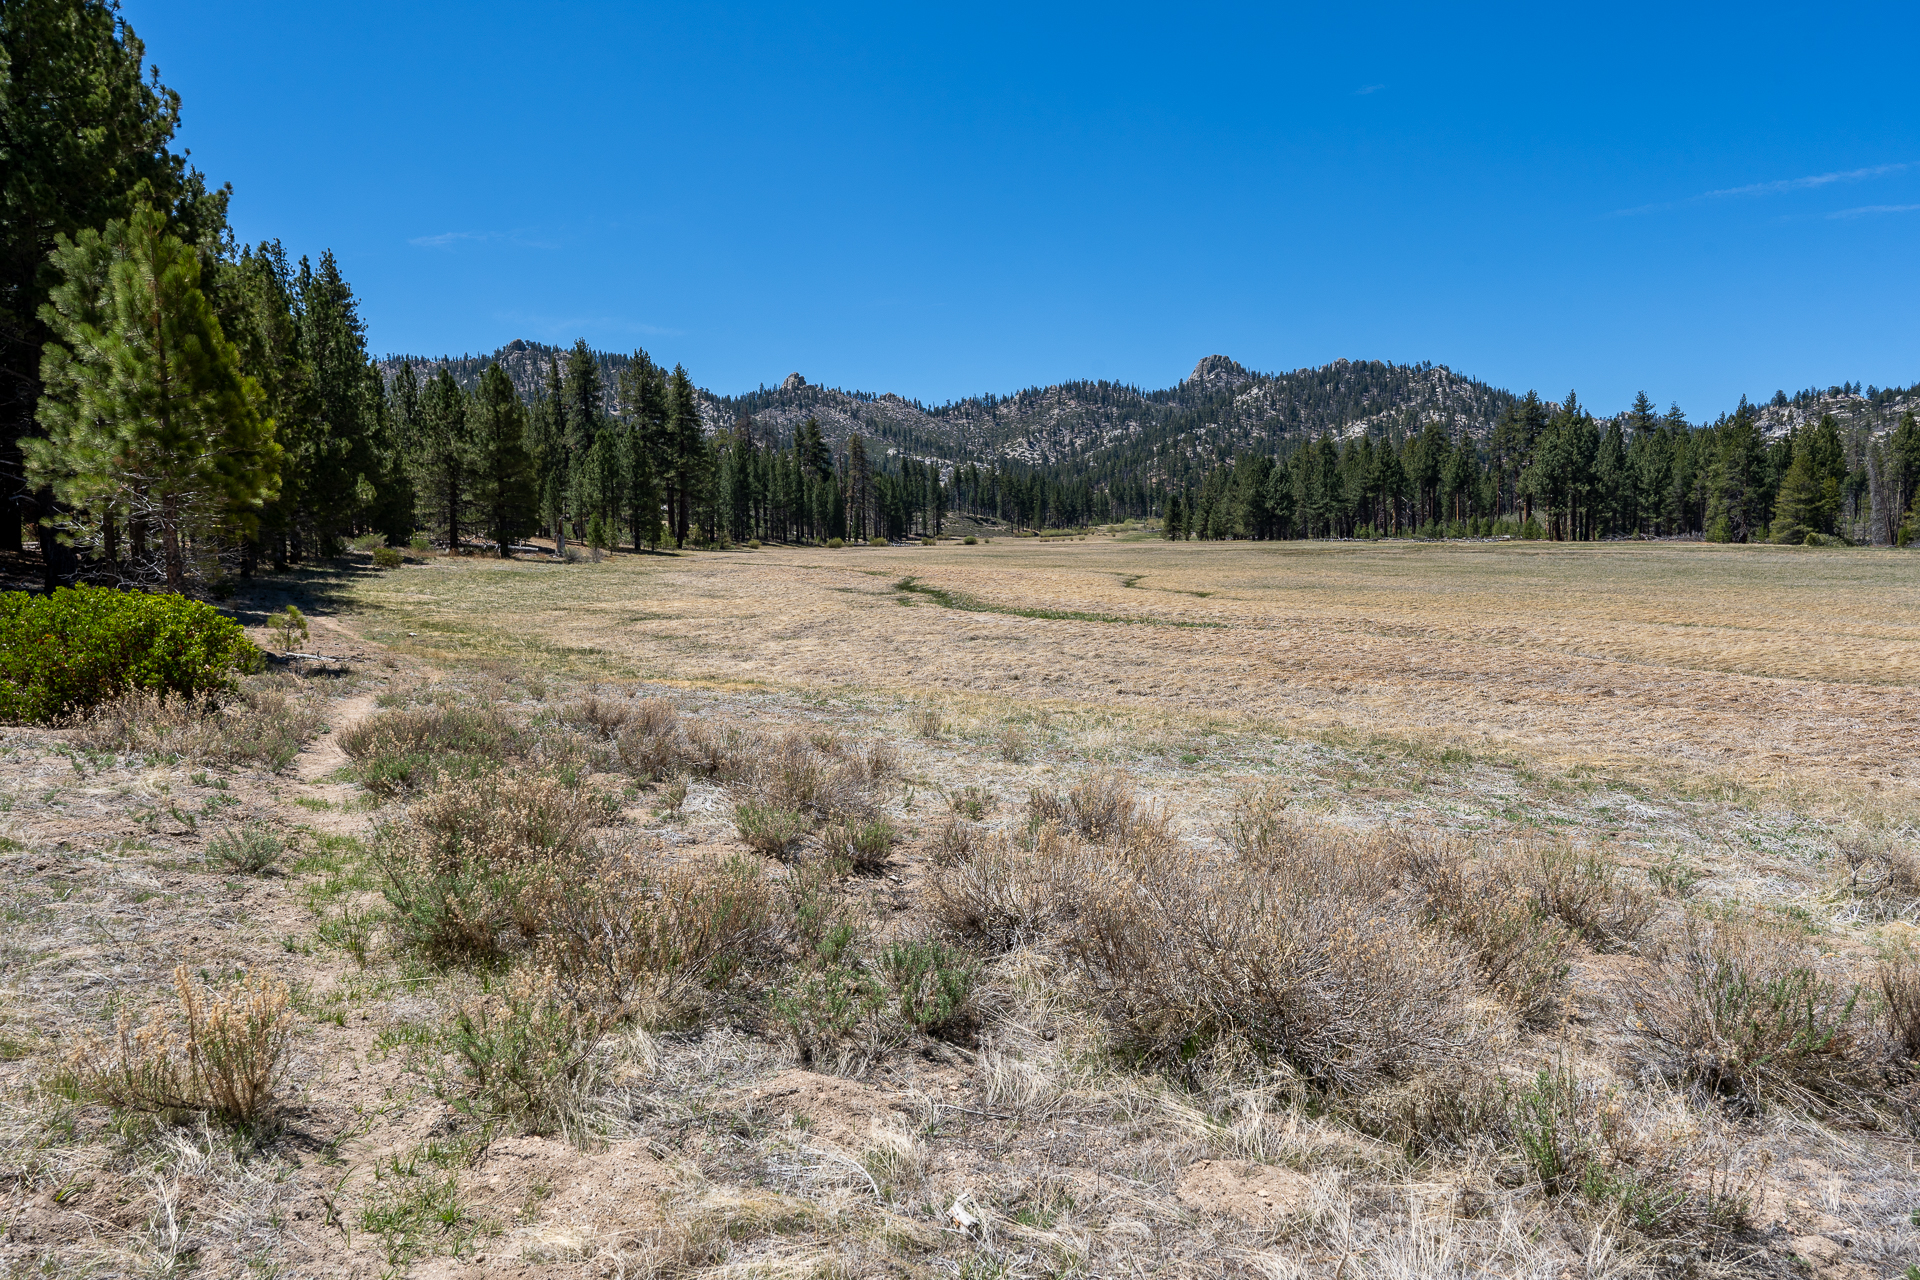
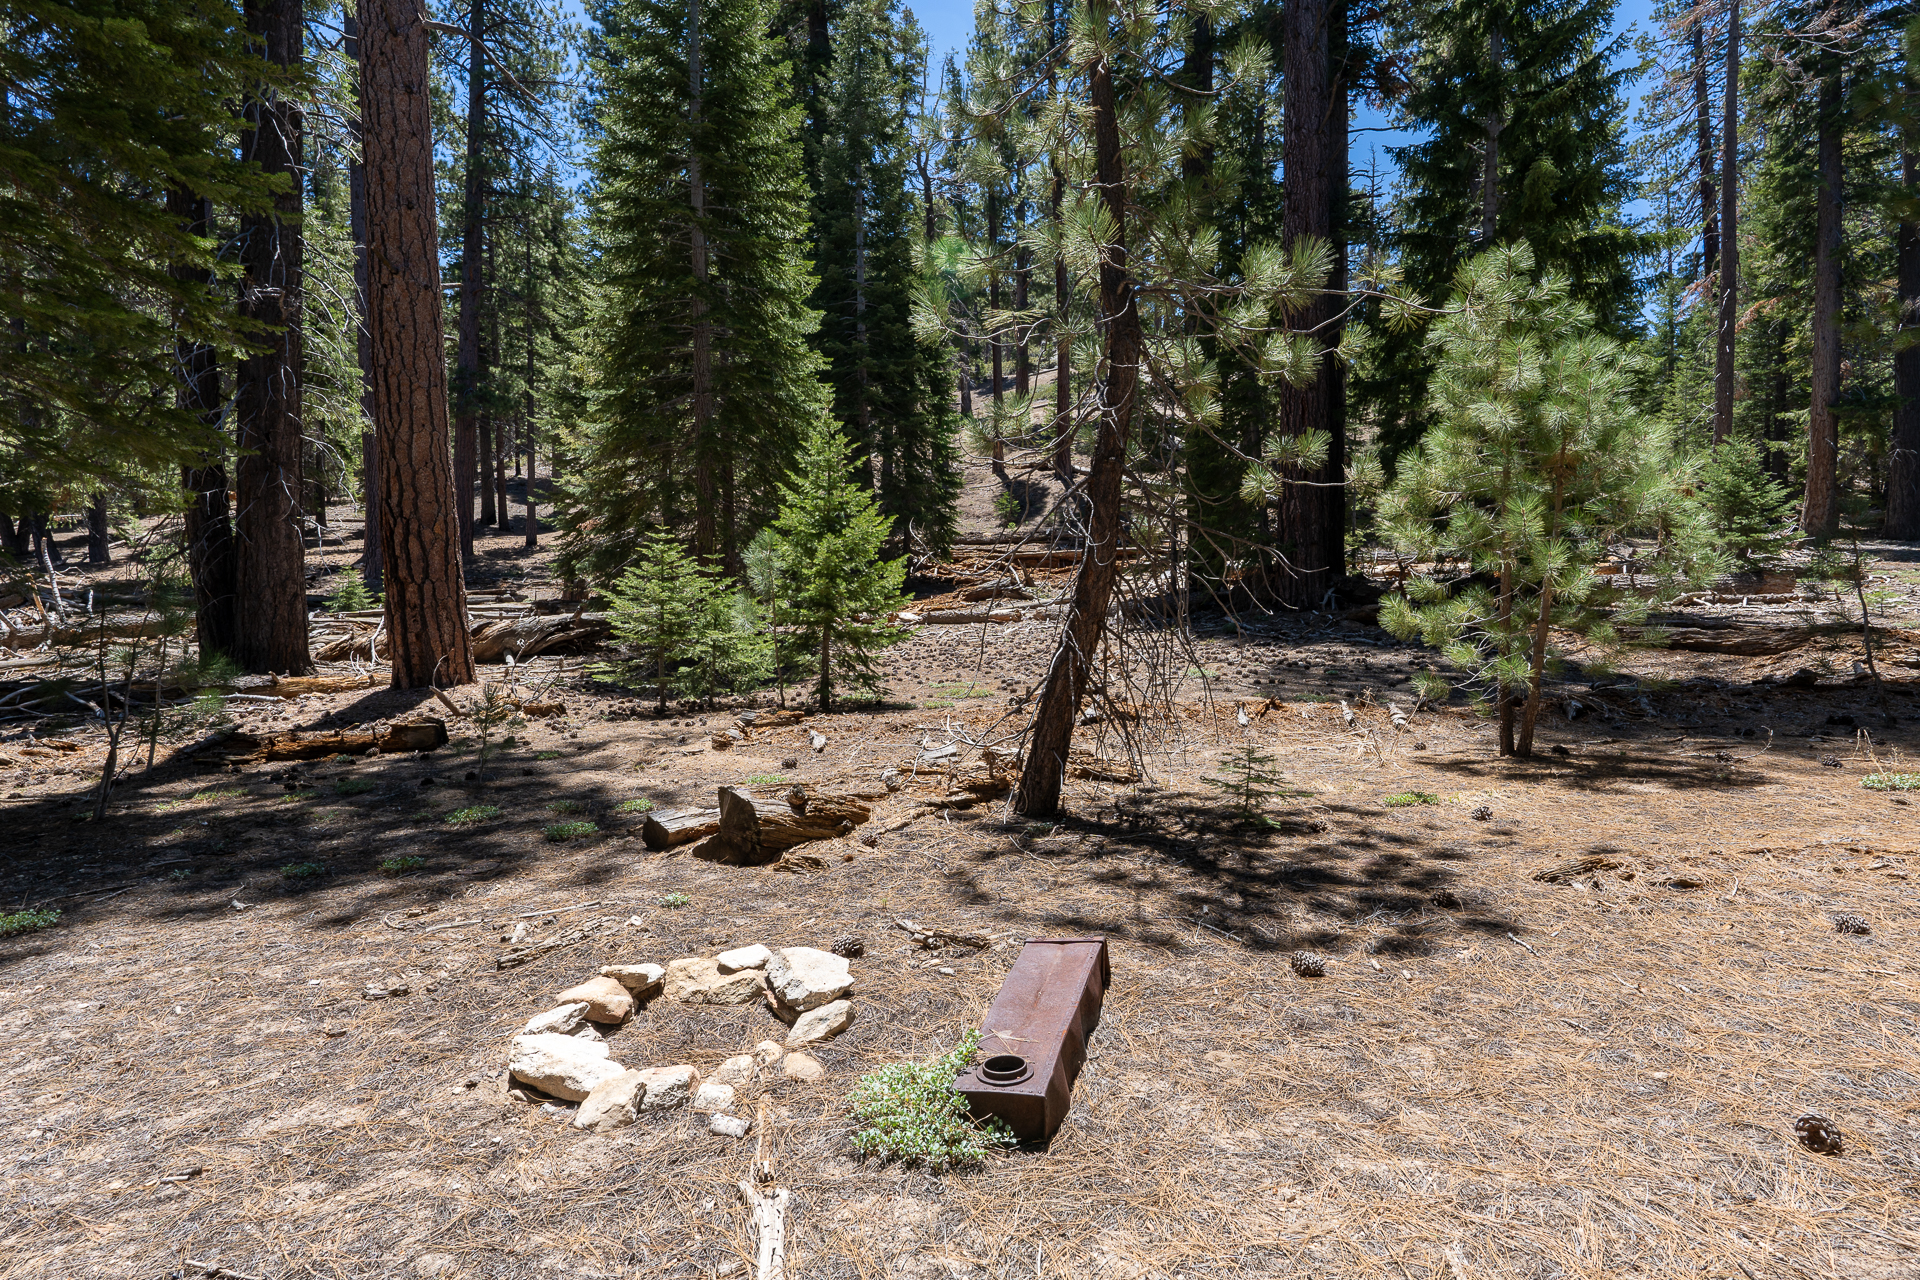
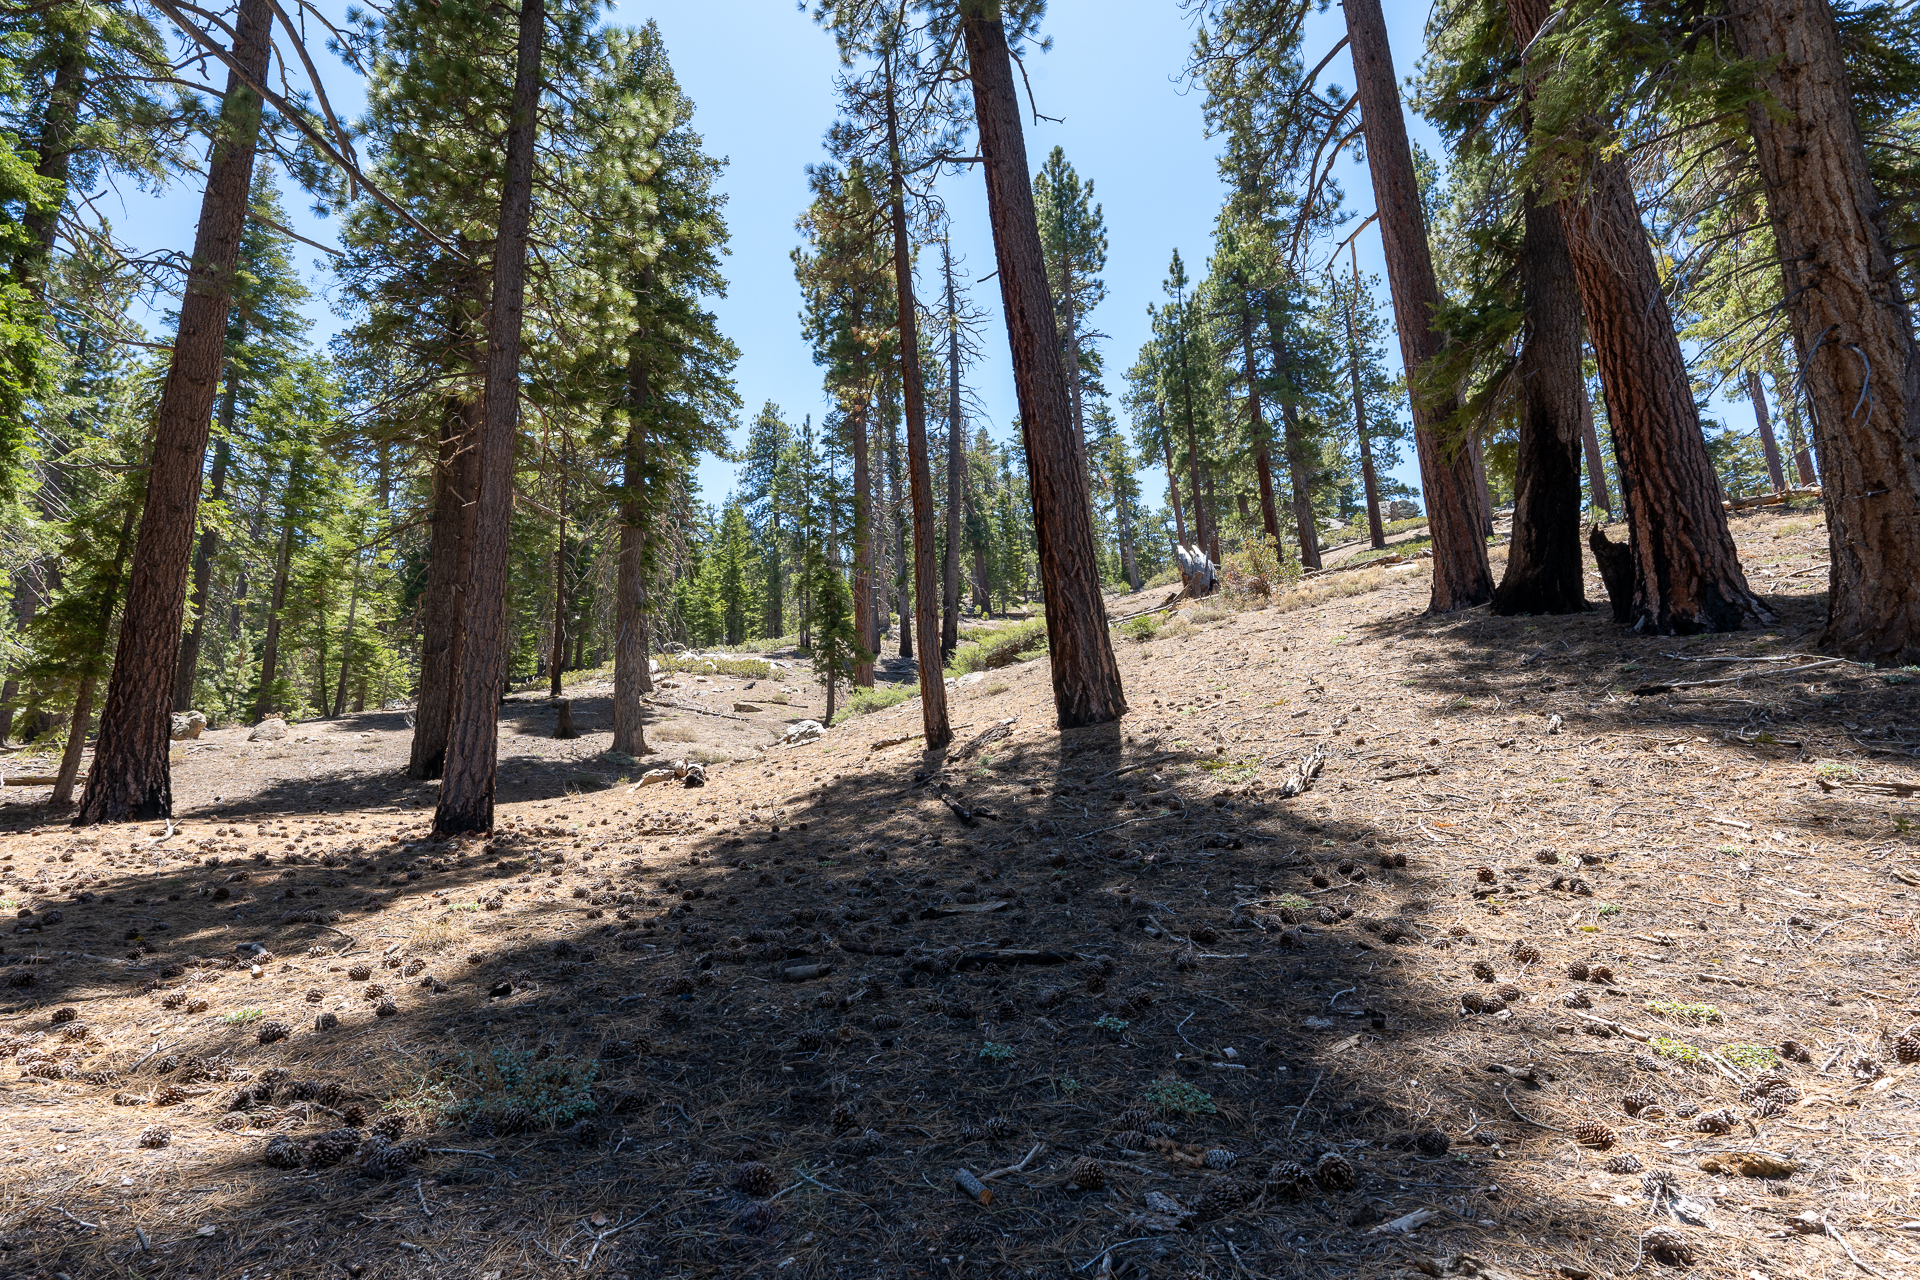
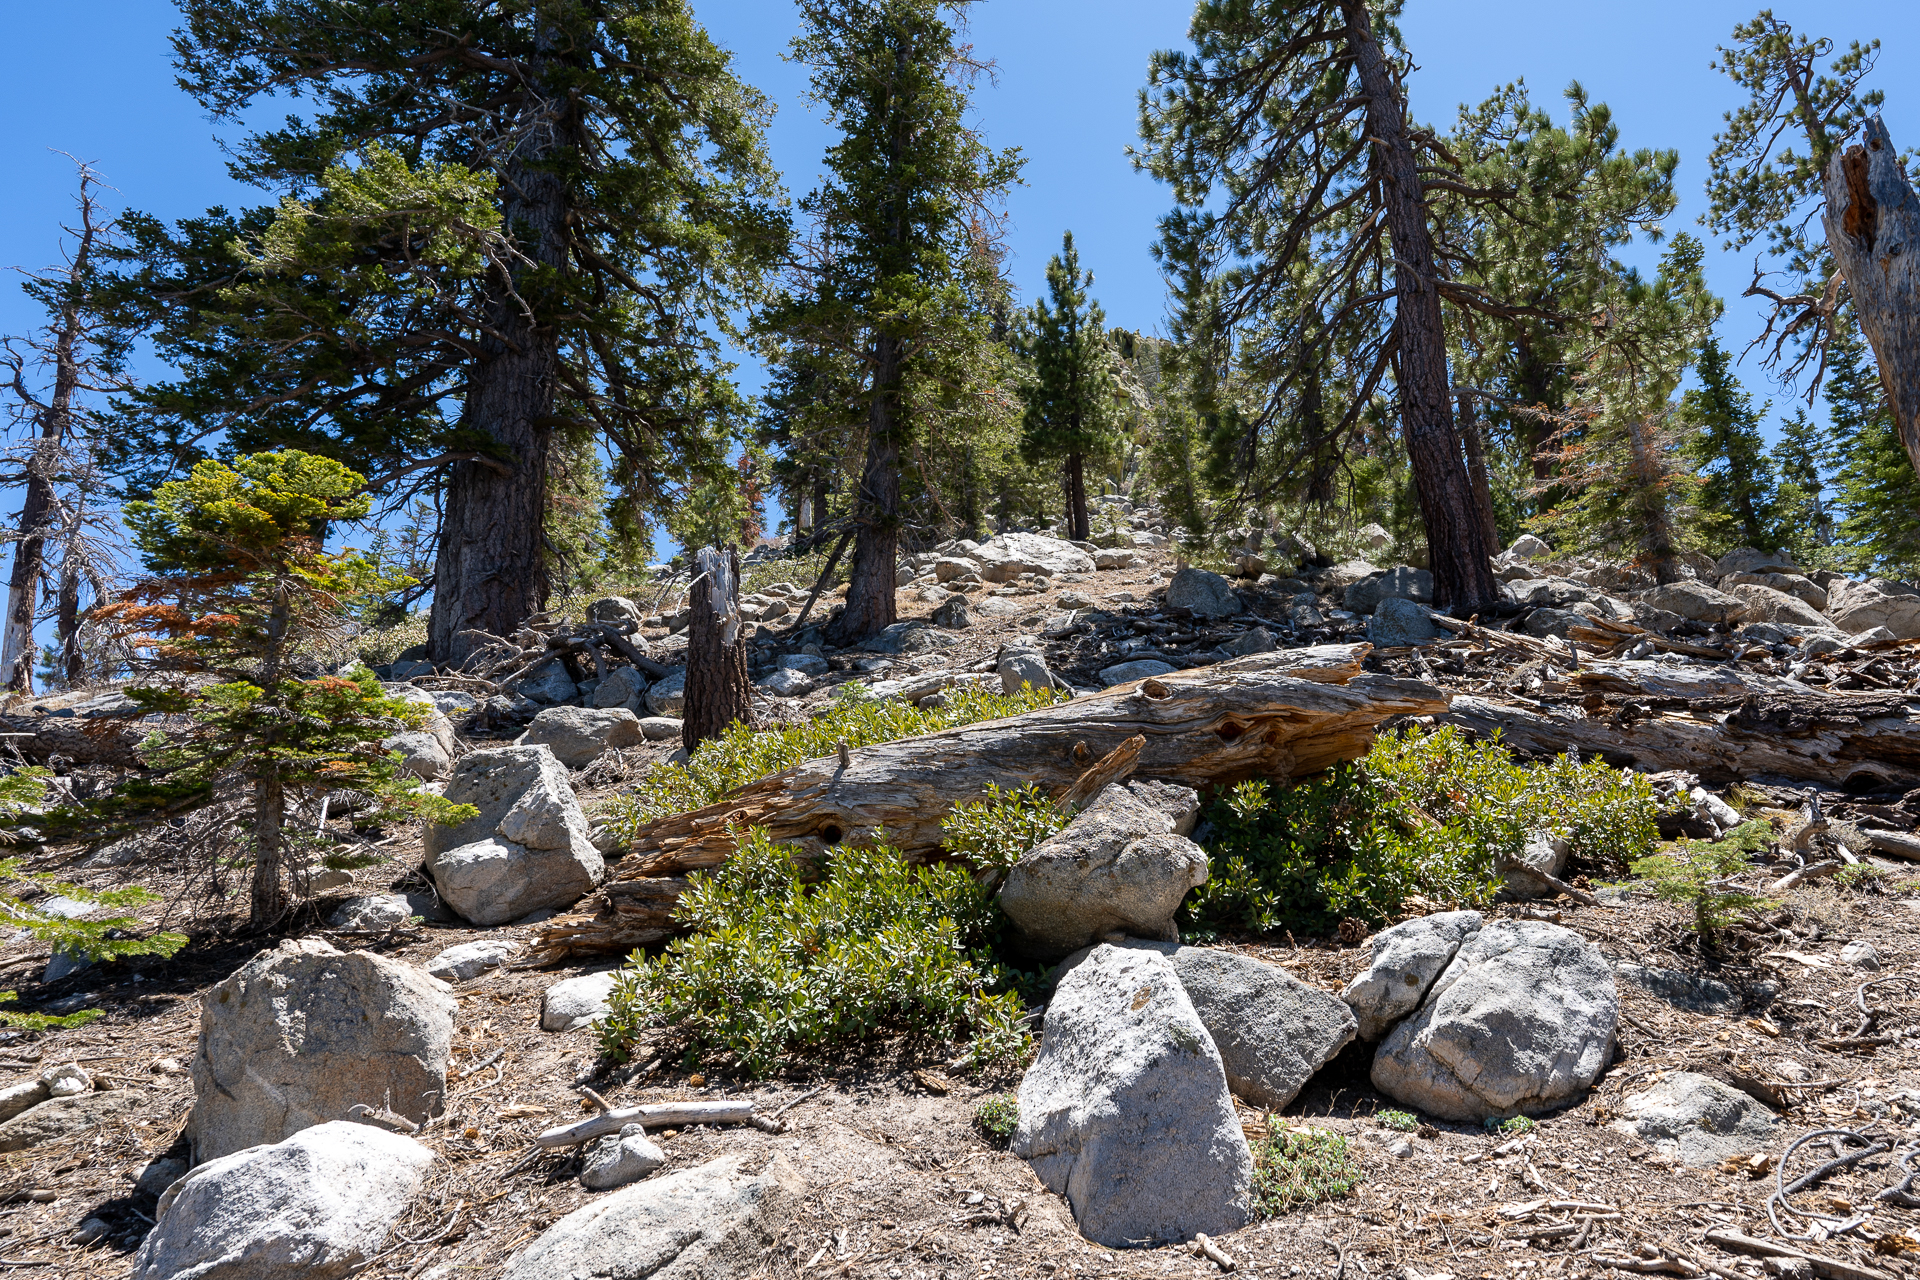
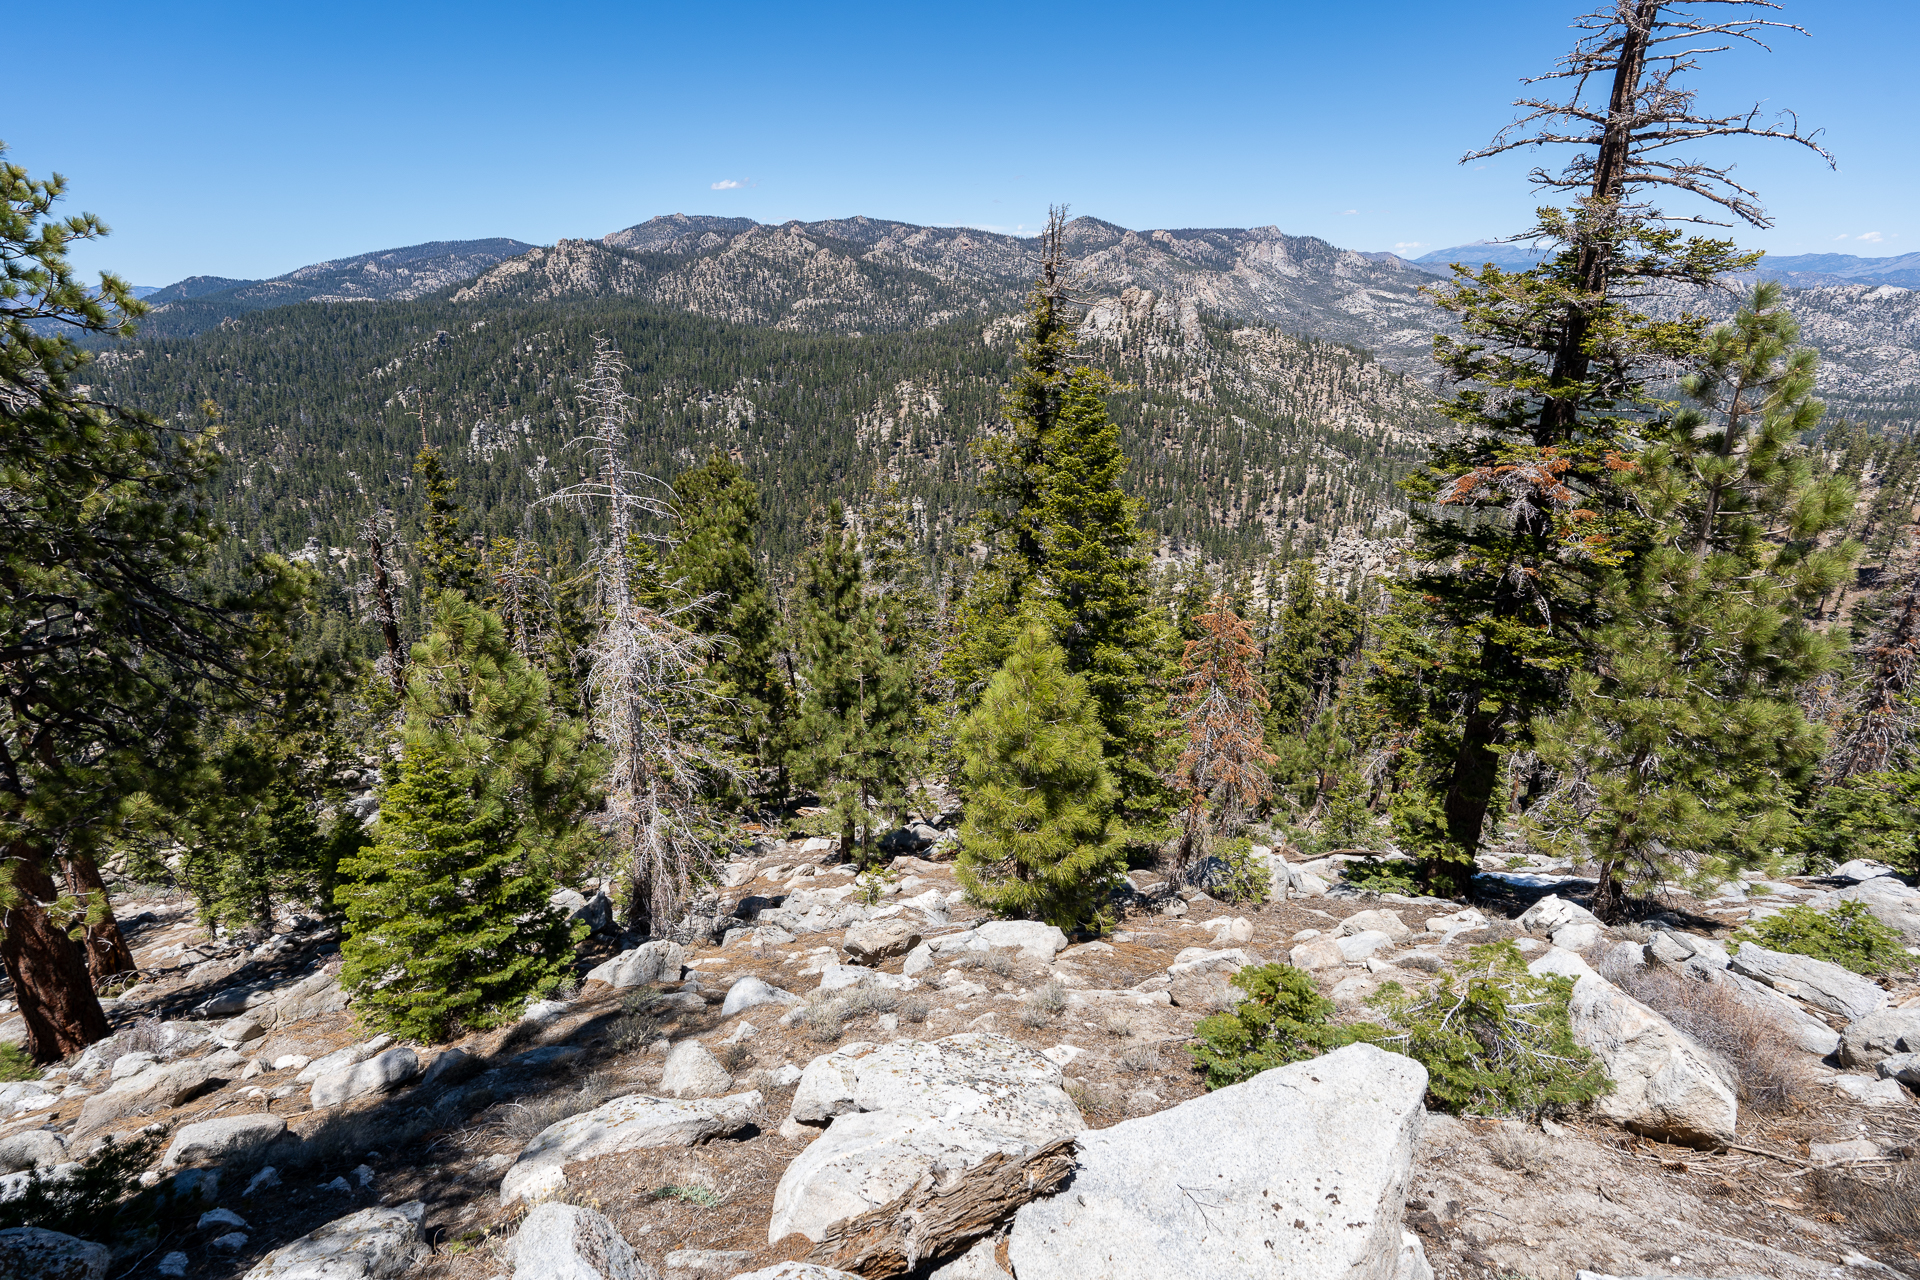
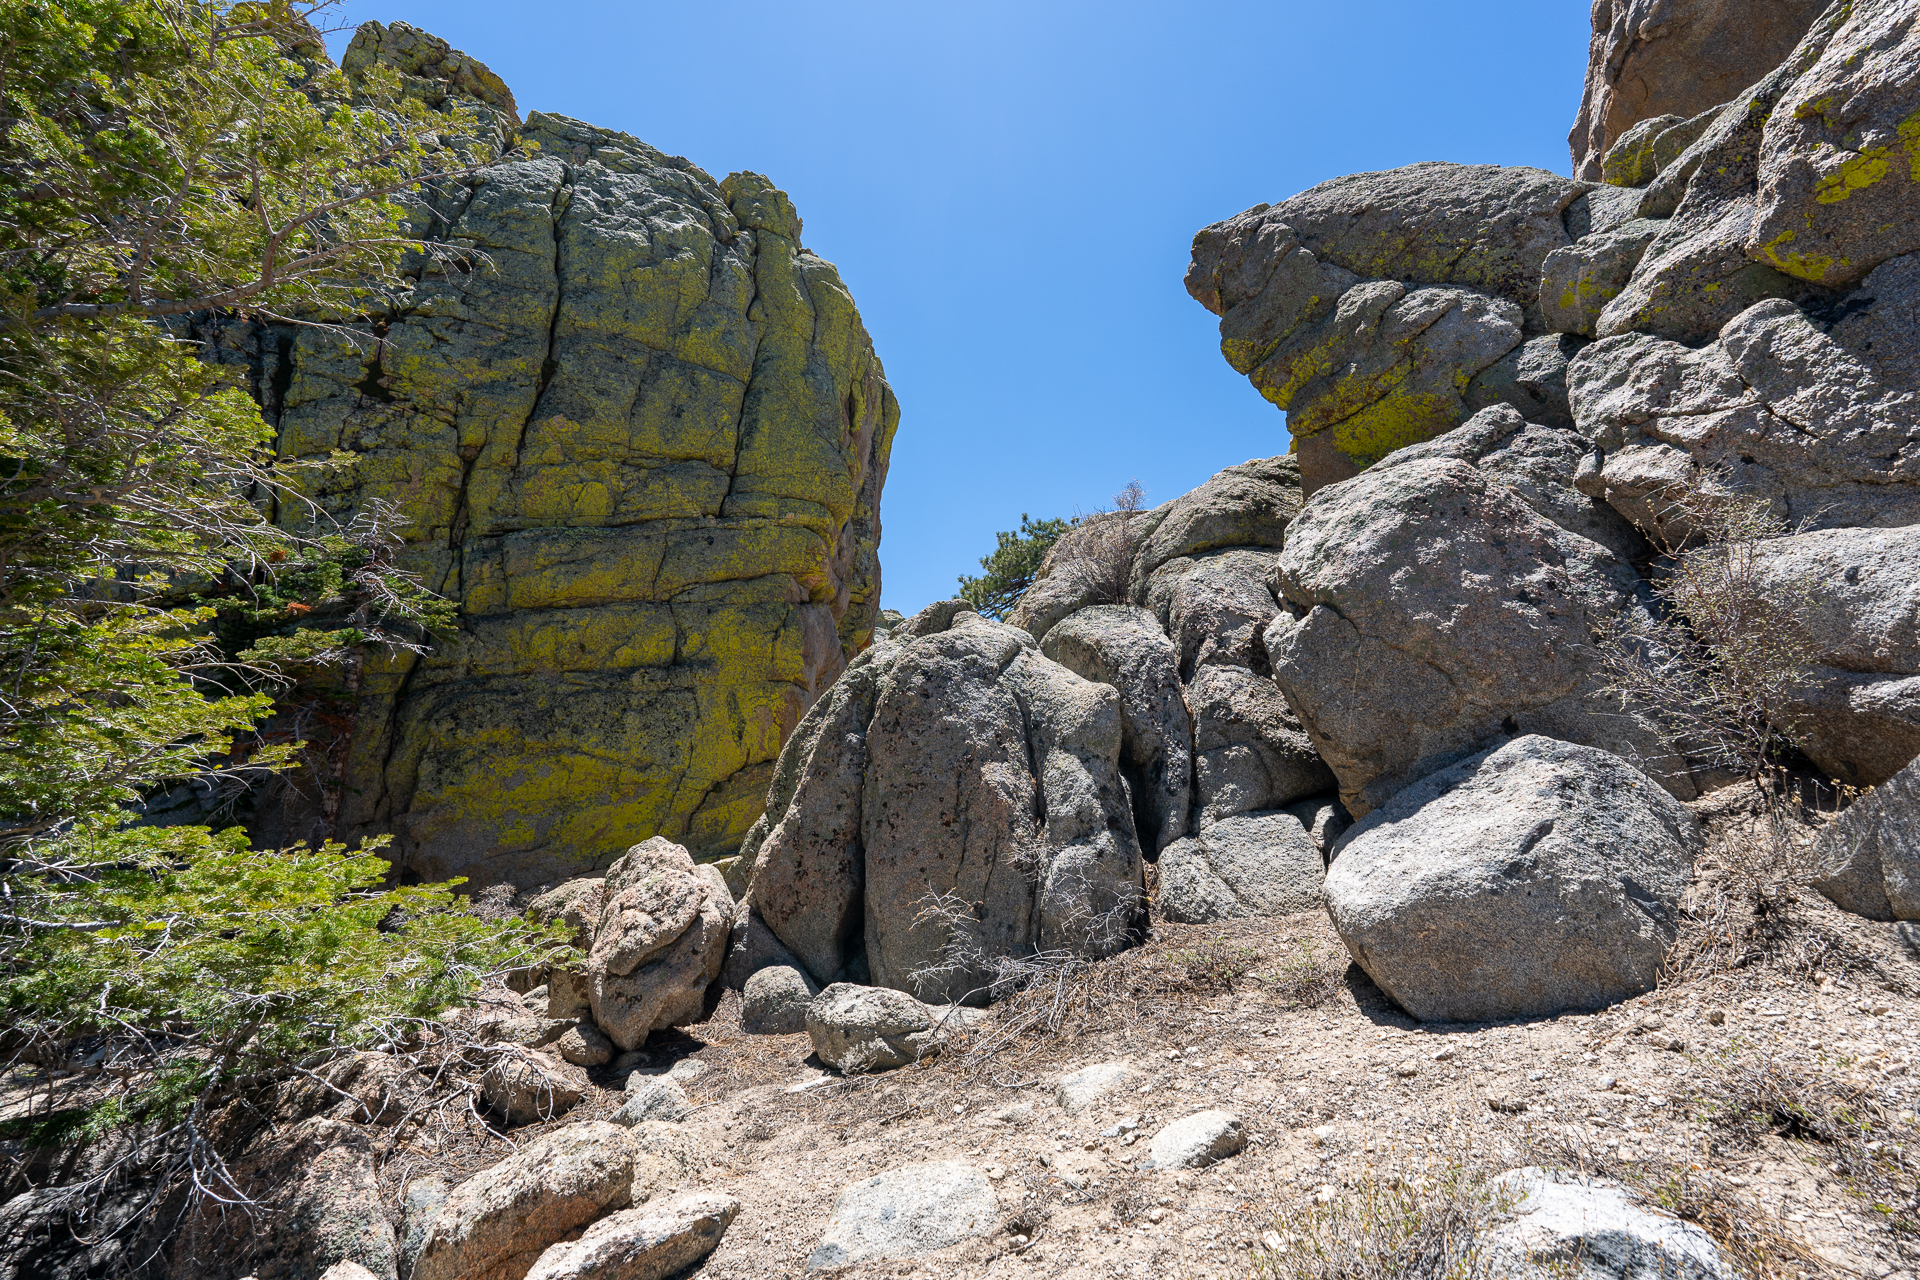
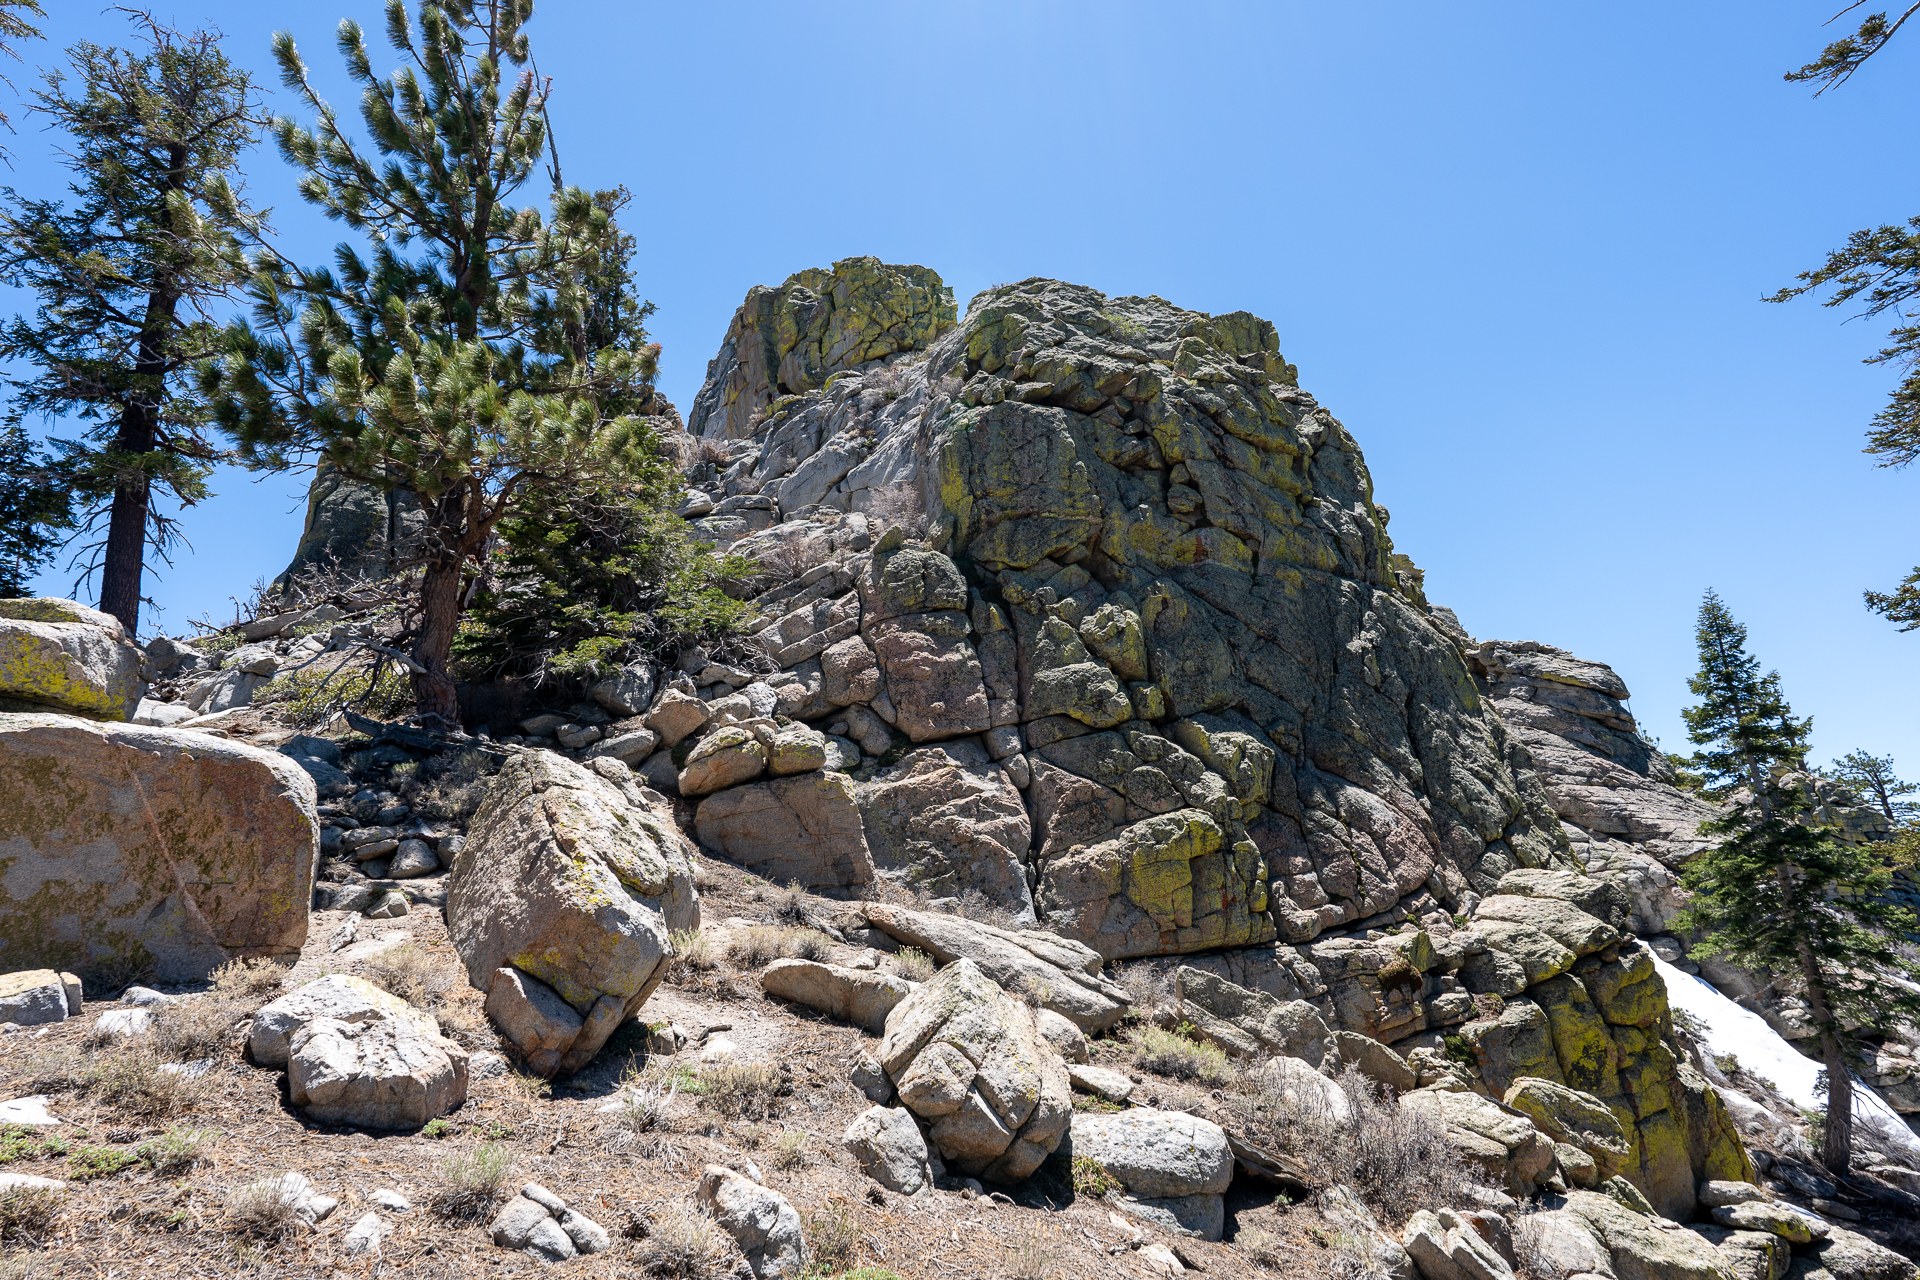
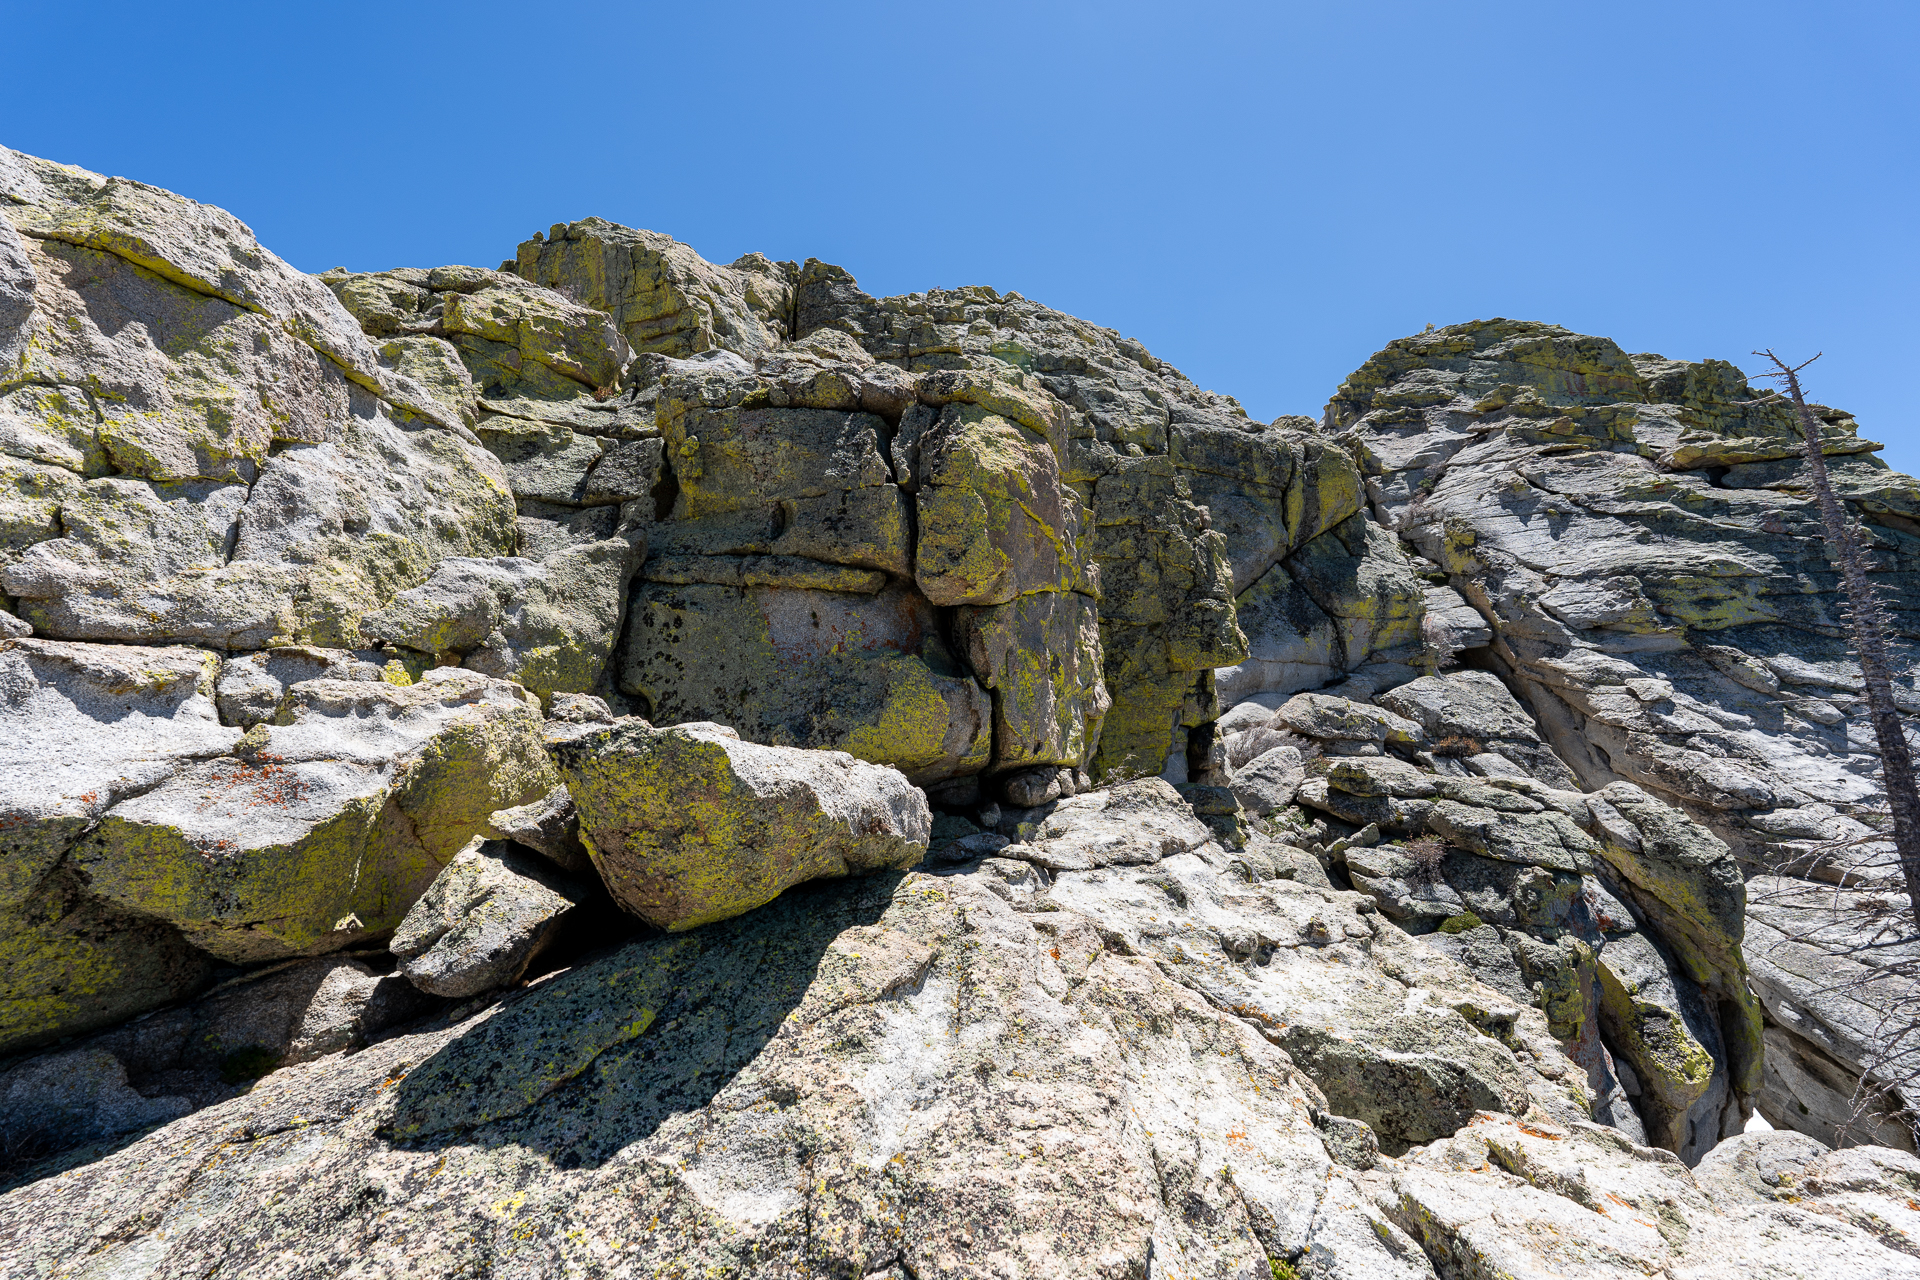
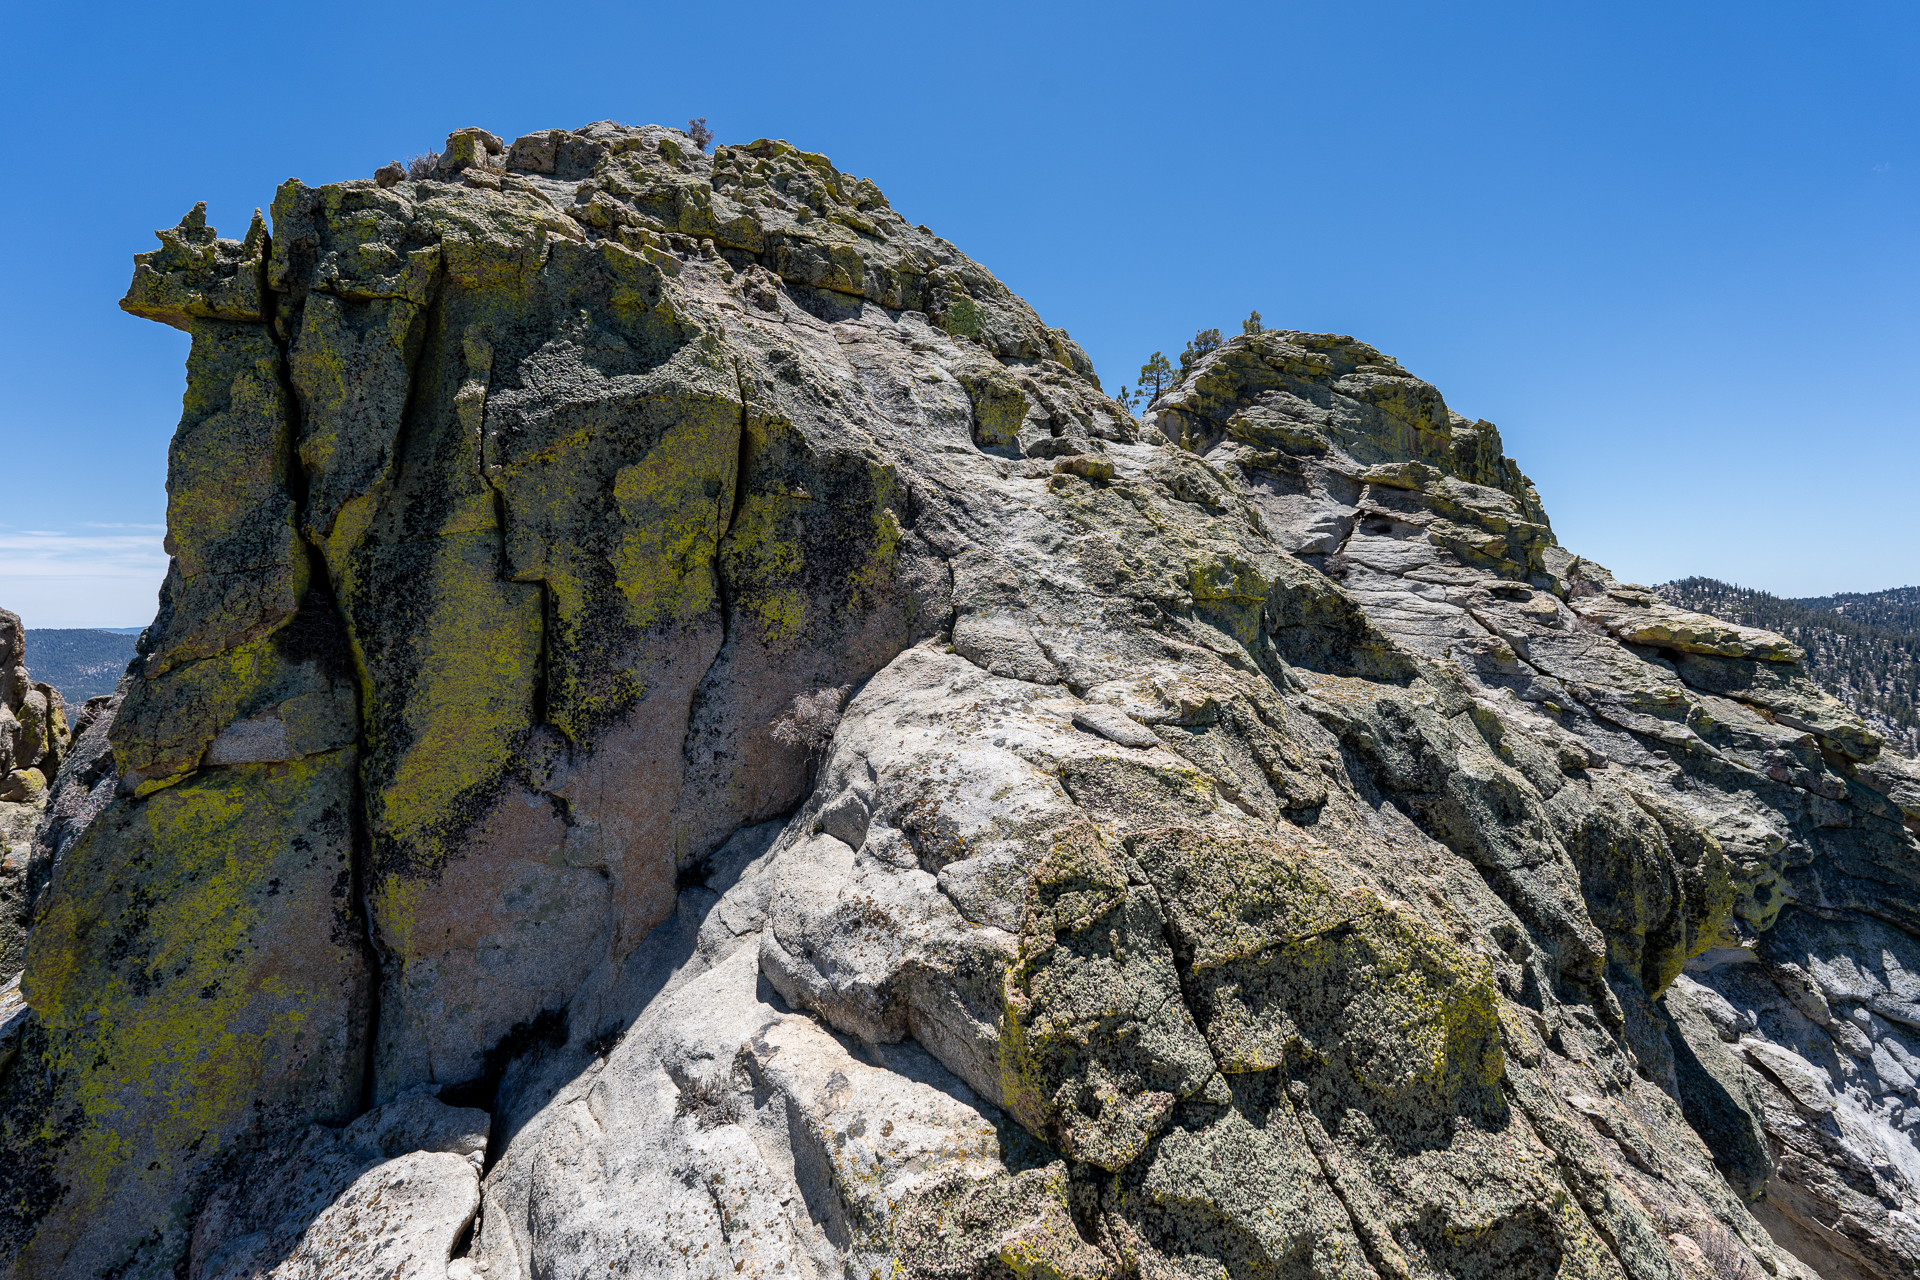
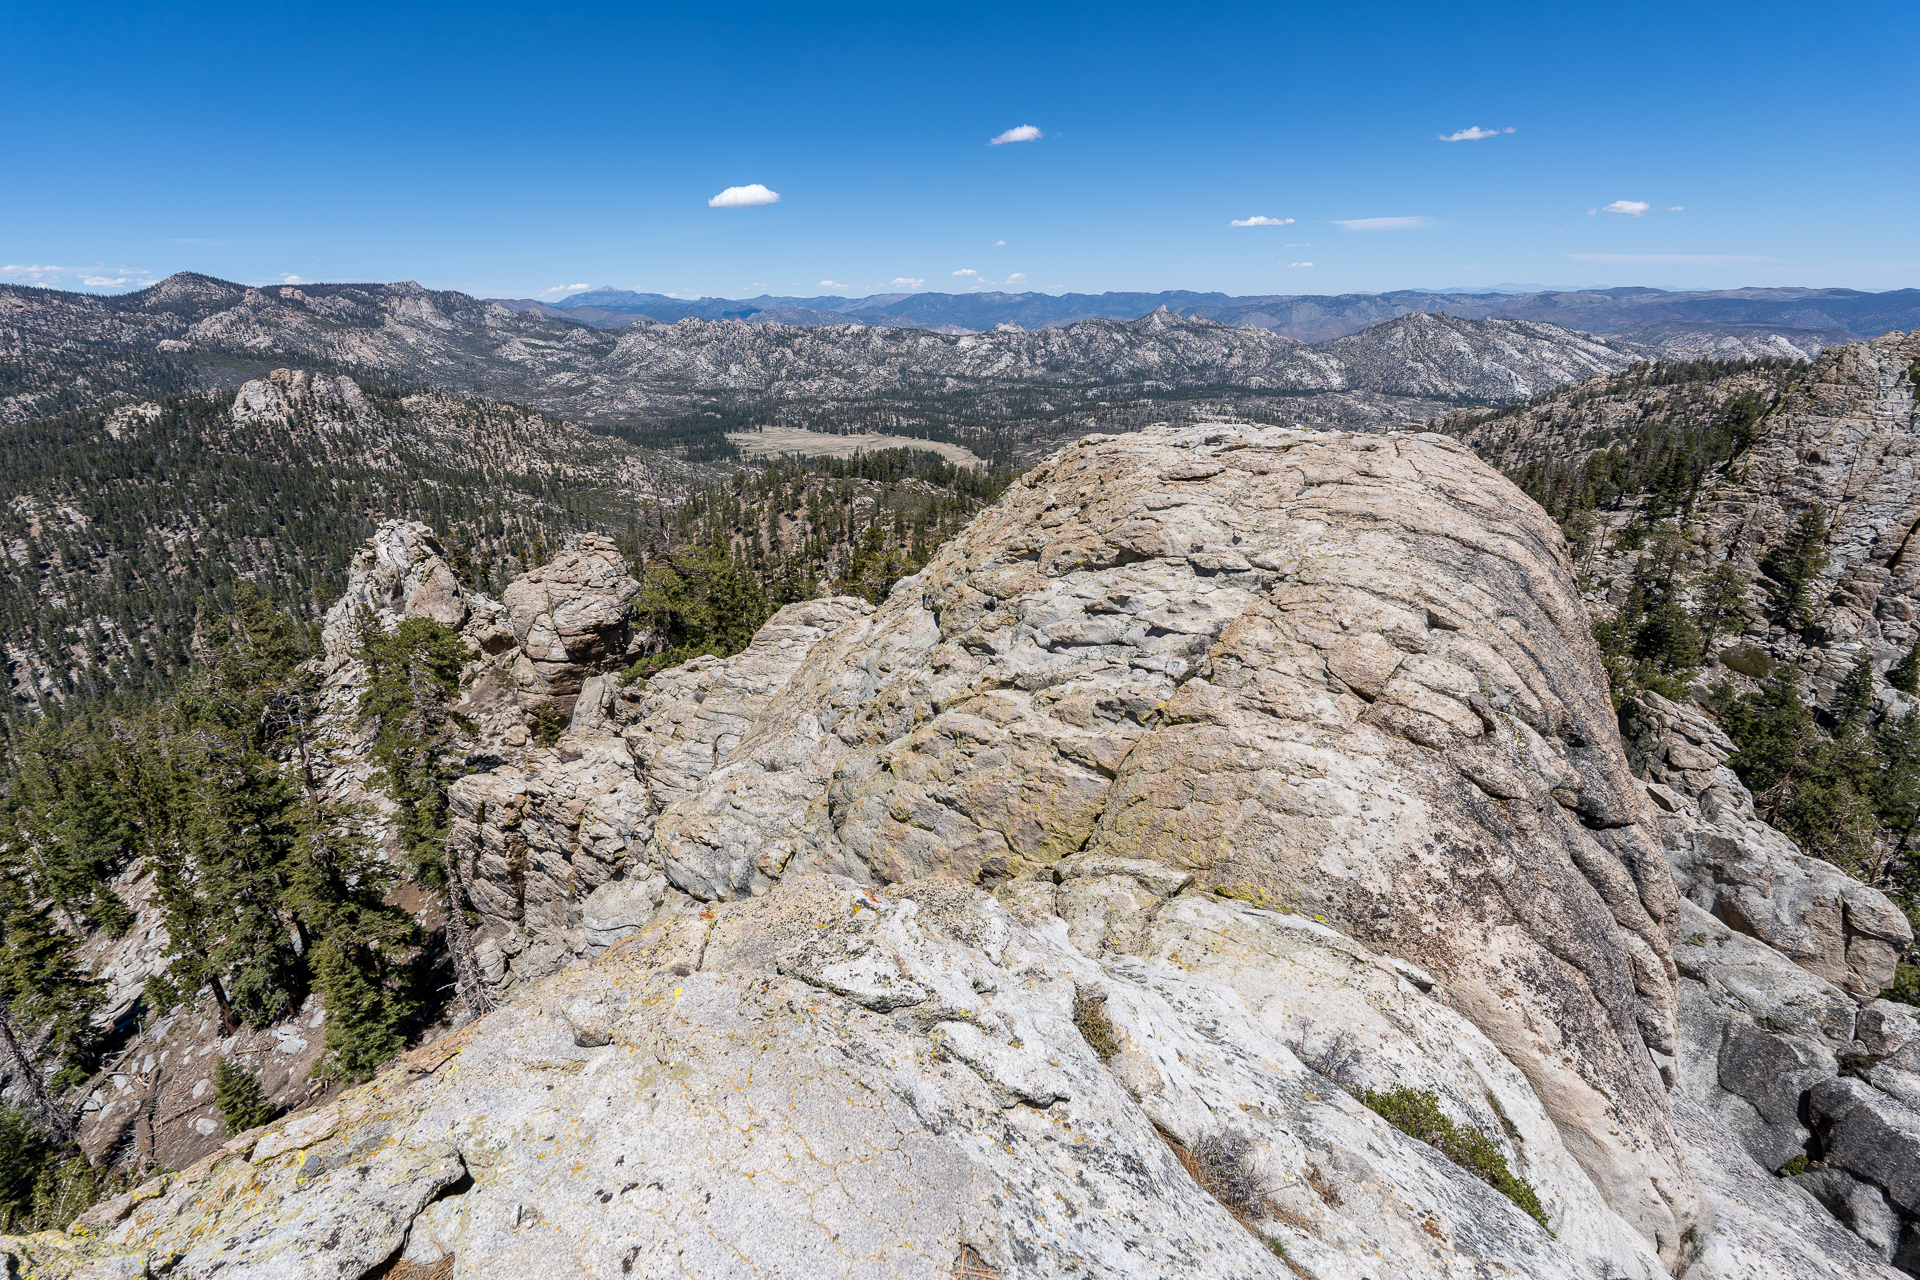
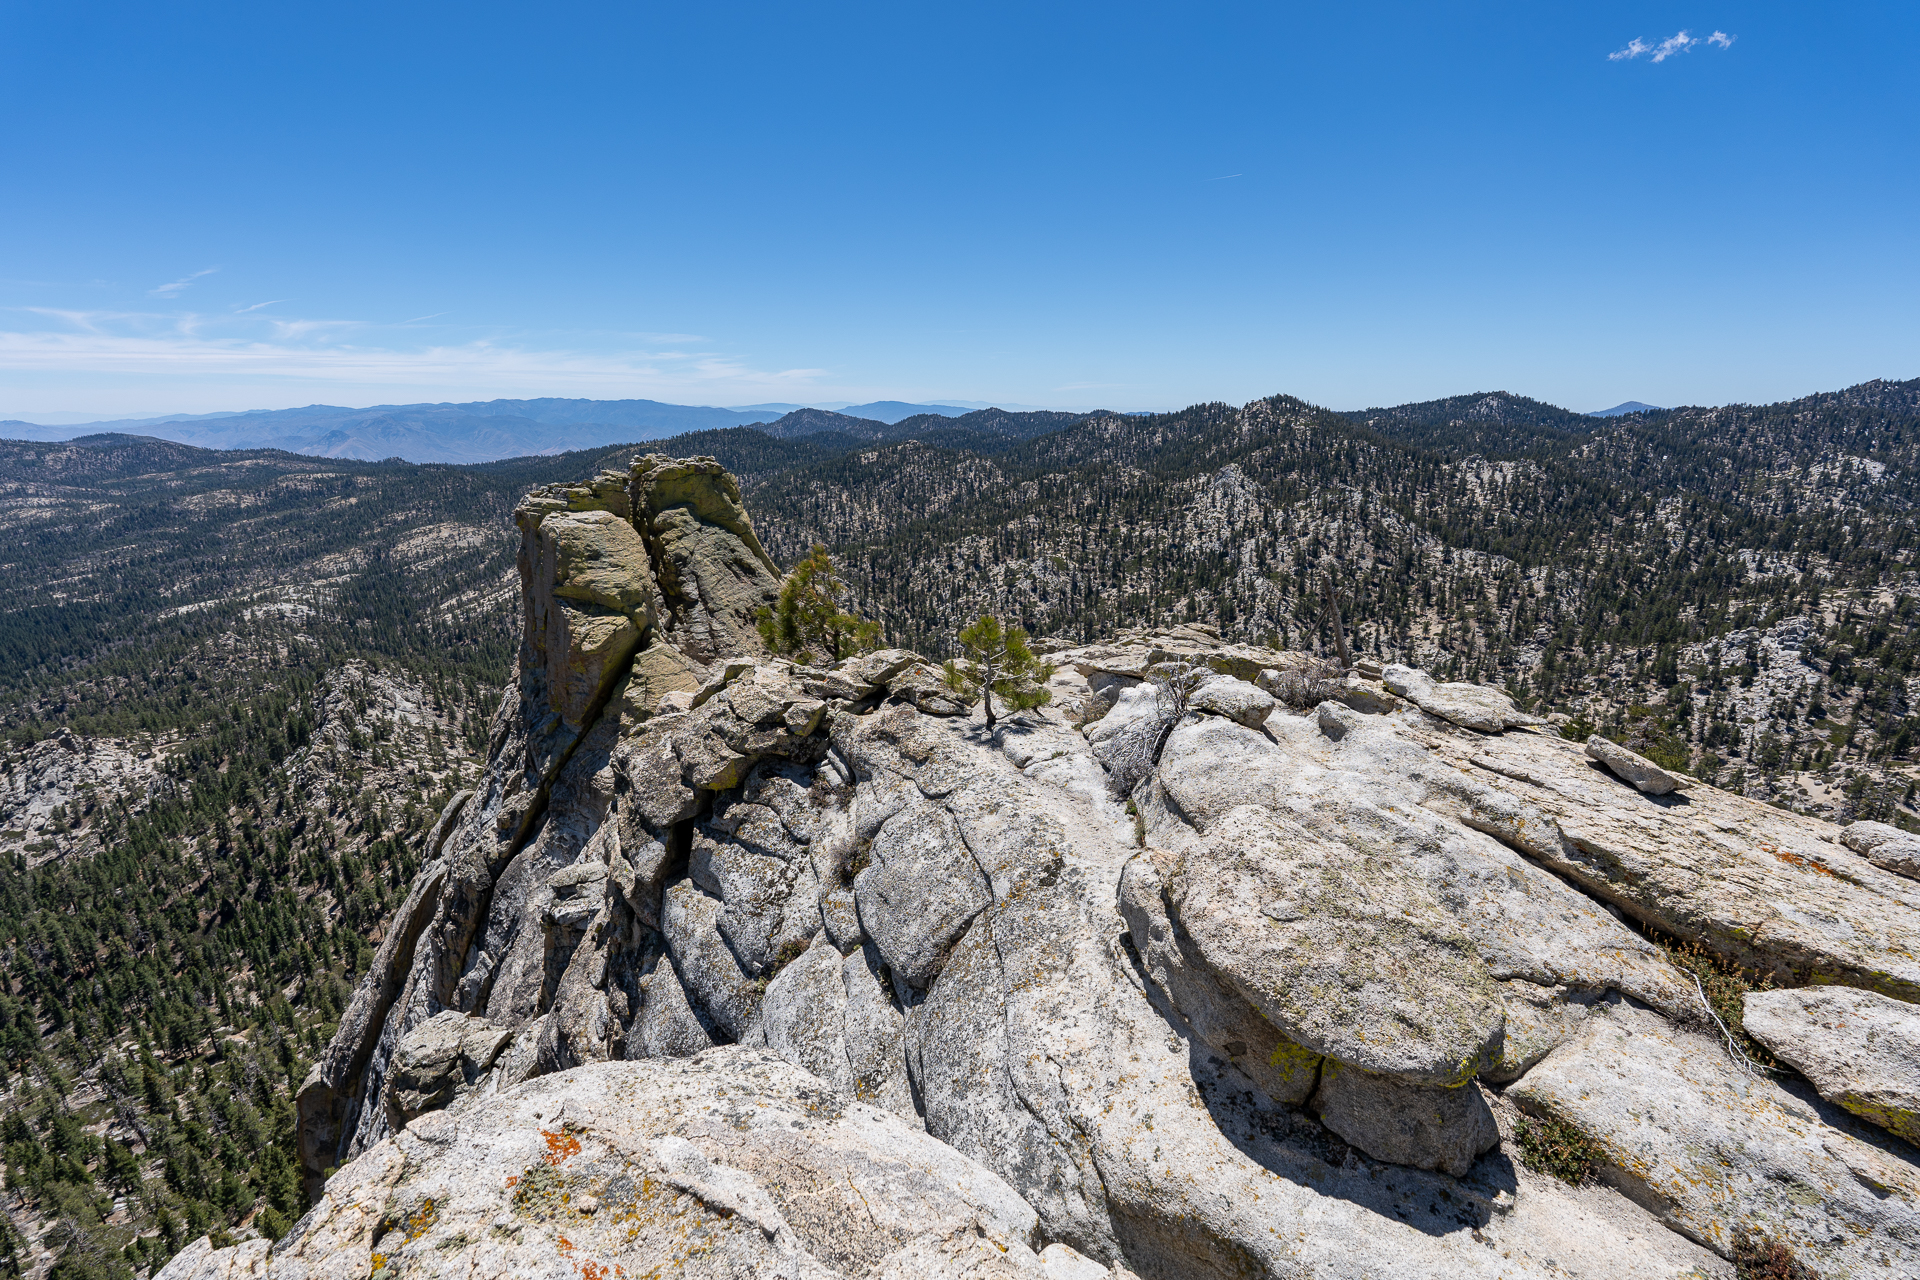
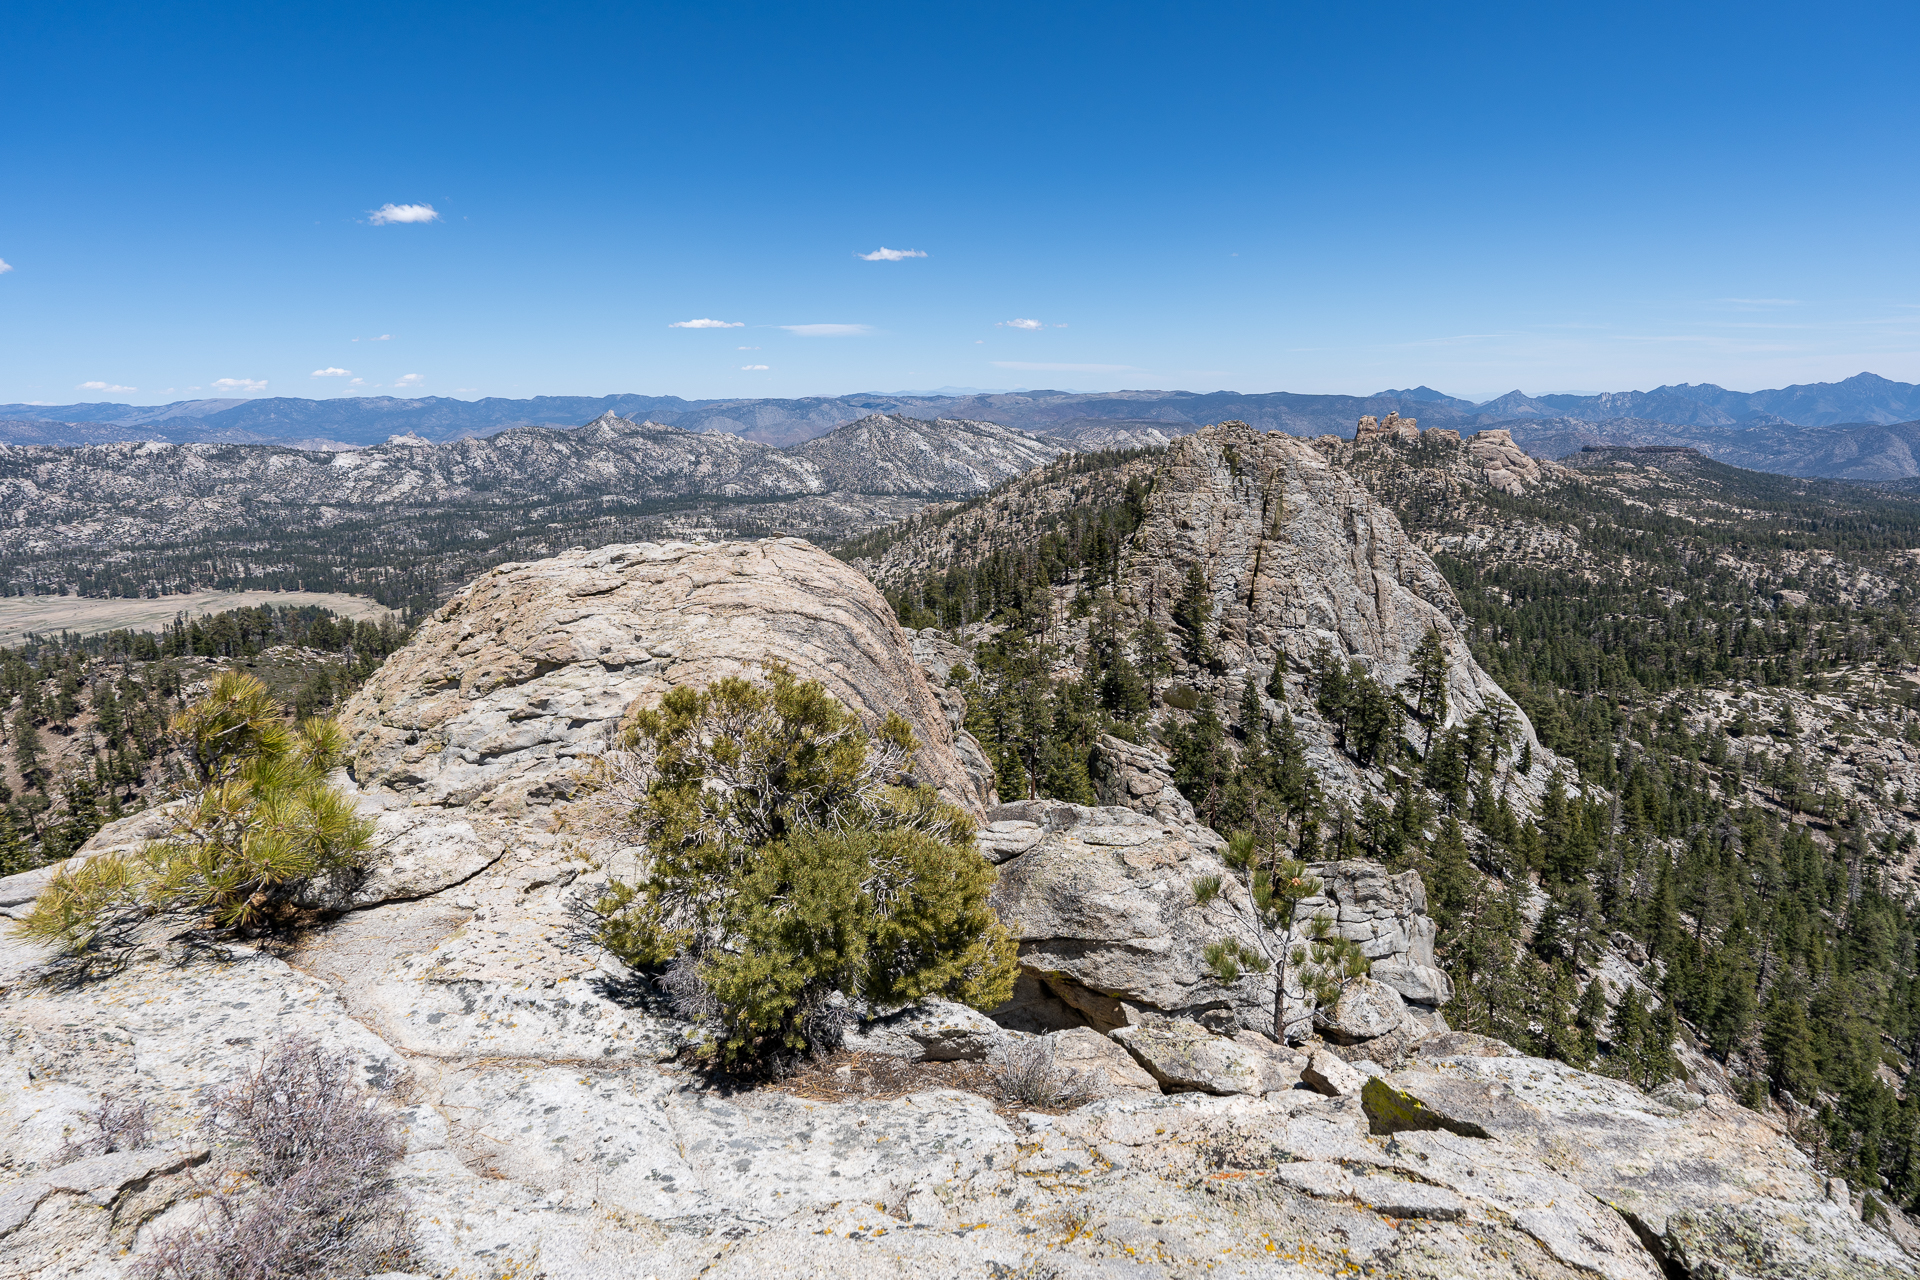
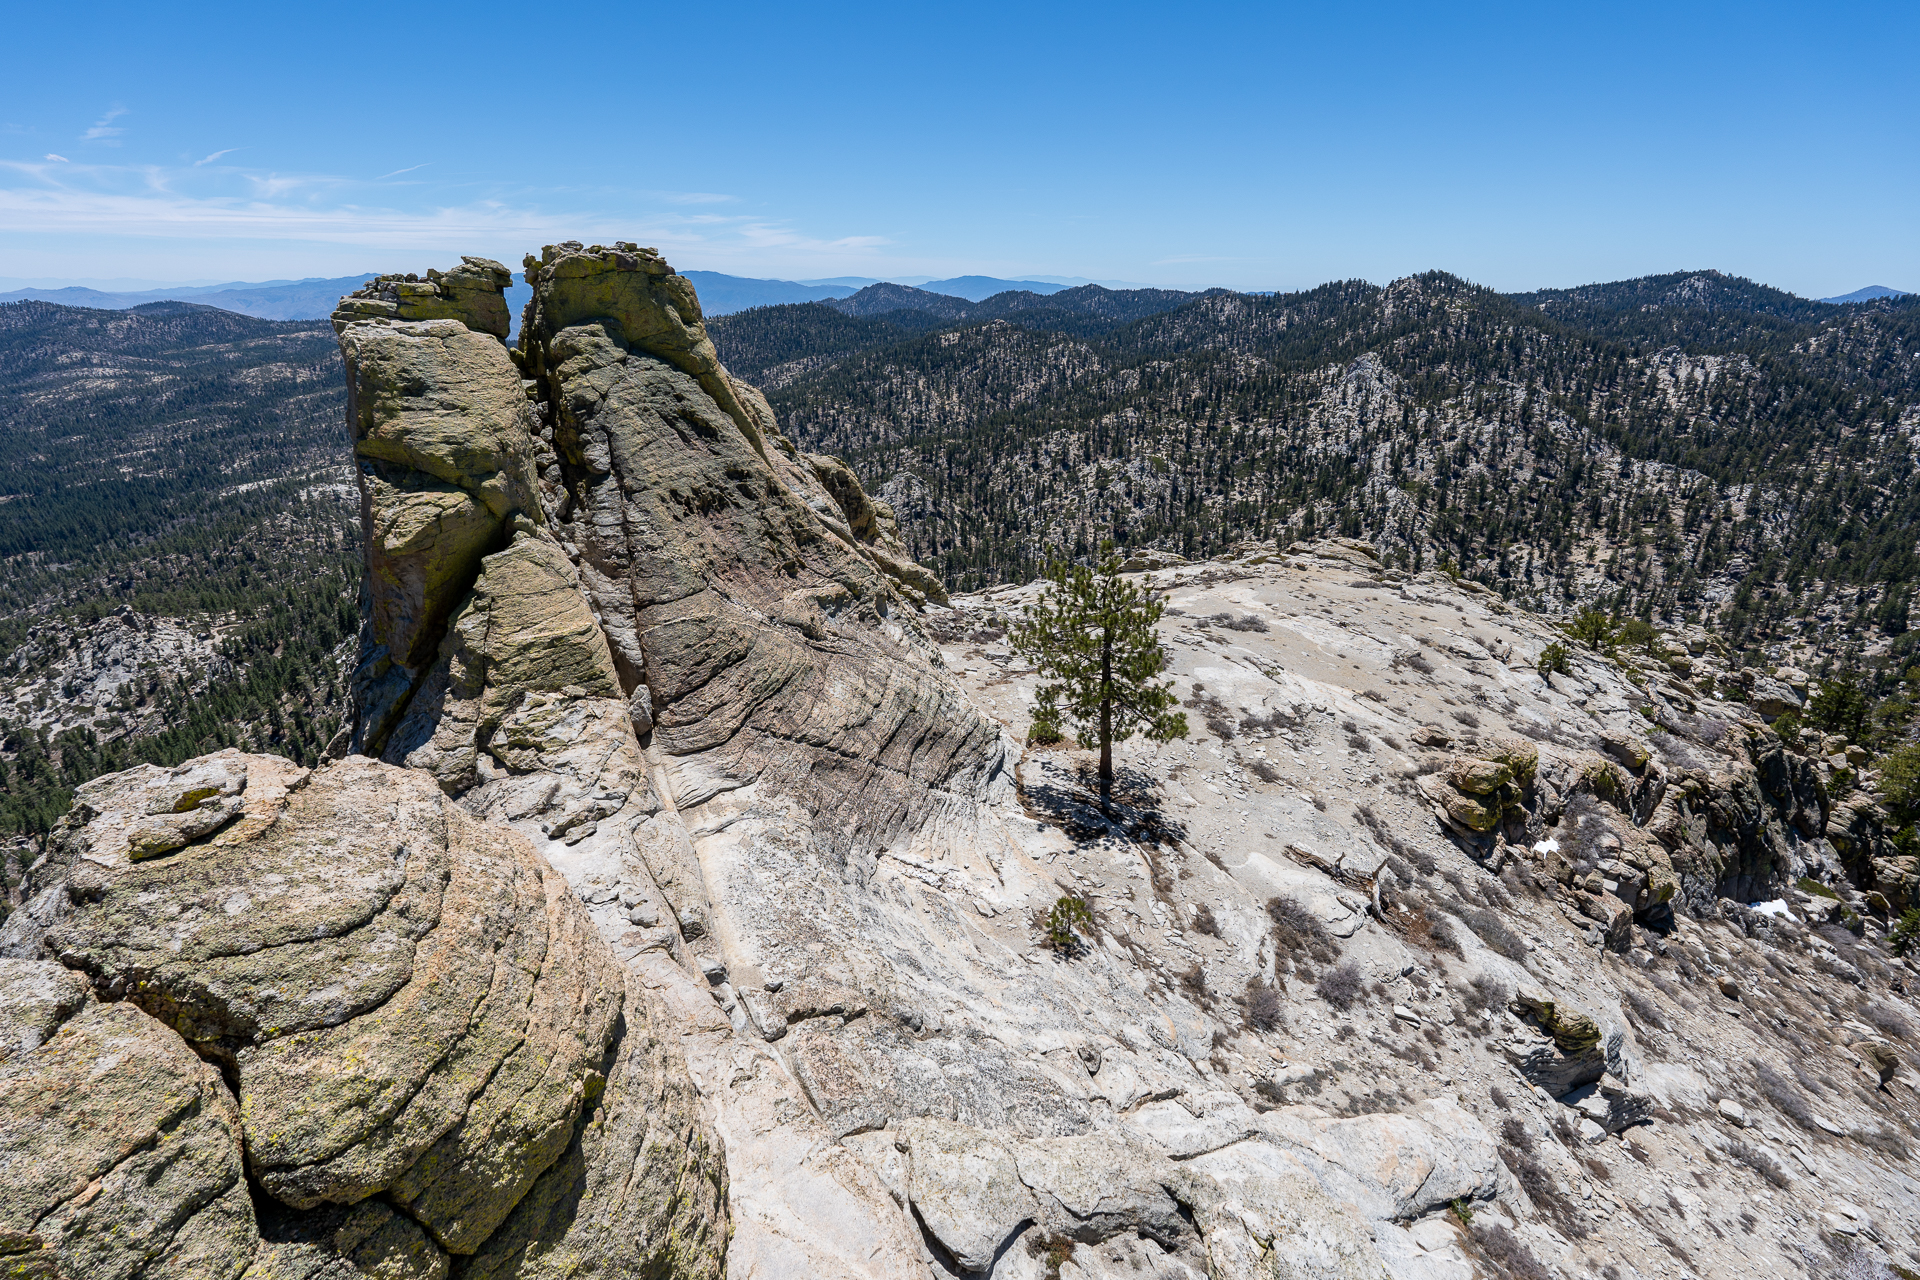
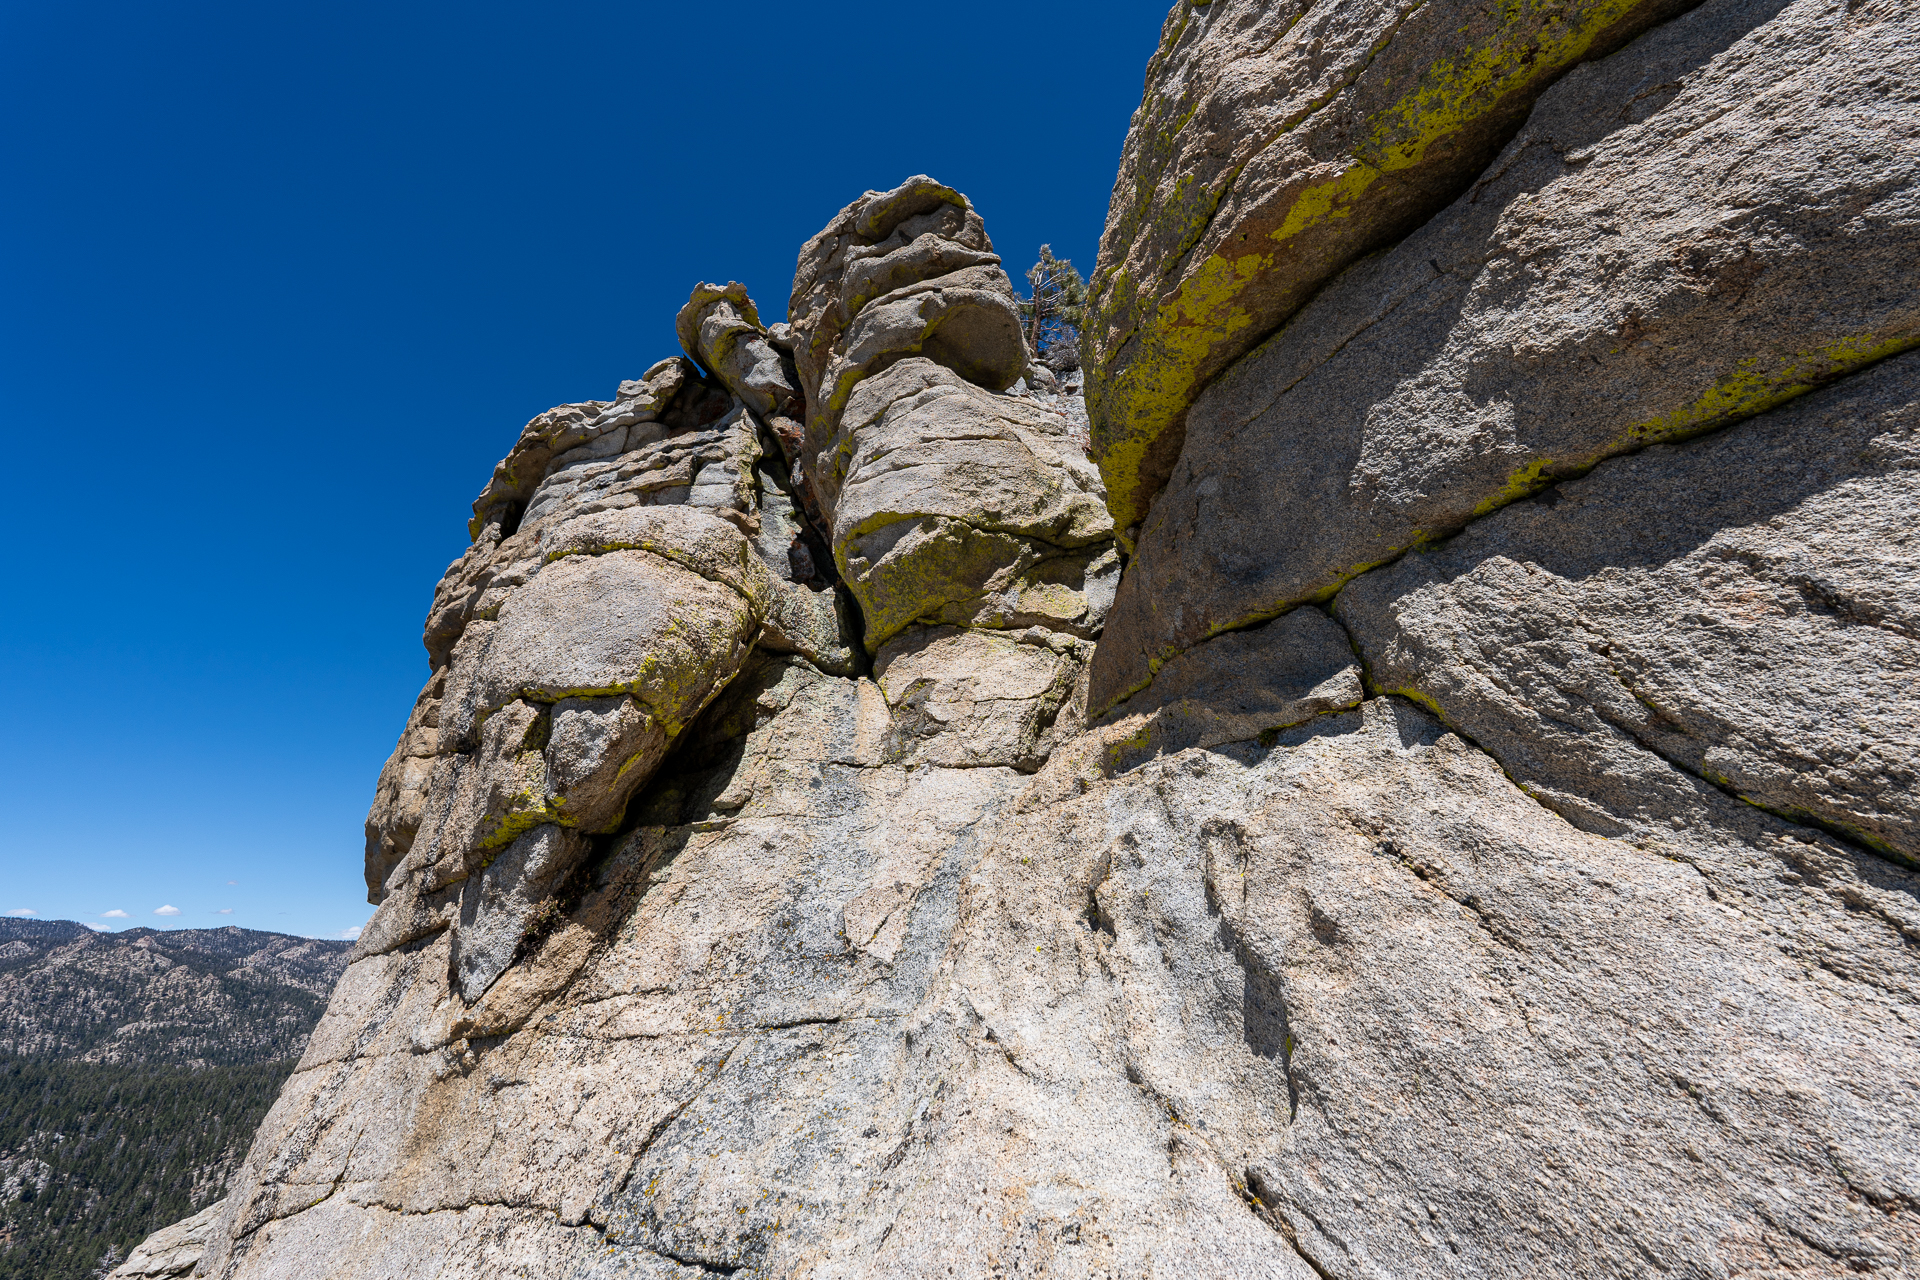
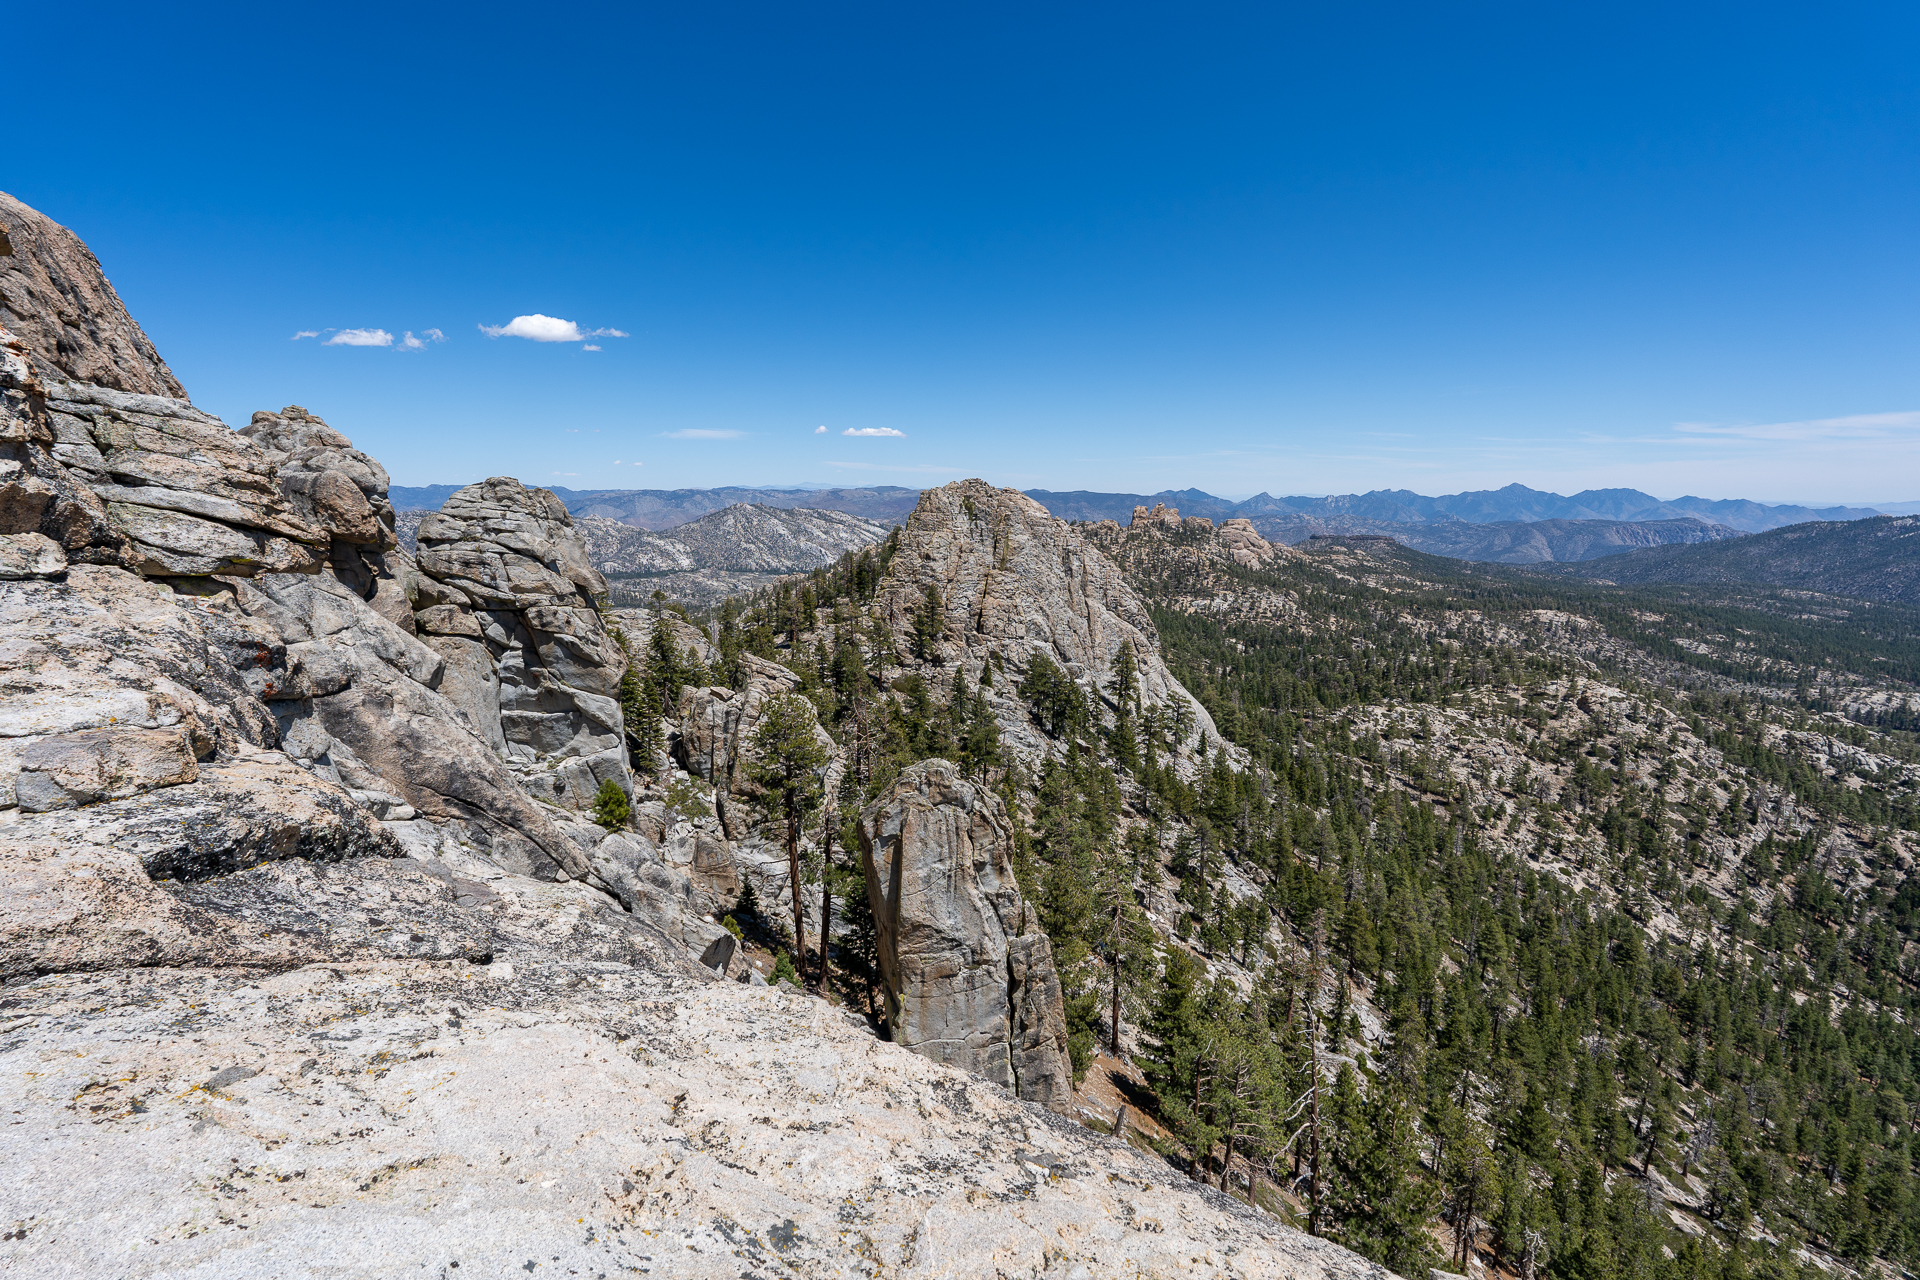
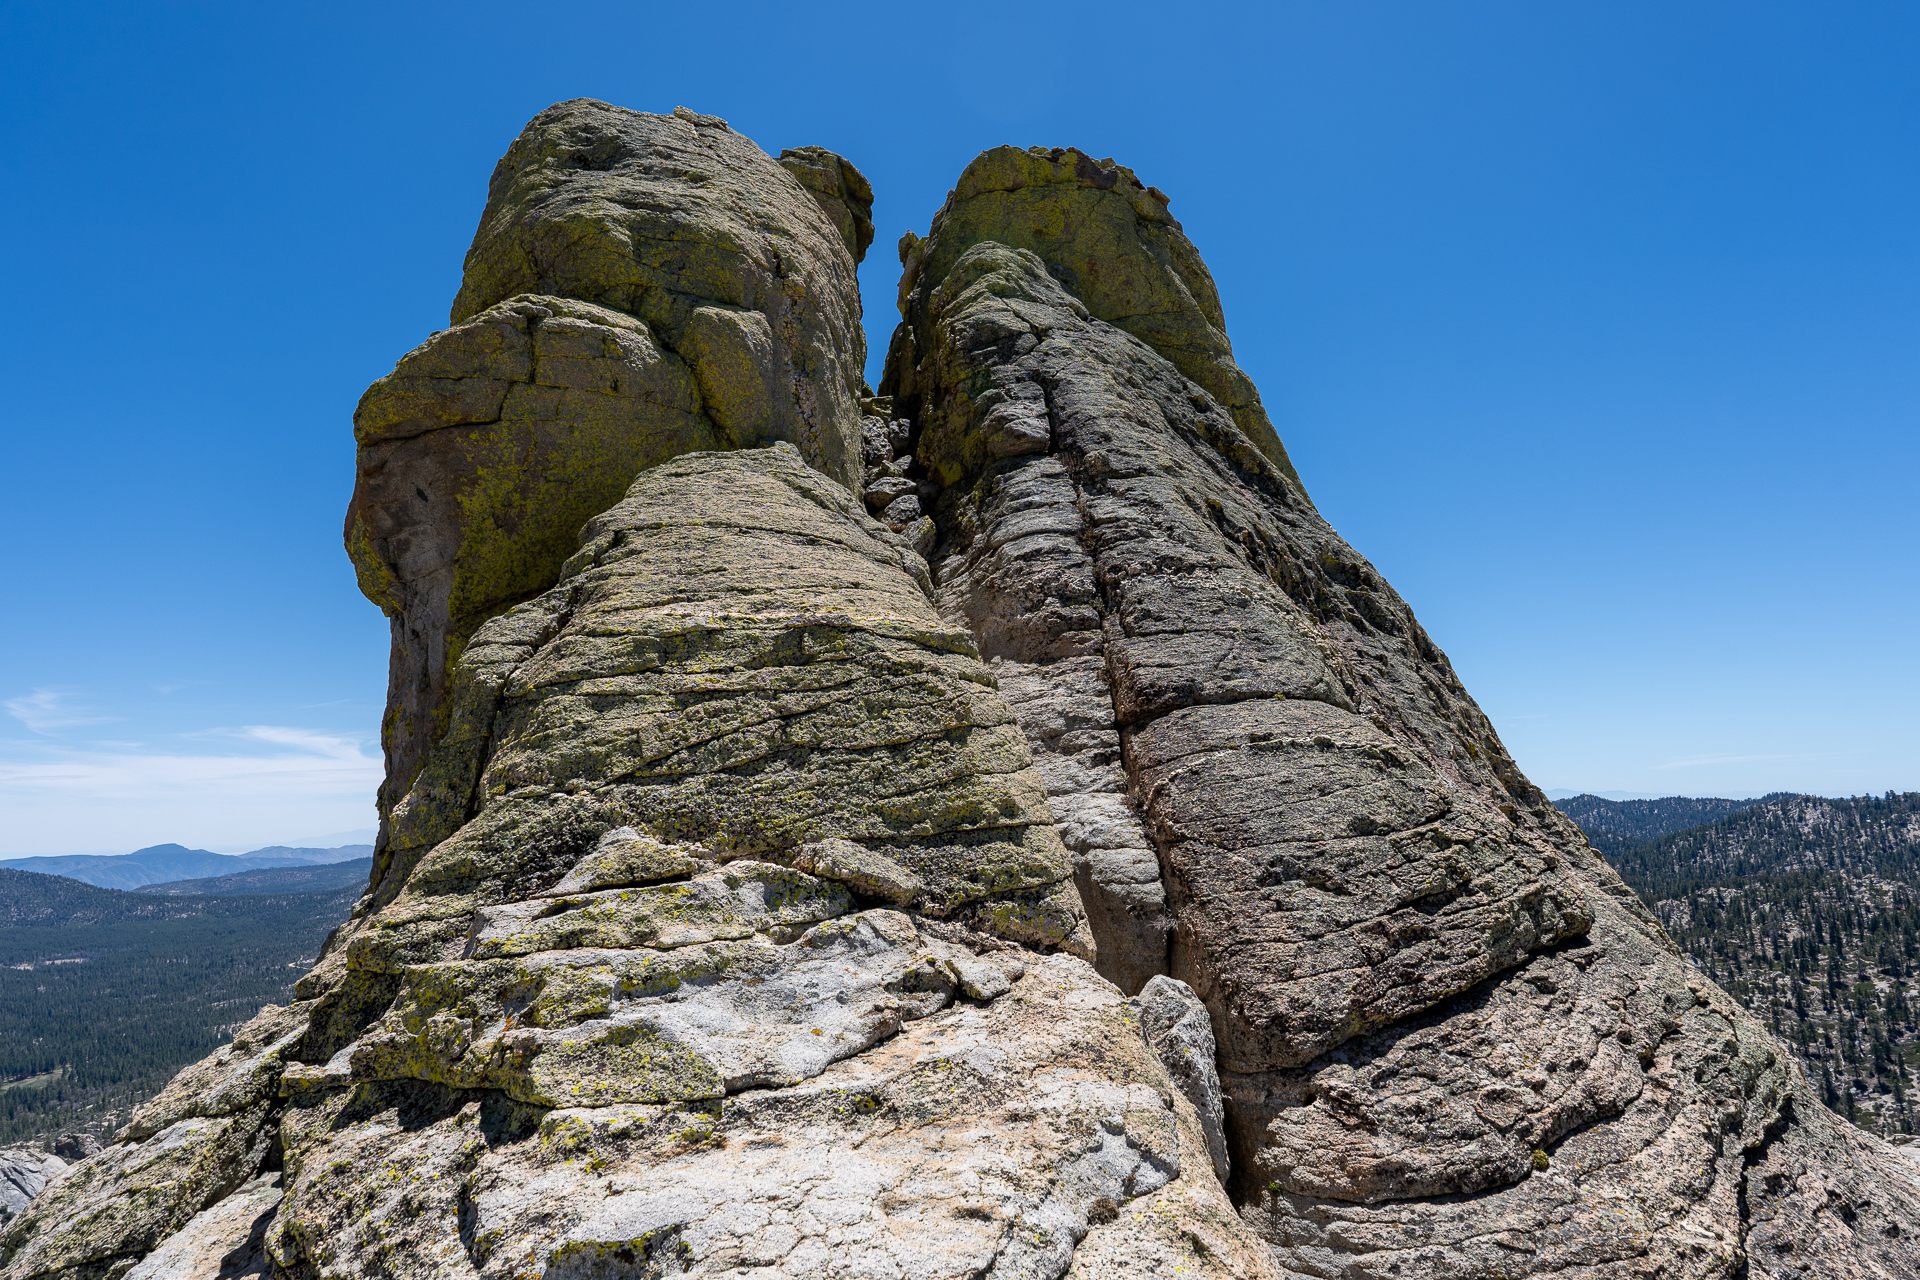
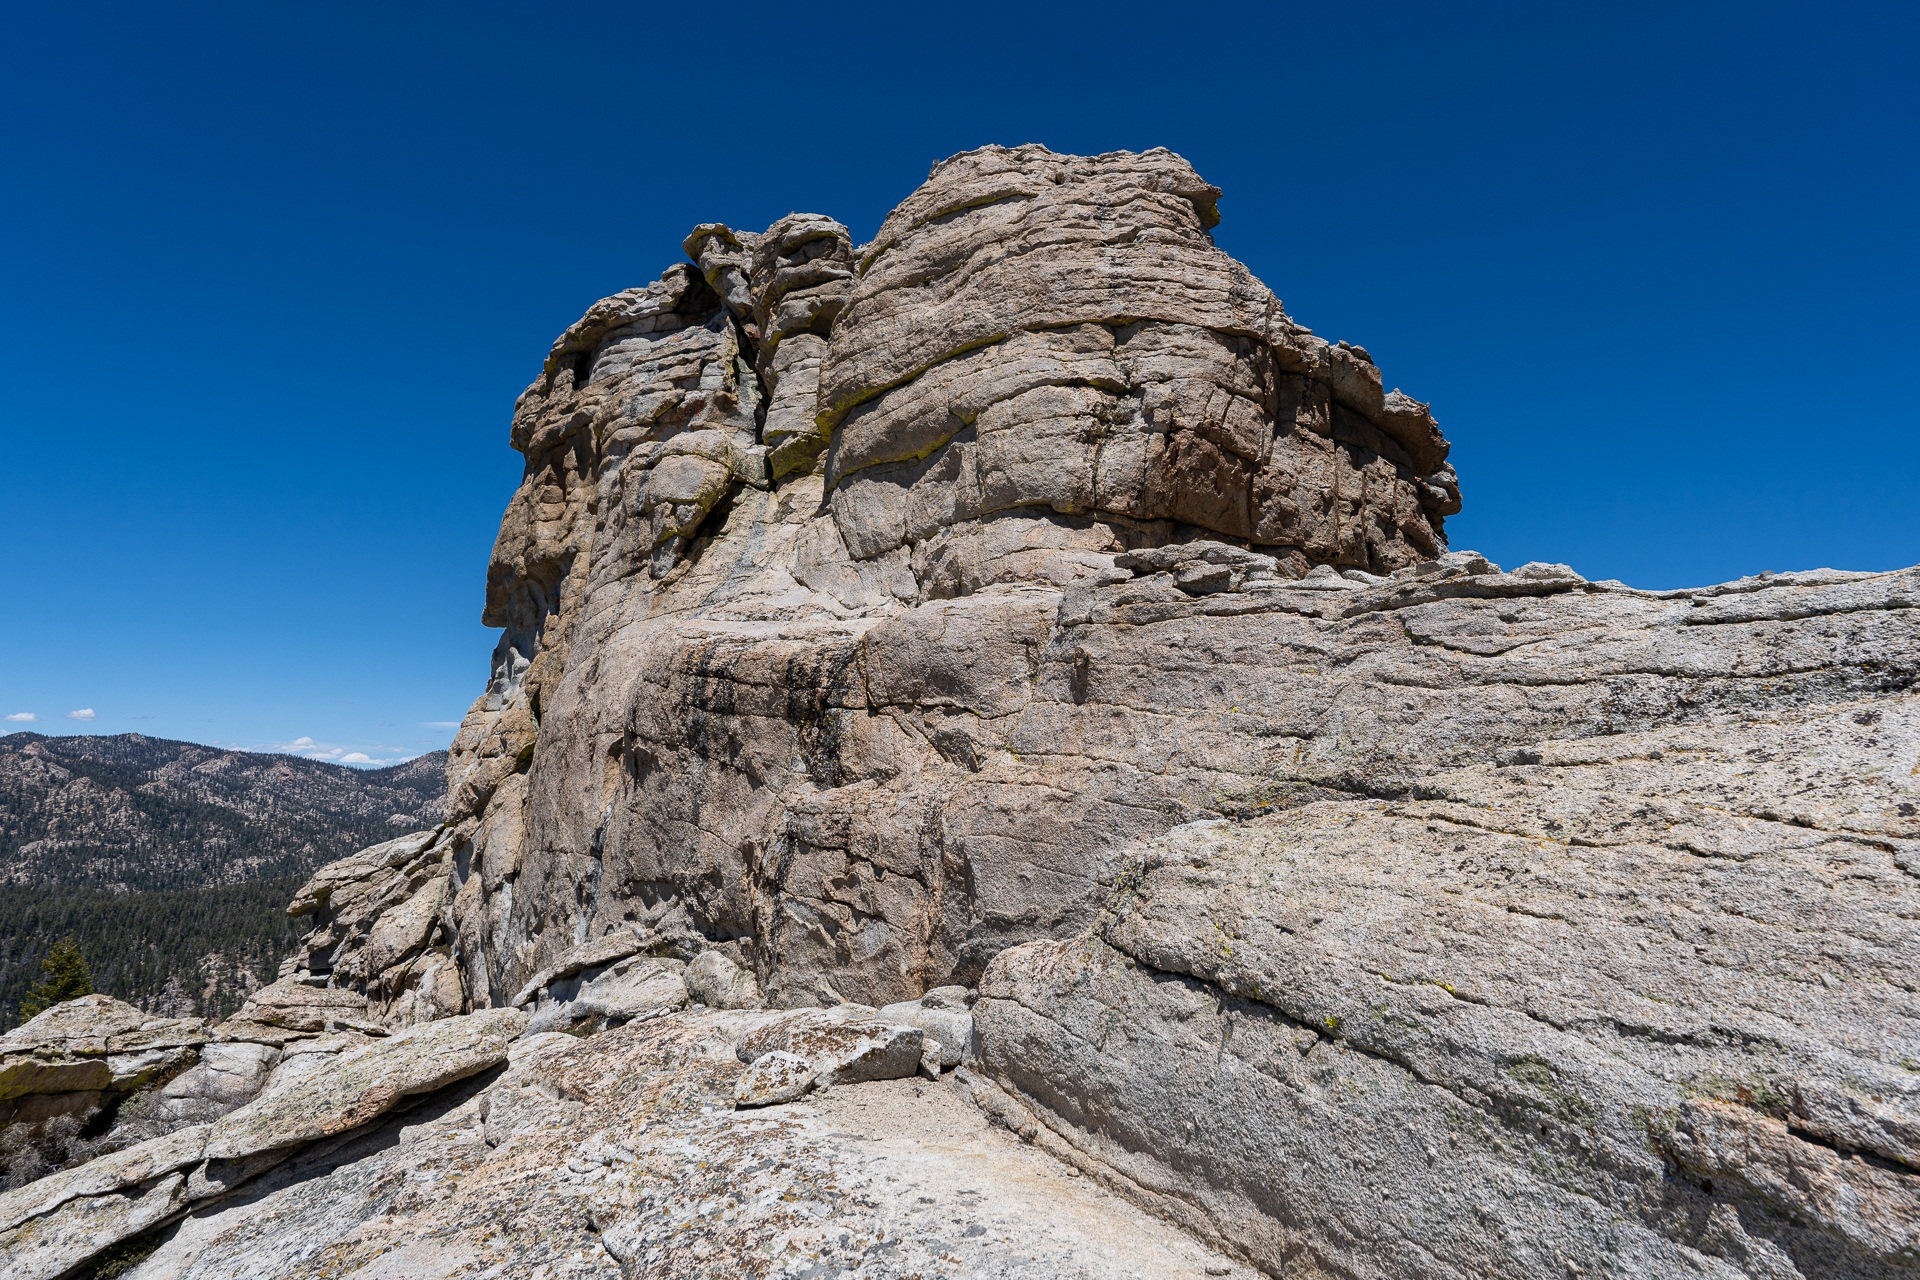
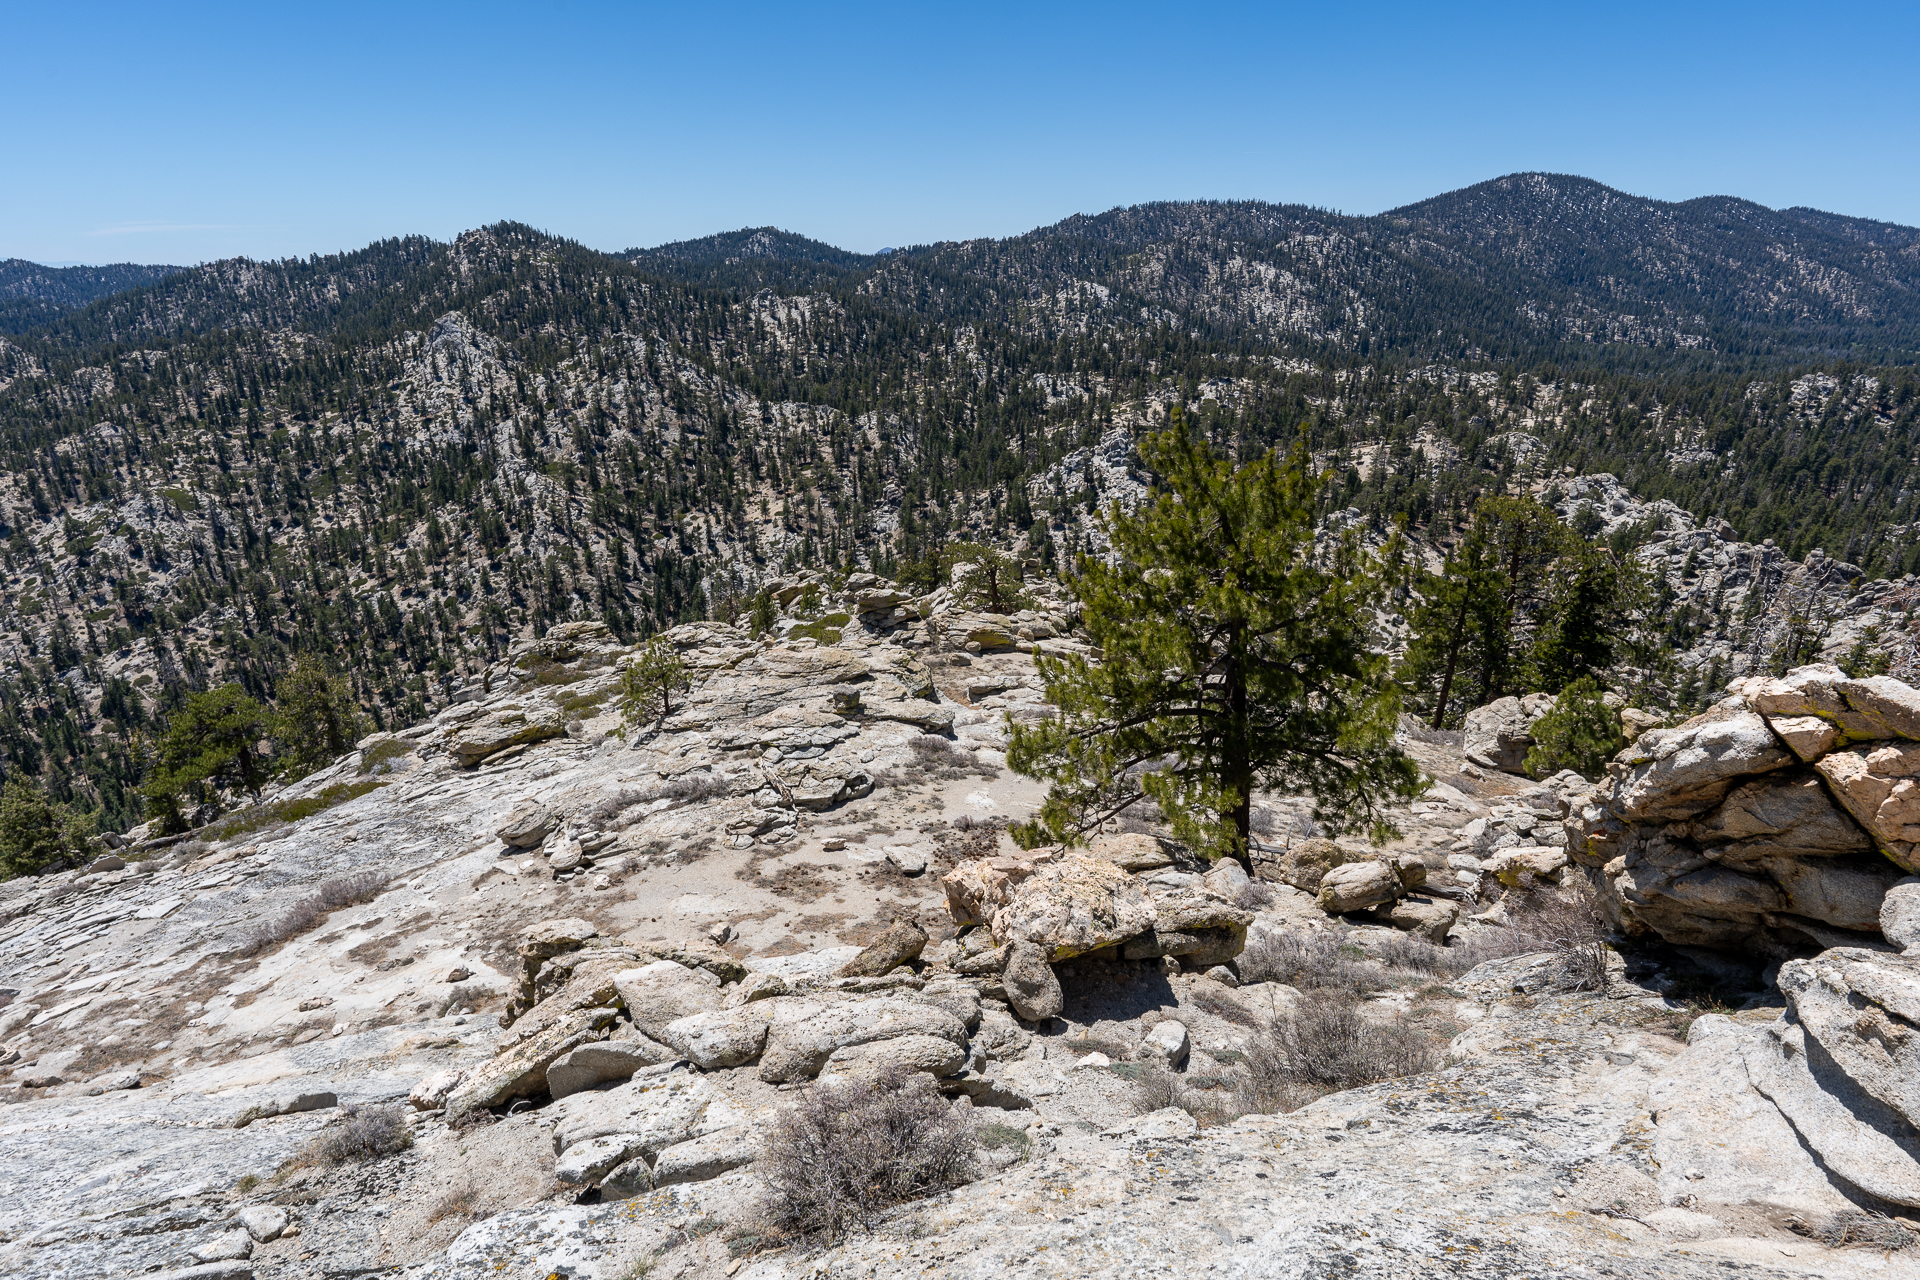
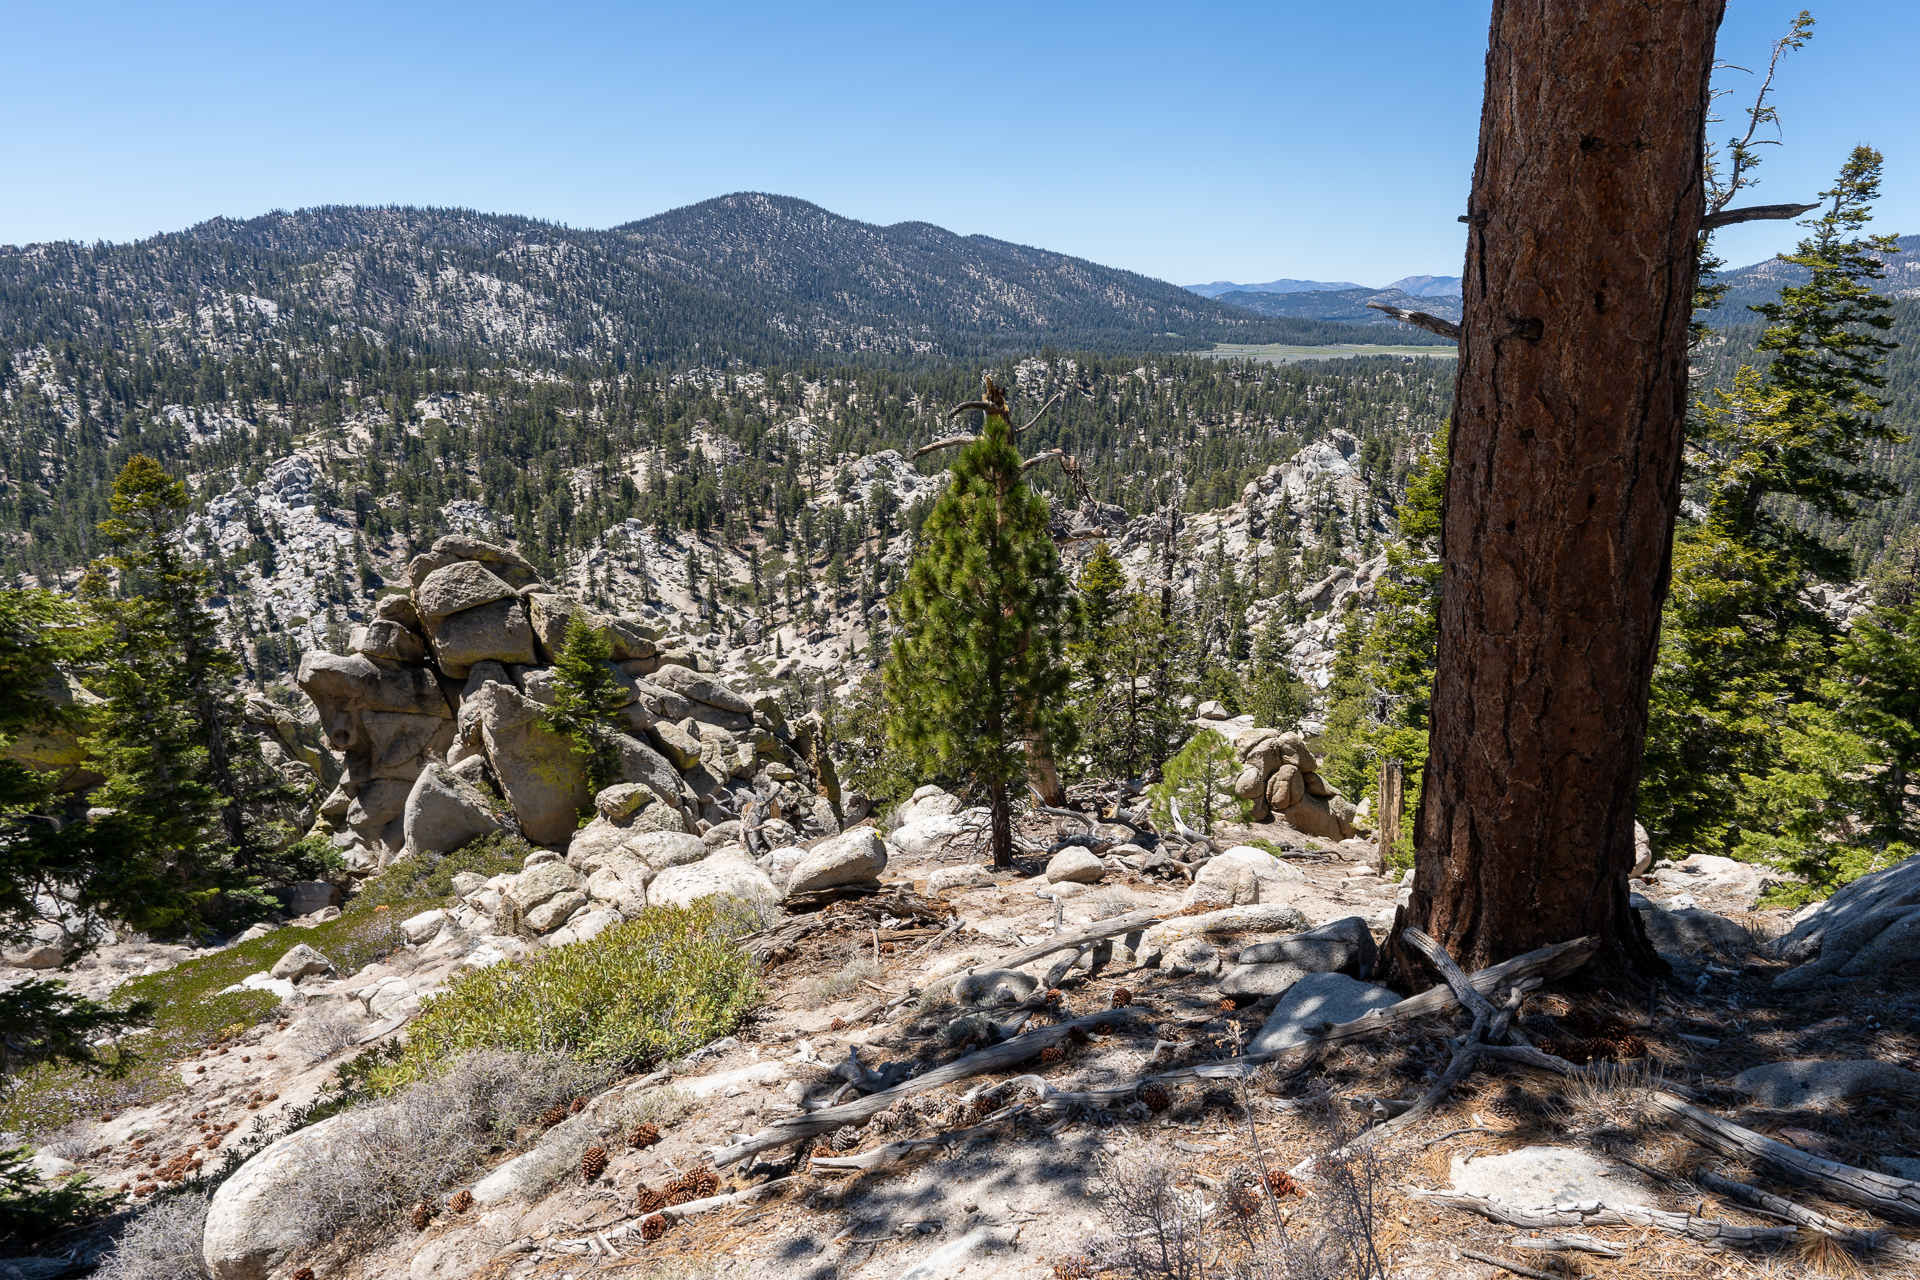
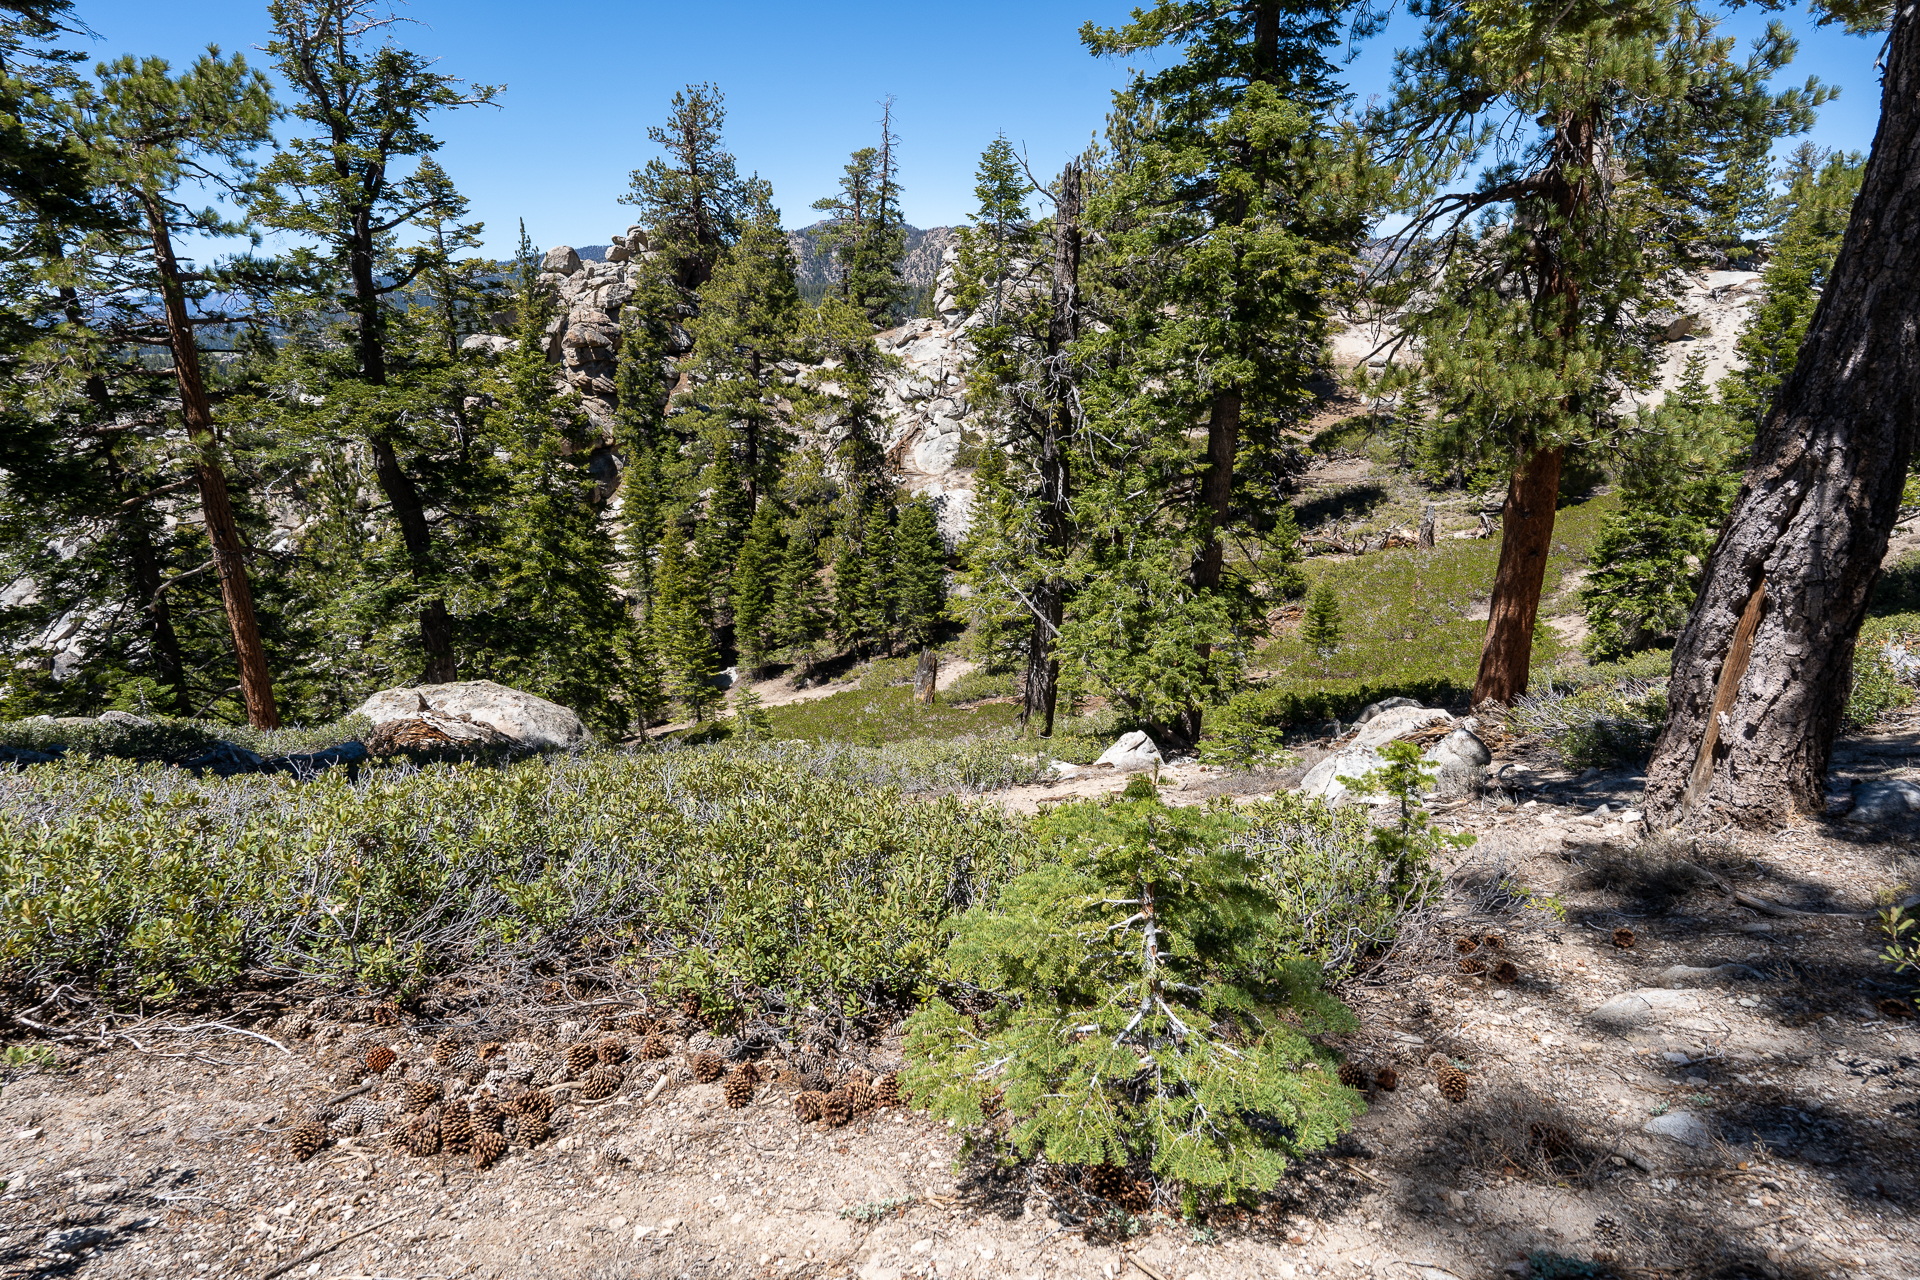
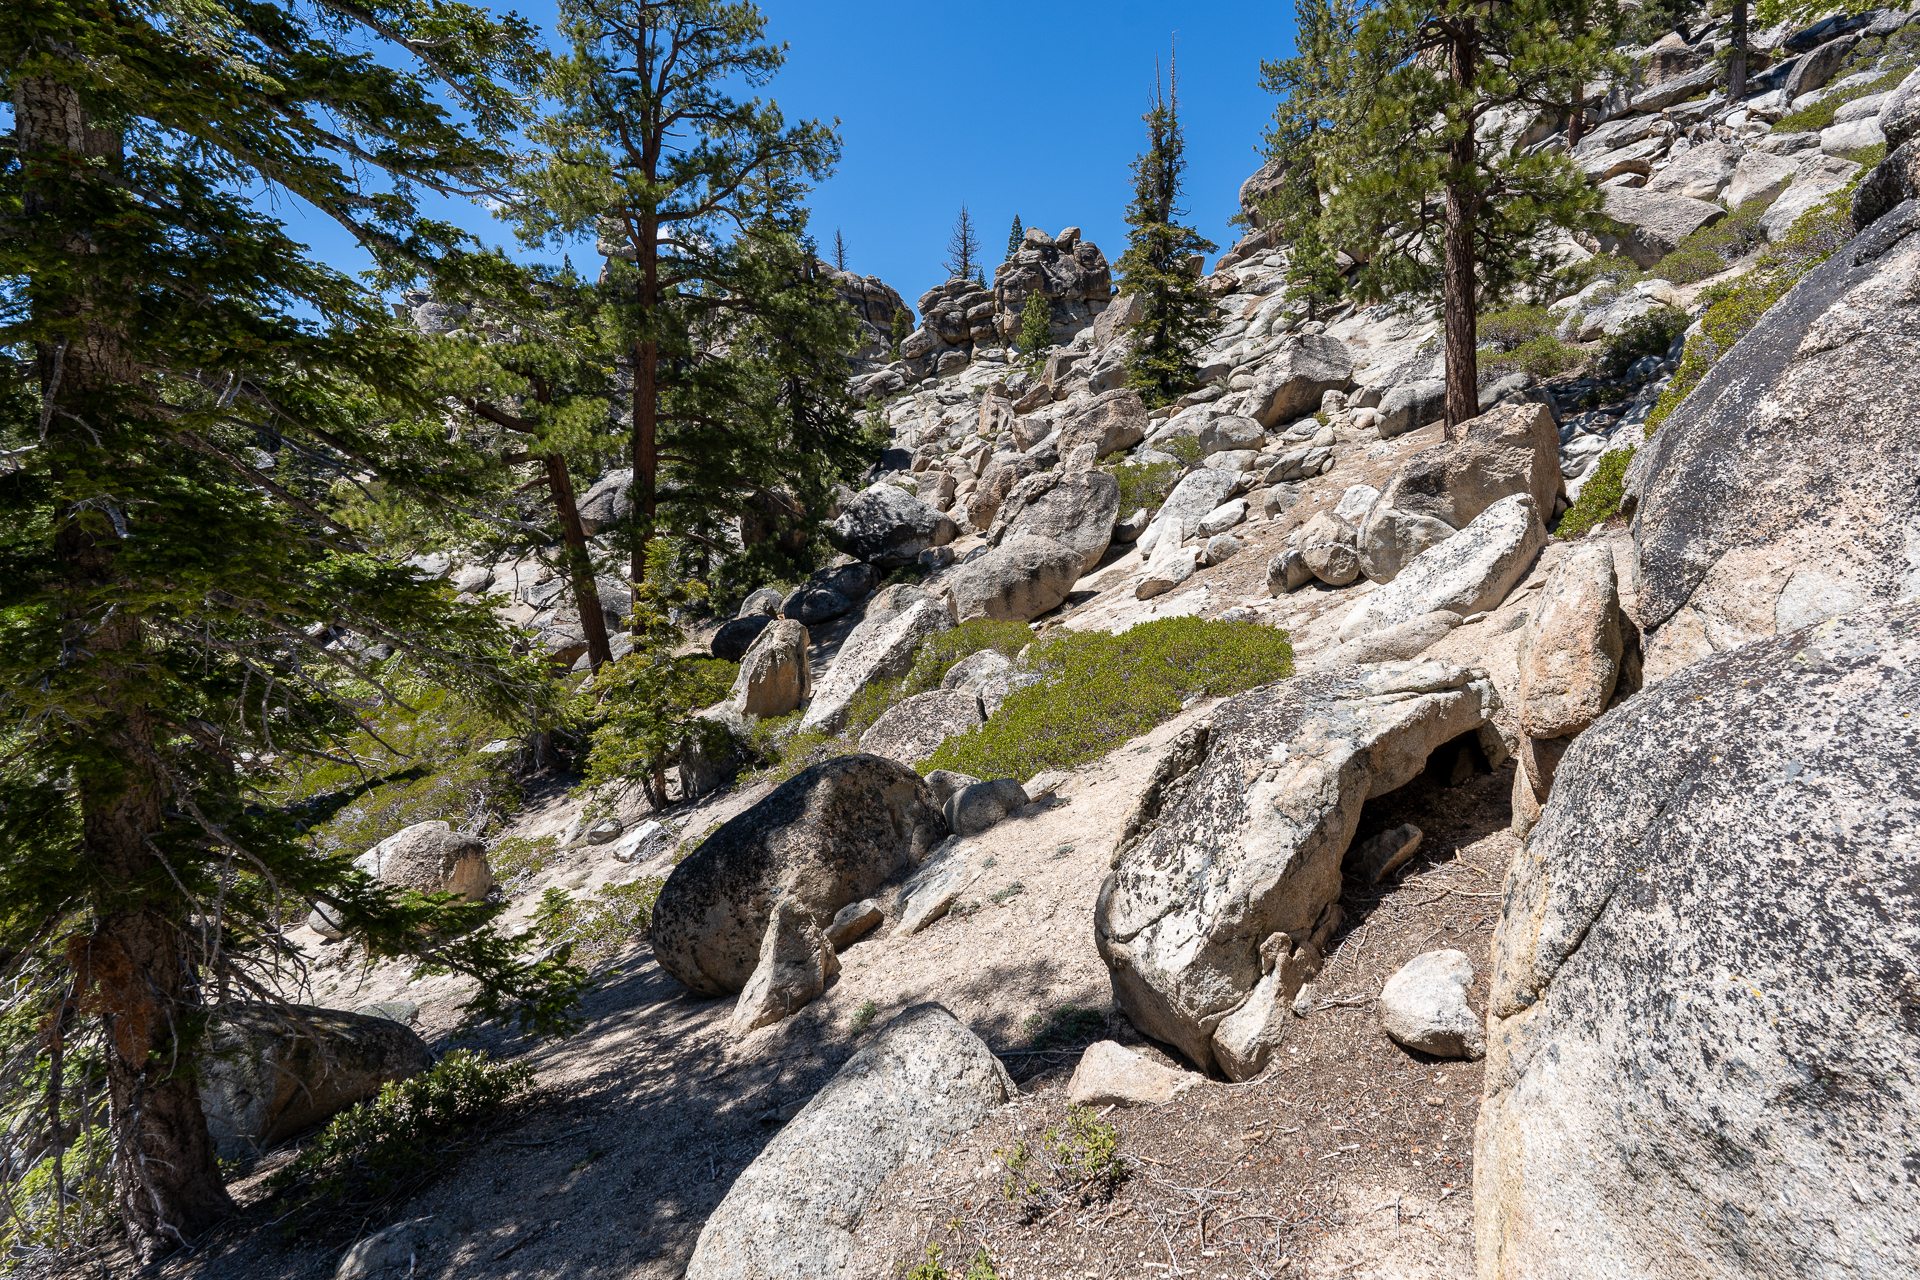
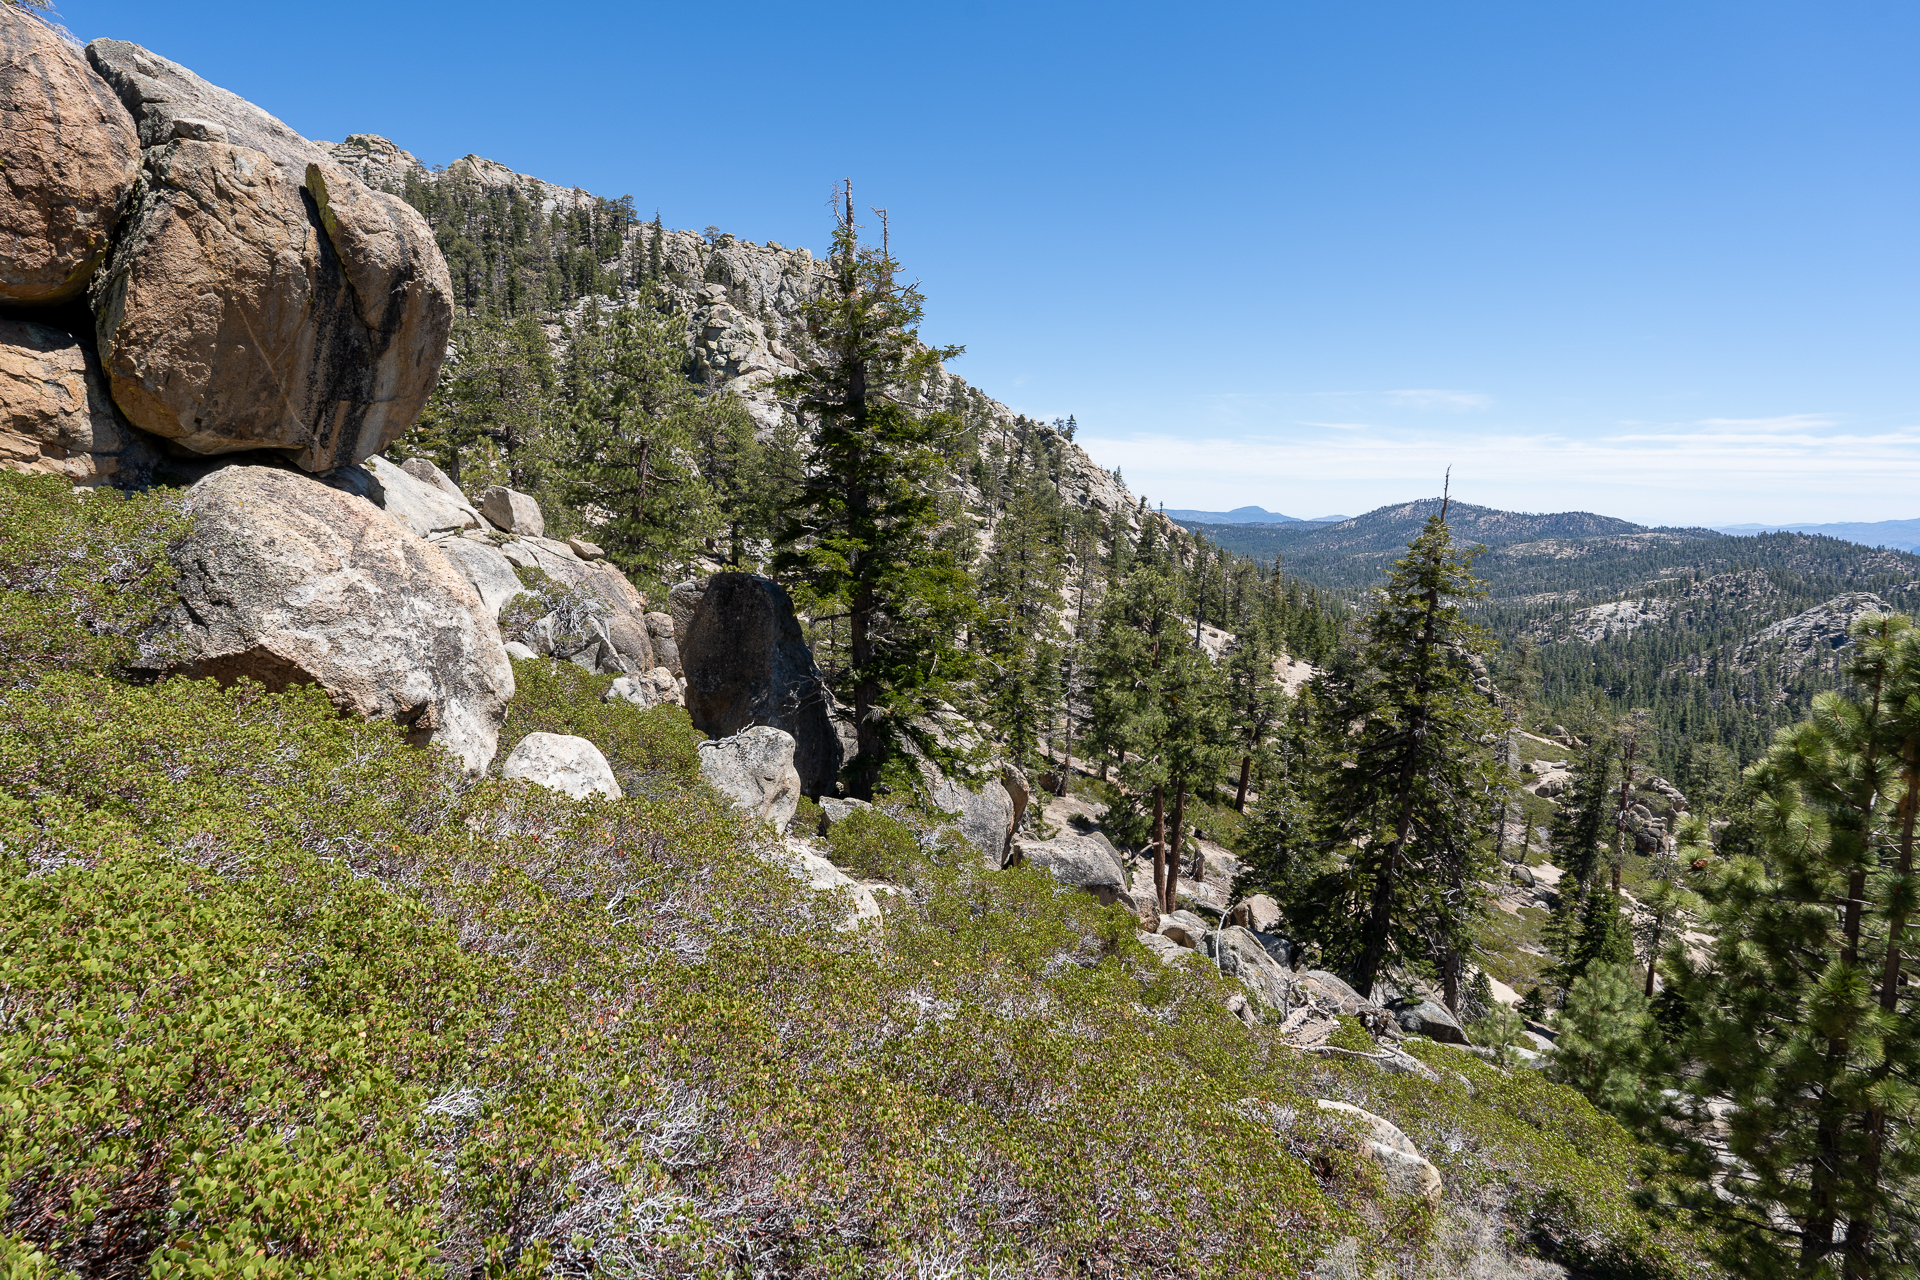
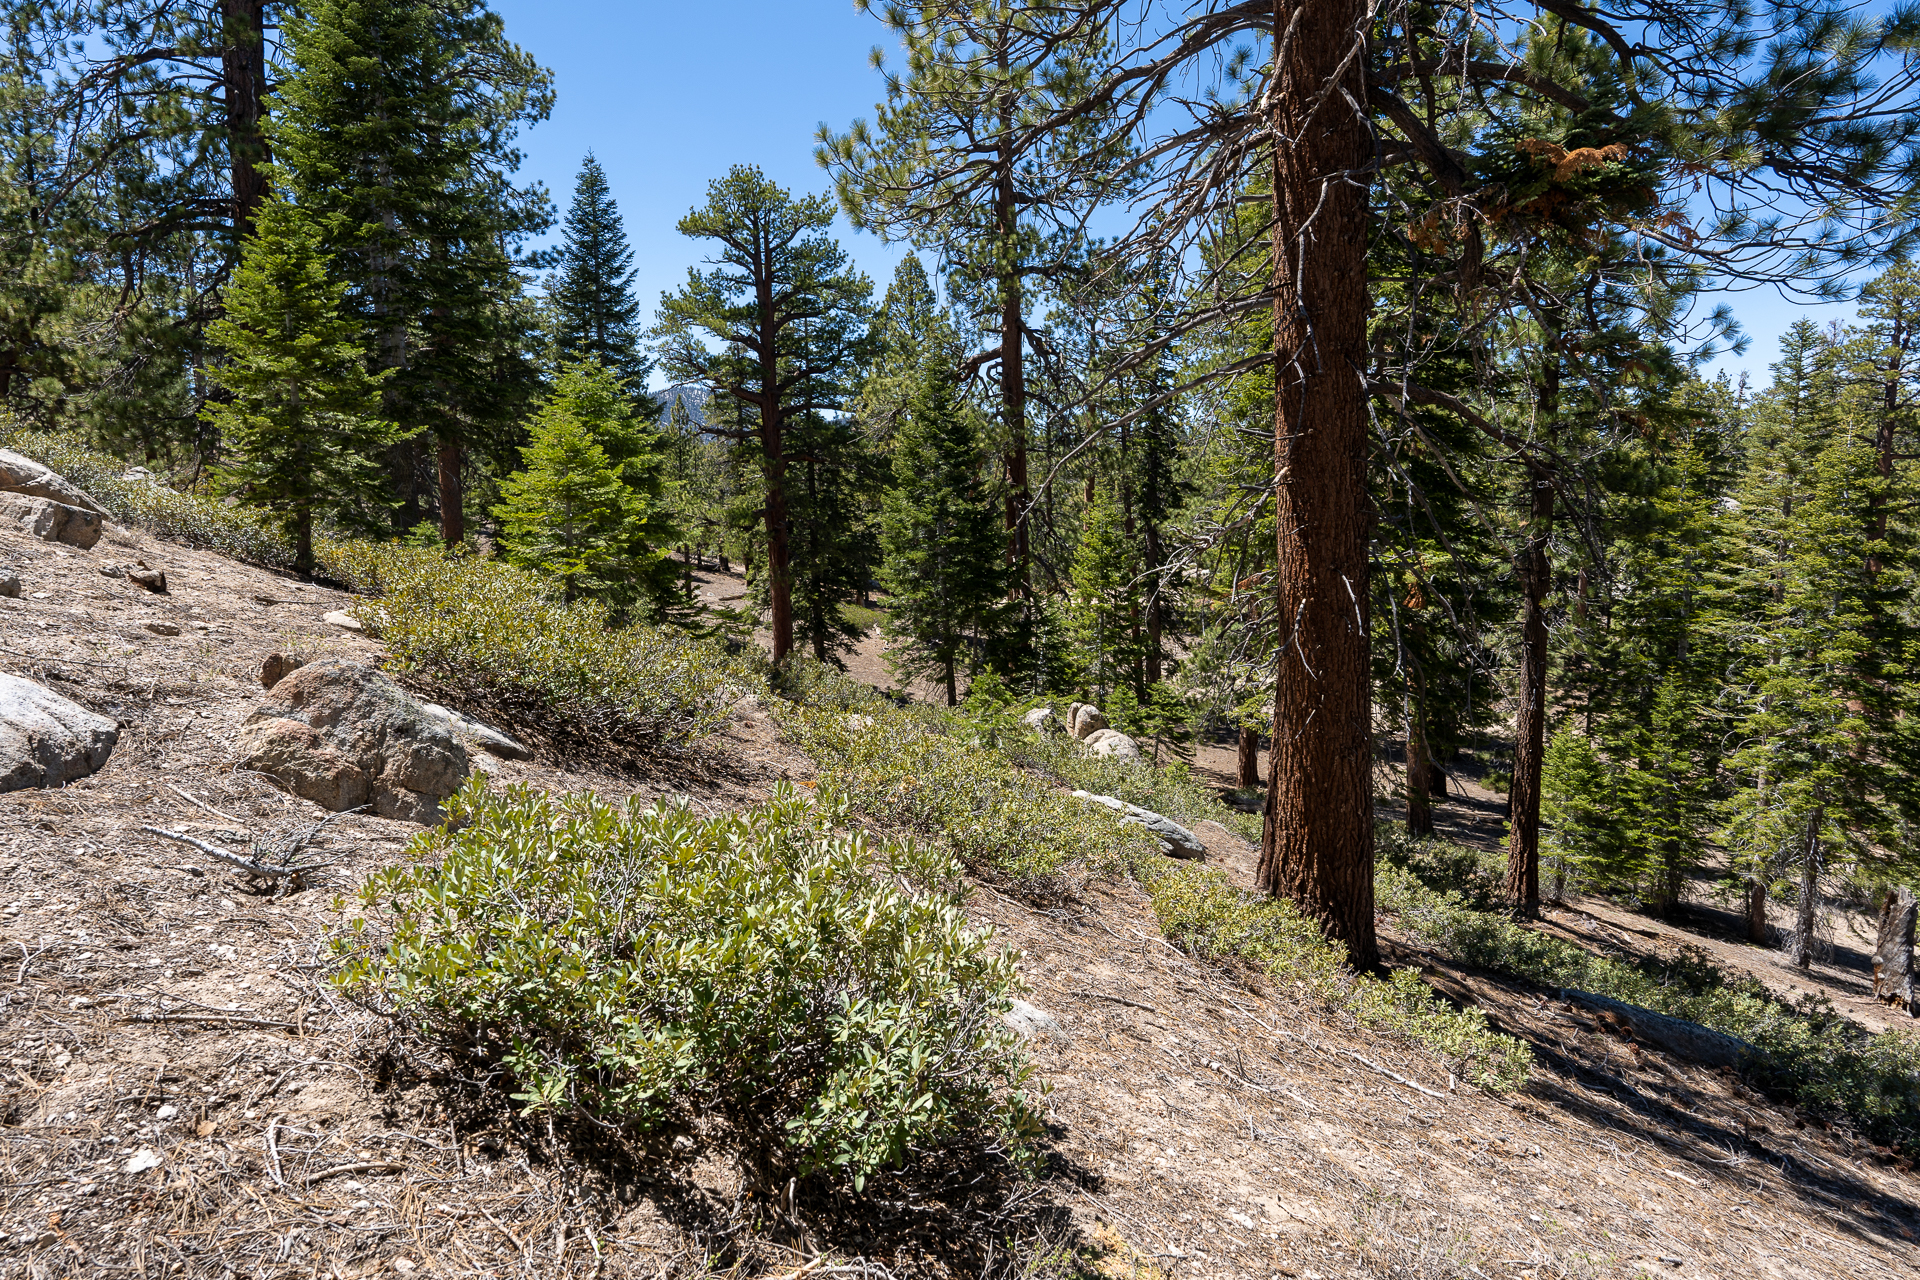
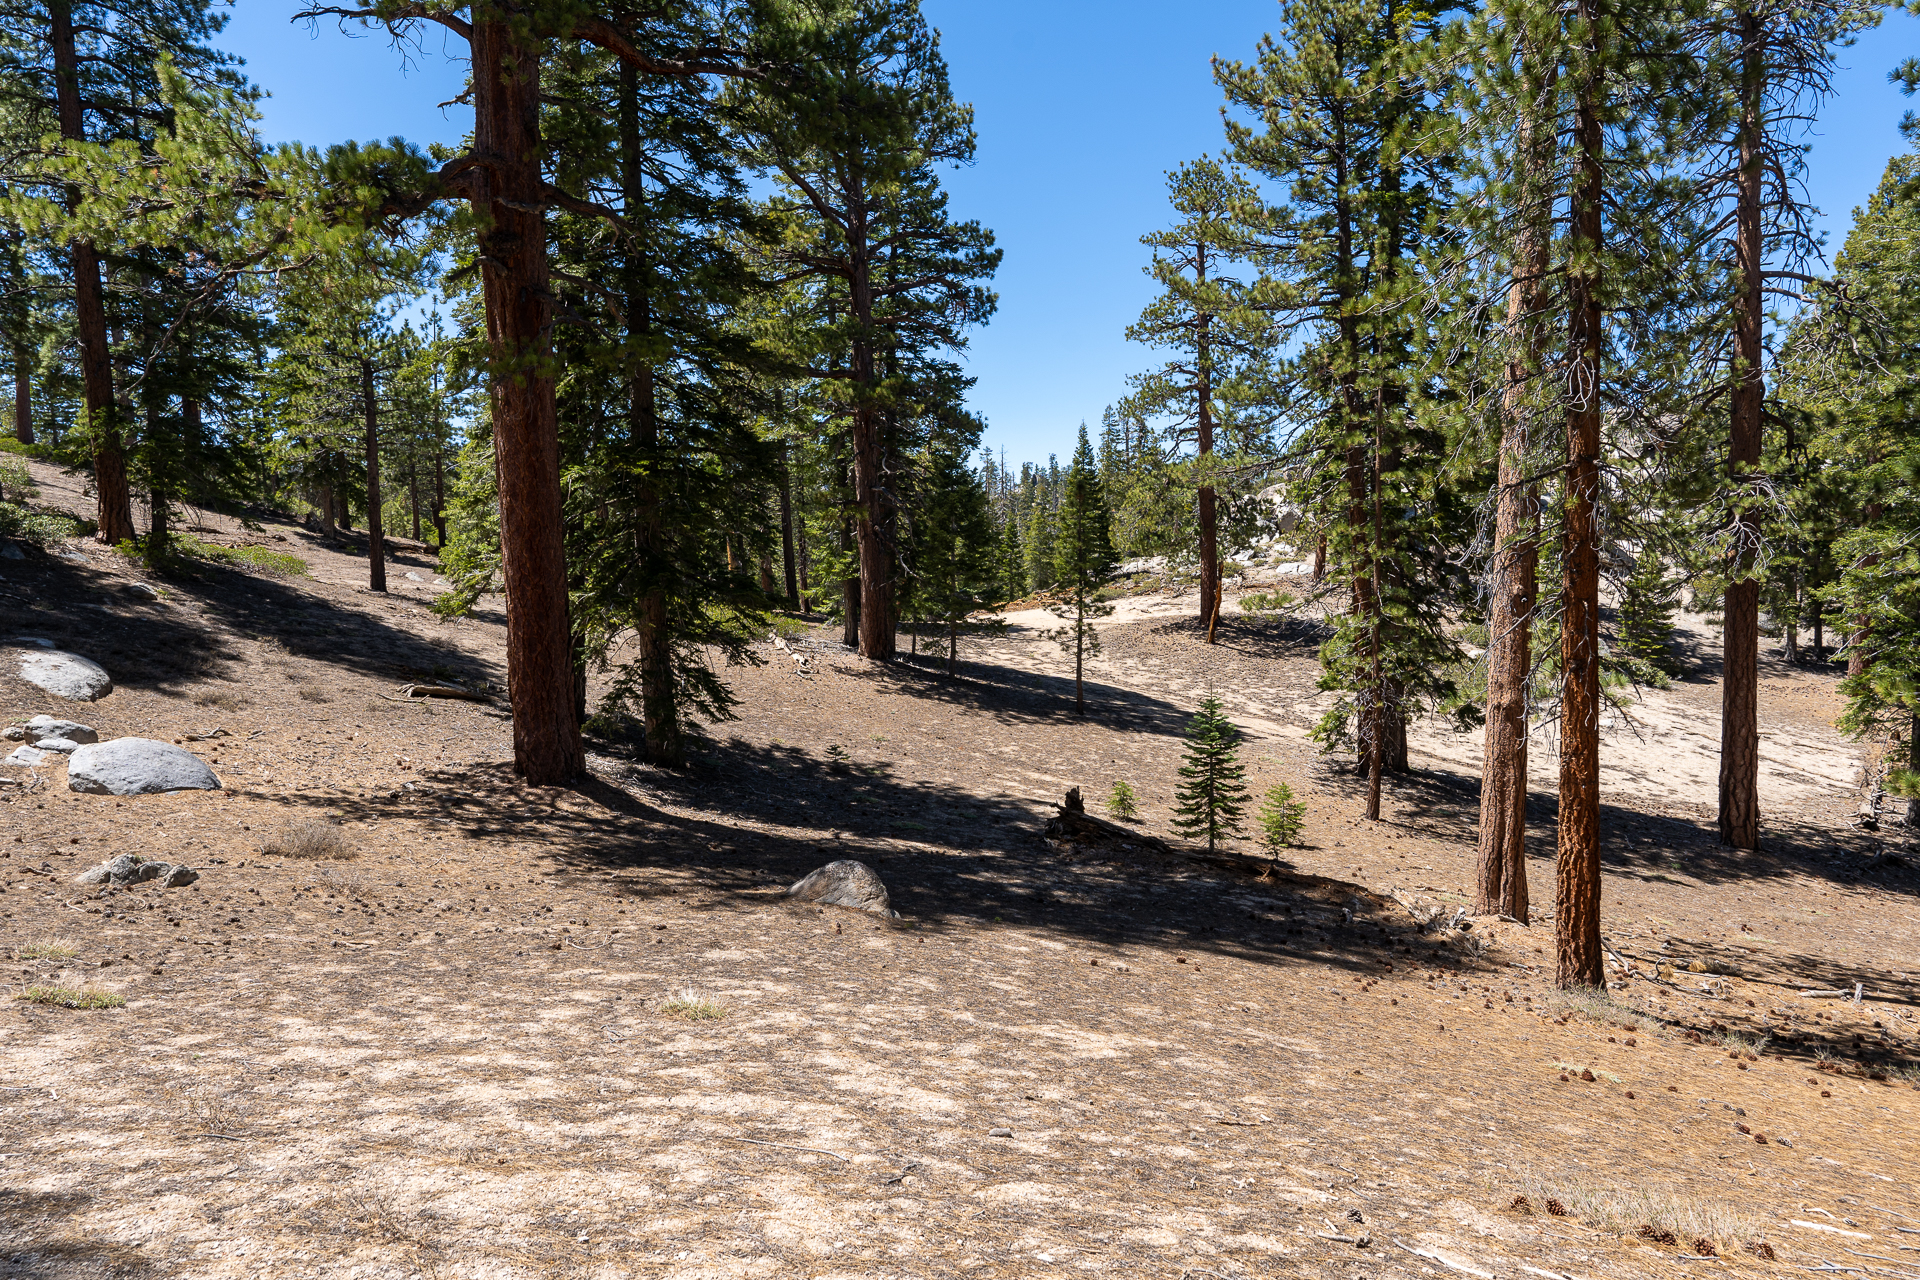
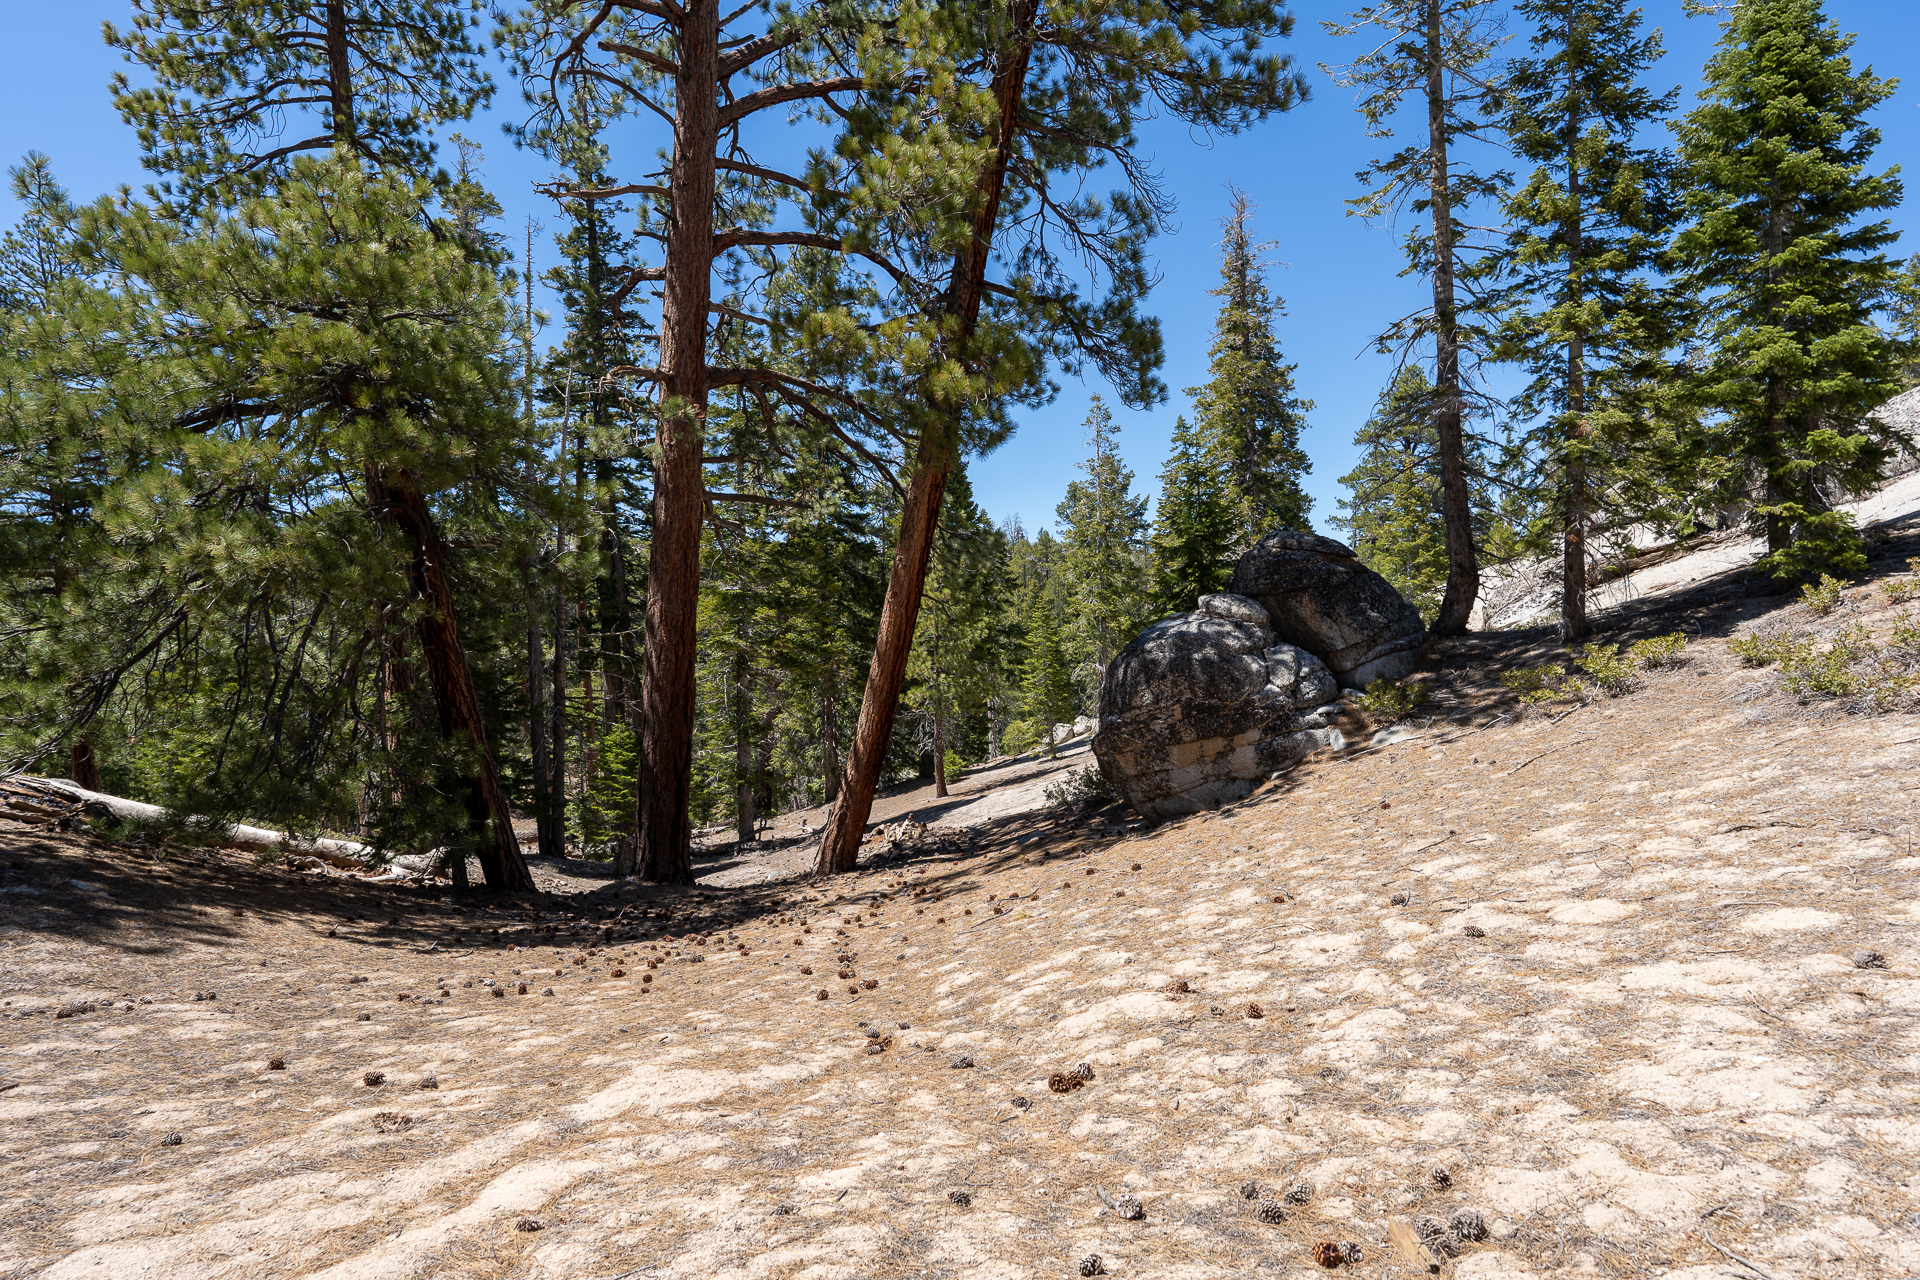
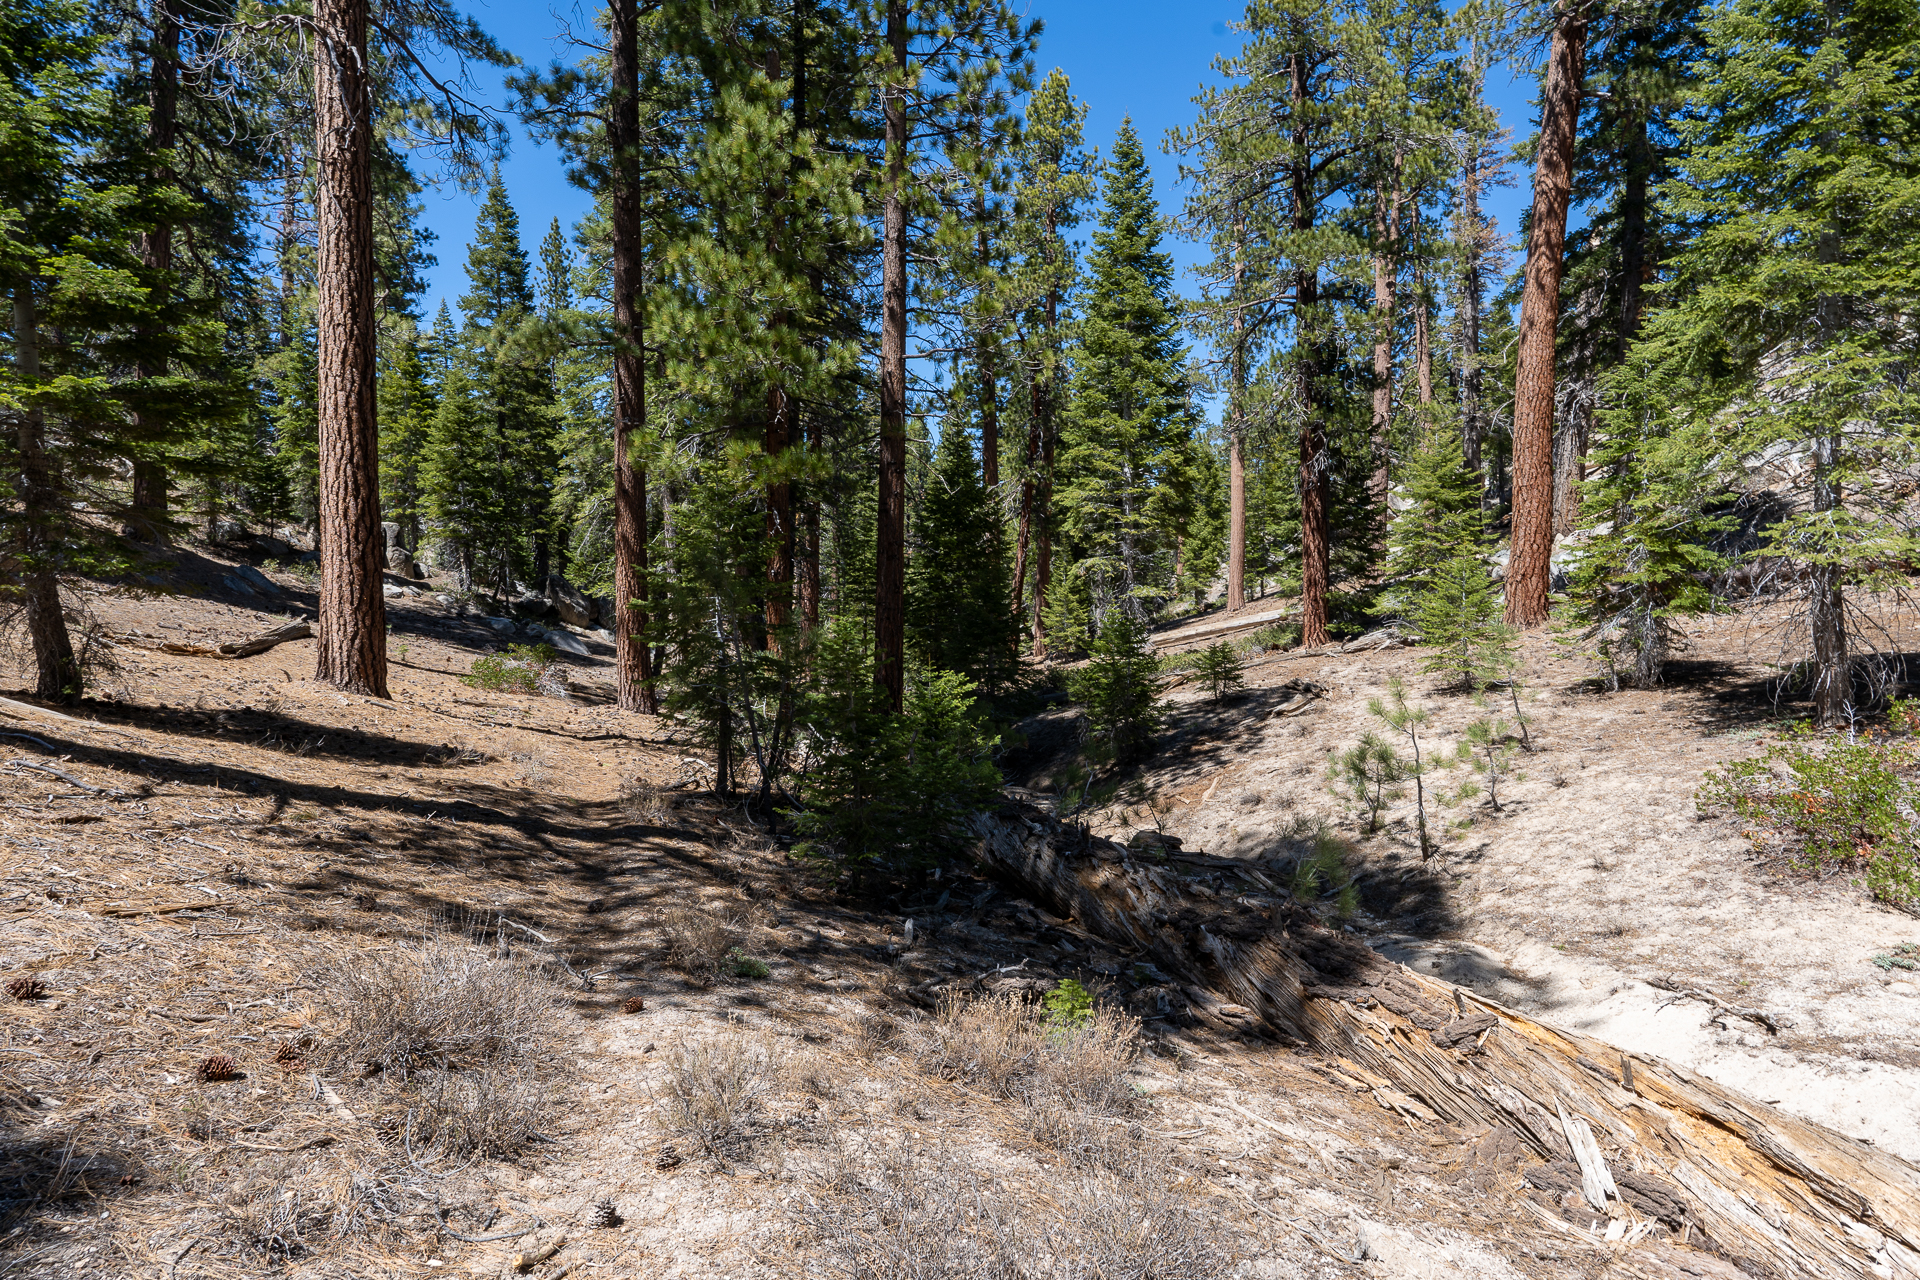
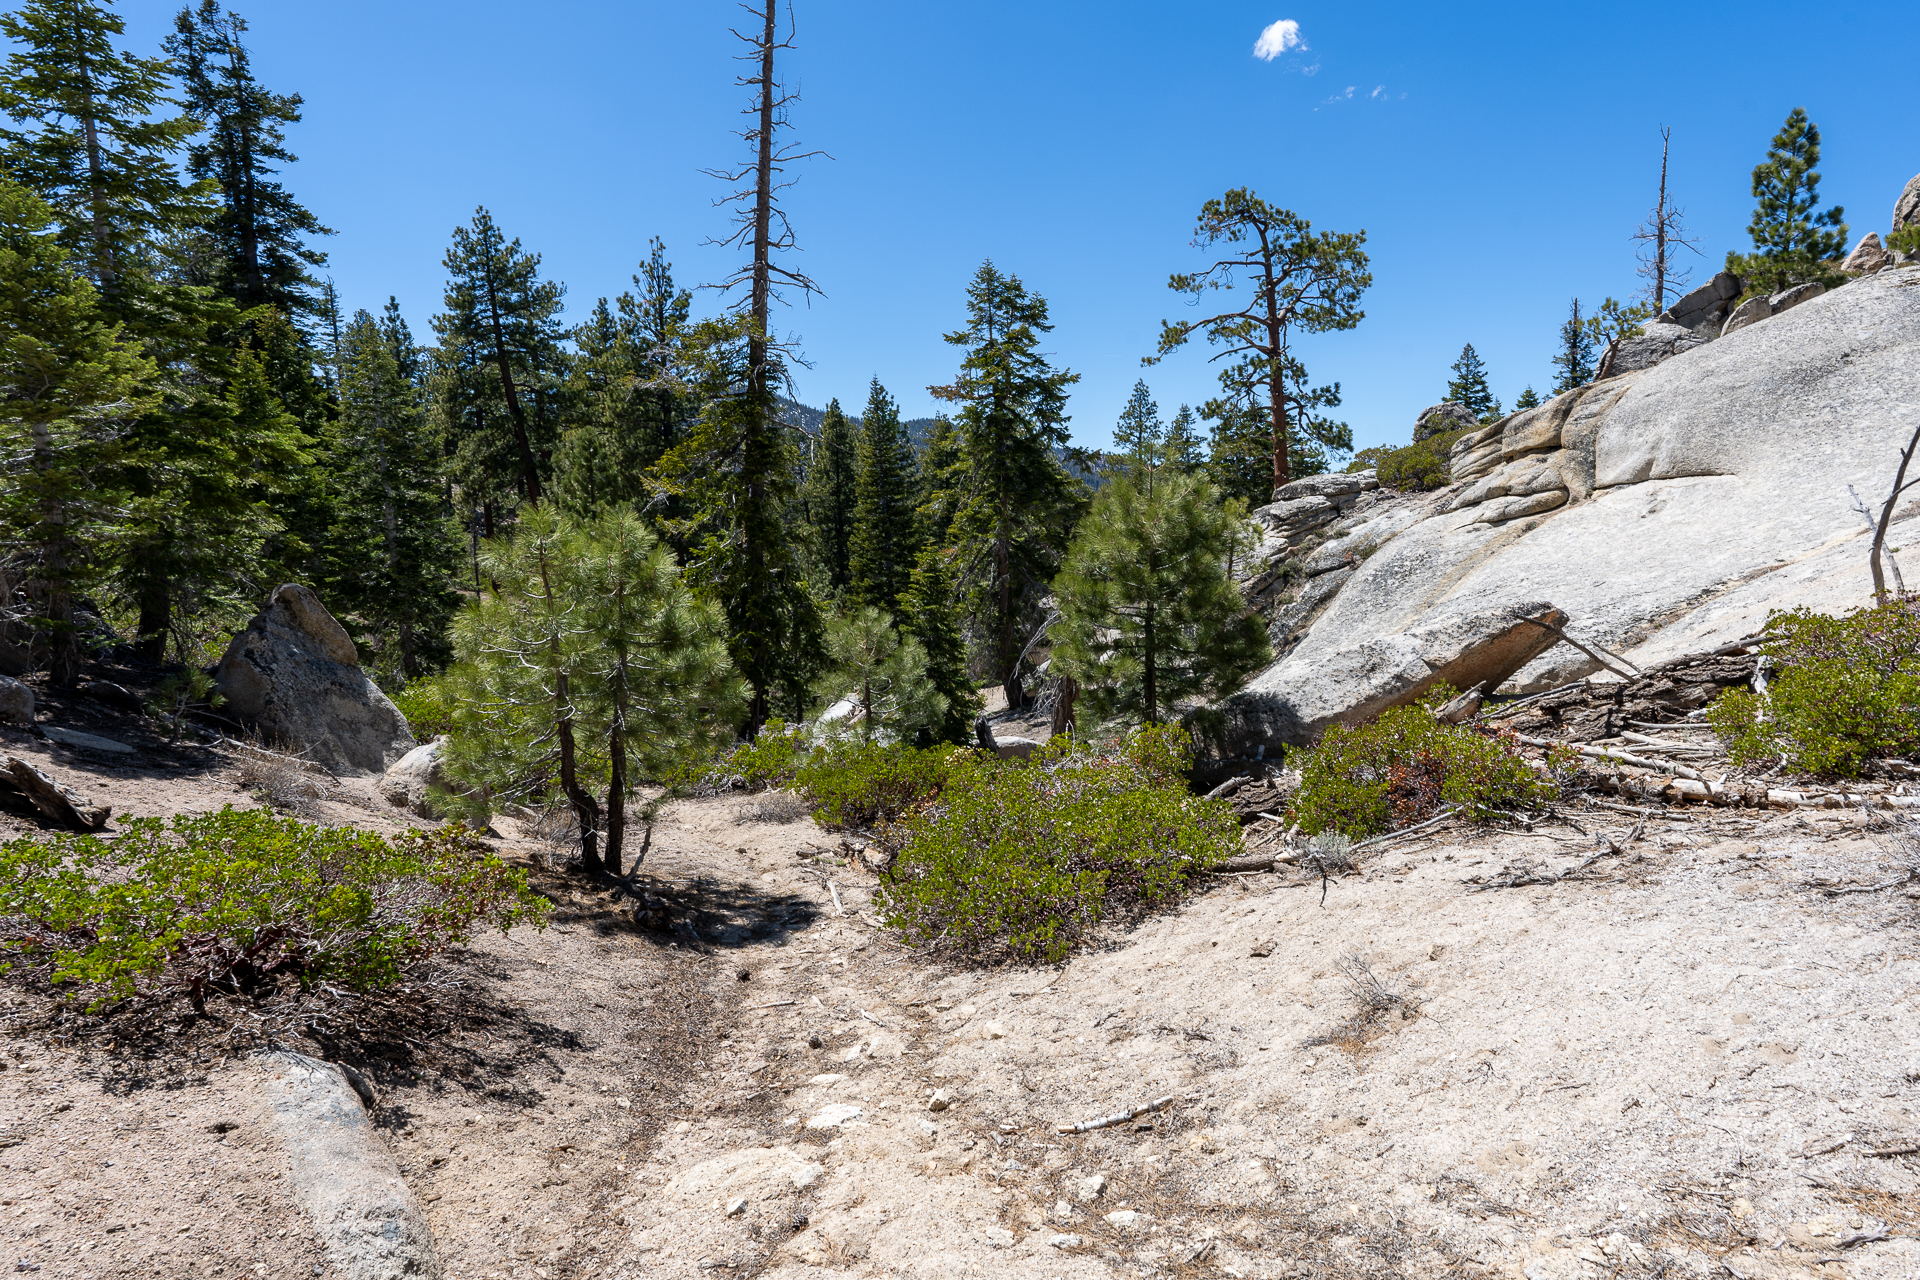
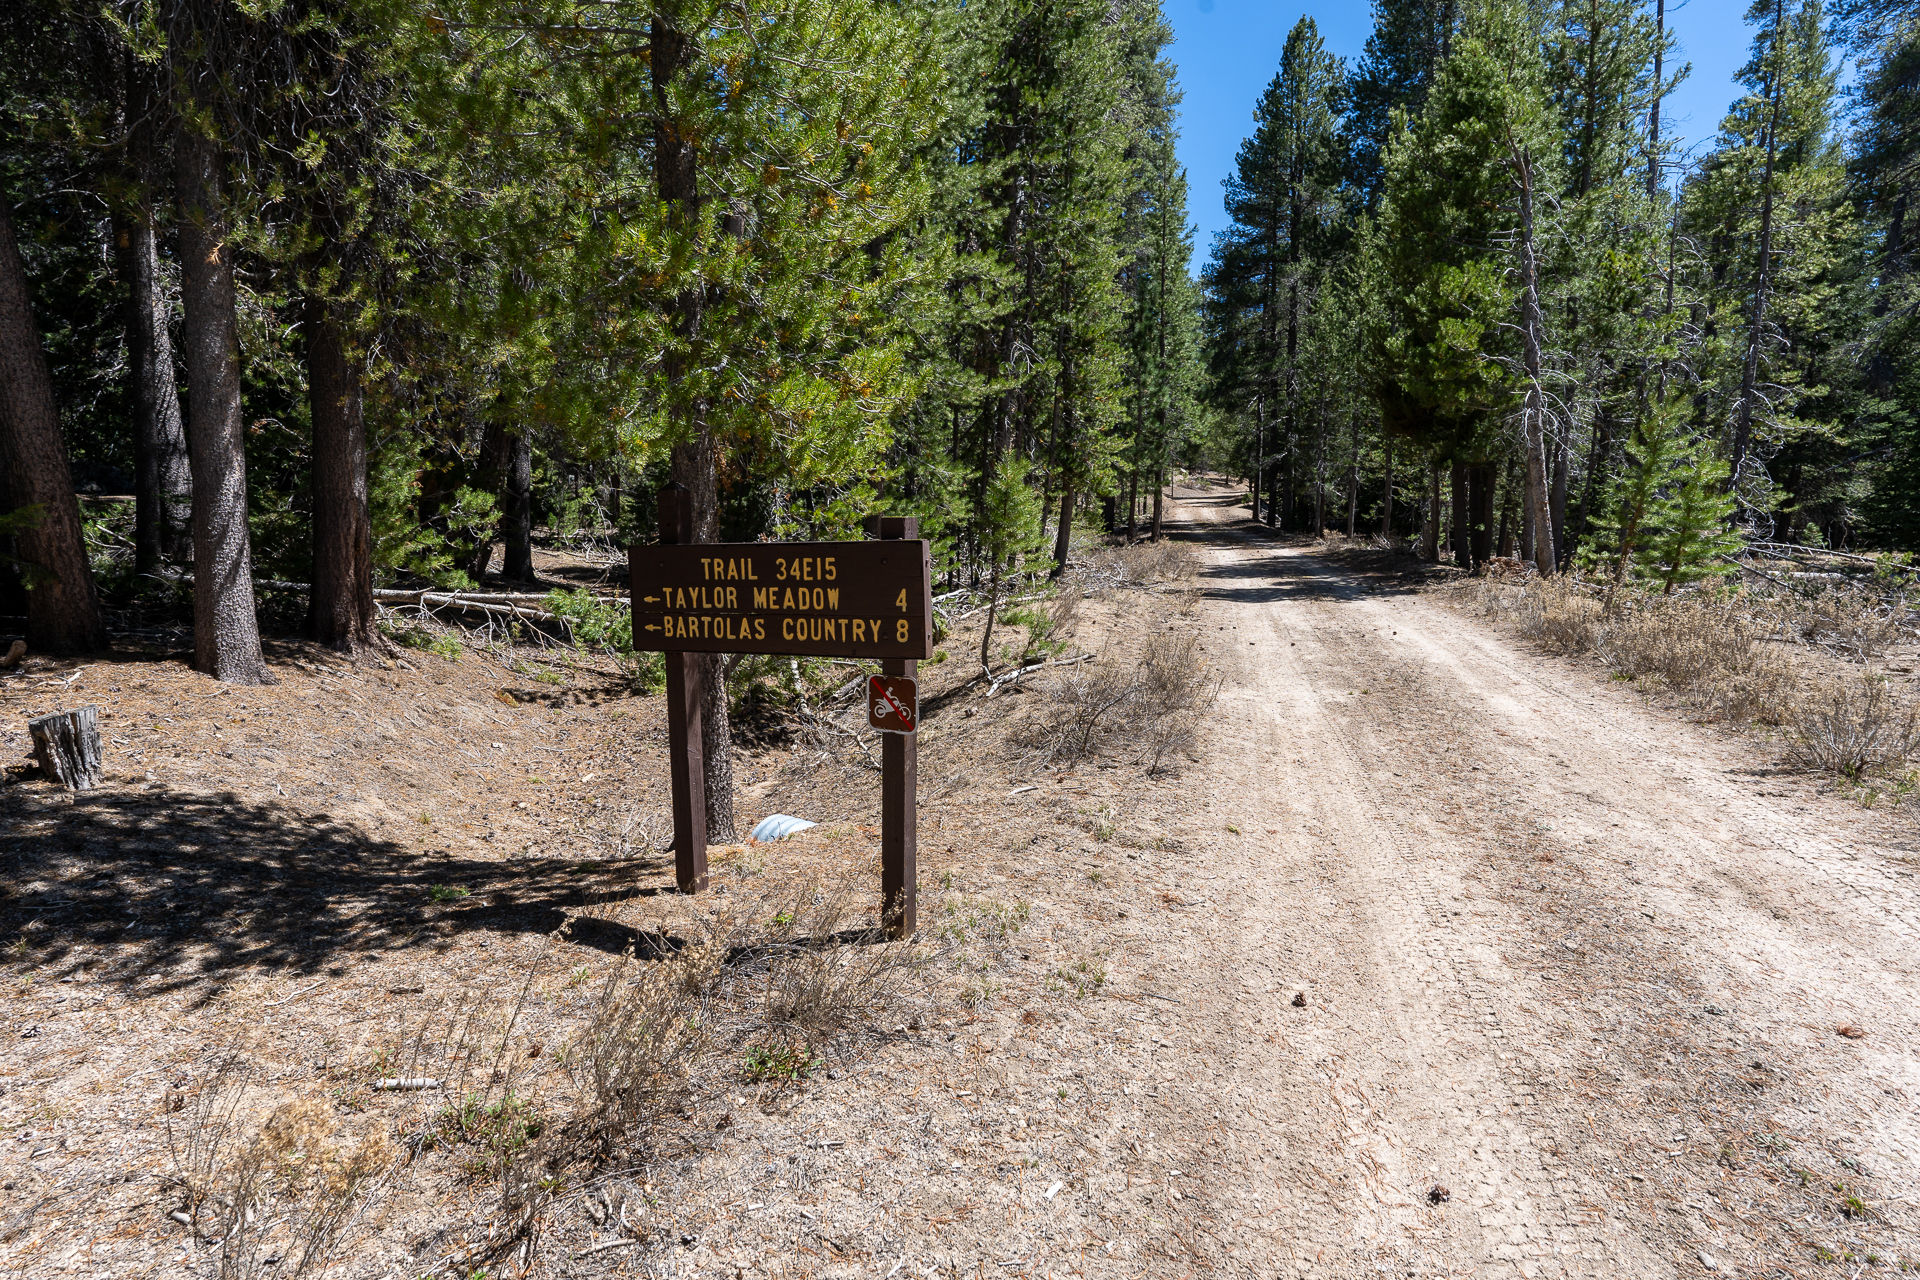
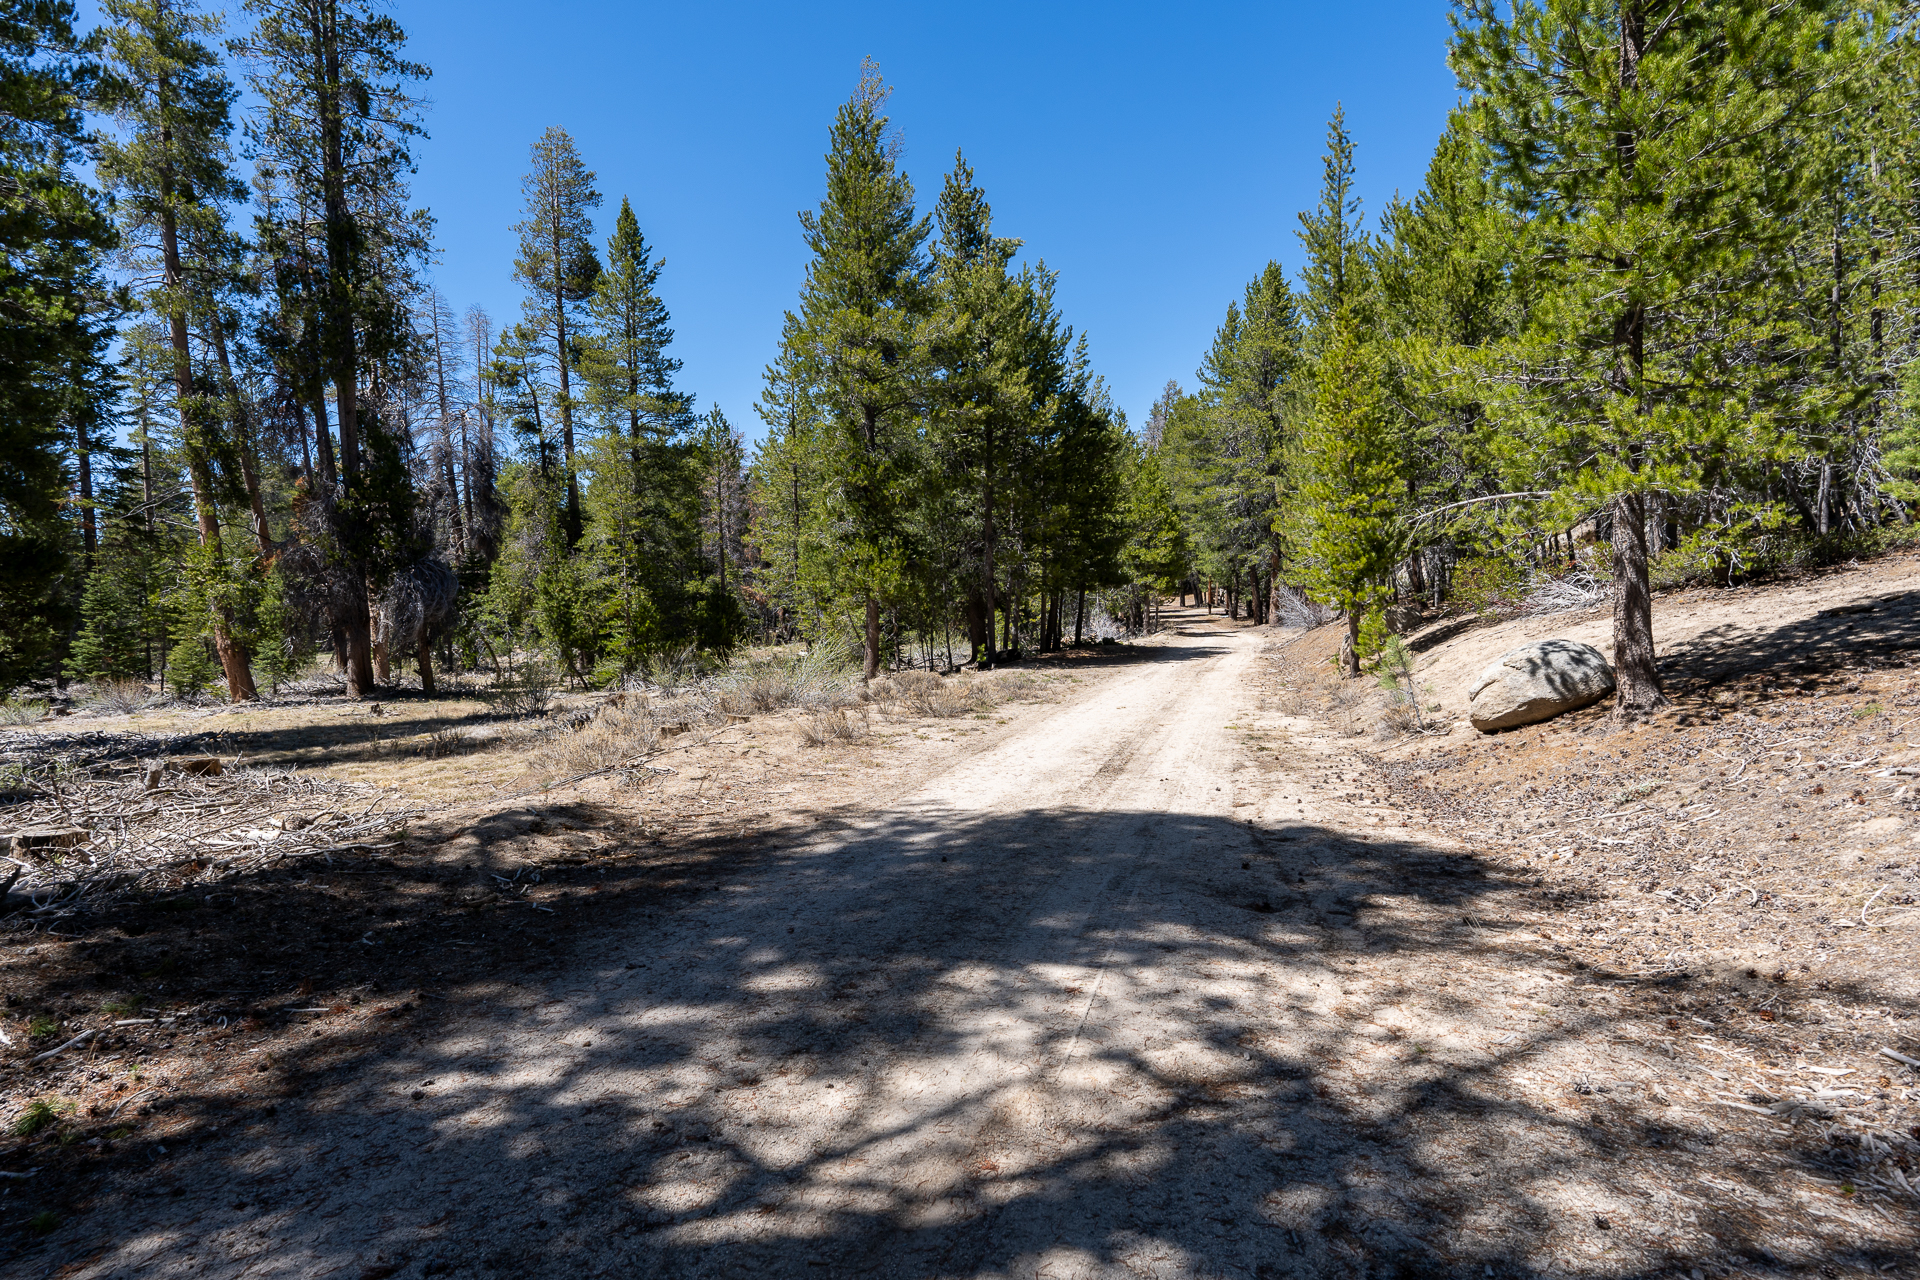
Rockhouse Peak and Taylor Dome

Domeland Wilderness, CA

Info

Distance
18 mi
Elevation gain
4,800 ft
Route type
Out & back
Duration
8.5 hr
Crux
Class 3
Quality
7/10
Vehicle type
4x4
Ecoregion
Sierra Nevada

Peaks bagged

1
Rockhouse Peak
SPS
8,386 ft / Rise 679 ft
2
Taylor Dome
SPS
8,811 ft / Rise 712 ft

Report

Trip report photo for Rockhouse Peak and Taylor Dome
South Manter Trailhead.
Trip report photo for Rockhouse Peak and Taylor Dome
Entering the Domeland Wilderness.
Trip report photo for Rockhouse Peak and Taylor Dome
Gently descending 800 feet through the forest to Manter Meadows.
Trip report photo for Rockhouse Peak and Taylor Dome
Cabin Spur junction. Turn right toward Church Dome.
Trip report photo for Rockhouse Peak and Taylor Dome
Along the southbound Cabin Spur Trail.
Trip report photo for Rockhouse Peak and Taylor Dome
View north across Manter Meadow.
Trip report photo for Rockhouse Peak and Taylor Dome
Turning left onto the northbound Woodpecker Trail.
Trip report photo for Rockhouse Peak and Taylor Dome
View back.
Trip report photo for Rockhouse Peak and Taylor Dome
Trail sign indicating the Manter Creek Trail, which is located on the opposing (north) side of the creek.
Trip report photo for Rockhouse Peak and Taylor Dome
Manter Creek Campground. Cross the creek here.
Trip report photo for Rockhouse Peak and Taylor Dome
Along the Manter Creek Trail.
Trip report photo for Rockhouse Peak and Taylor Dome
The faint trail follows the creek.
Trip report photo for Rockhouse Peak and Taylor Dome
Crossing Little Manter Meadow.
Trip report photo for Rockhouse Peak and Taylor Dome
Following a trail up the right side of a gully toward Rockhouse Saddle.
Trip report photo for Rockhouse Peak and Taylor Dome
View back.
Trip report photo for Rockhouse Peak and Taylor Dome
From Rockhouse Saddle, turning north toward Rockhouse Peak (not visible).
Trip report photo for Rockhouse Peak and Taylor Dome
View back toward the saddle.
Trip report photo for Rockhouse Peak and Taylor Dome
Approaching a Class 2 section.
Trip report photo for Rockhouse Peak and Taylor Dome
Rockhouse Peak comes into view from a plateau.
Trip report photo for Rockhouse Peak and Taylor Dome
Starting up Rockhouse Peak's south slope. Class 2.
Trip report photo for Rockhouse Peak and Taylor Dome
Approaching Rockhouse Peak's east face.
Trip report photo for Rockhouse Peak and Taylor Dome
View back.
Trip report photo for Rockhouse Peak and Taylor Dome
Class 3 section along Rockhouse Peak's east face.
Trip report photo for Rockhouse Peak and Taylor Dome
Class 2 slabs just below the summit.
Trip report photo for Rockhouse Peak and Taylor Dome
Rockhouse Peak summit. View southwest.
Trip report photo for Rockhouse Peak and Taylor Dome
View northwest into the Domeland Wilderness.
Trip report photo for Rockhouse Peak and Taylor Dome
Closeup of some domes to the northwest.
Trip report photo for Rockhouse Peak and Taylor Dome
View northeast.
Trip report photo for Rockhouse Peak and Taylor Dome
View southeast toward Rockhouse Saddle (right) and the Kern River valley (left).
Trip report photo for Rockhouse Peak and Taylor Dome
Descending the west side of Rockhouse Peak.
Trip report photo for Rockhouse Peak and Taylor Dome
View back up a Class 2 section.
Trip report photo for Rockhouse Peak and Taylor Dome
View back along a ramp leading to the Class 2 section.
Trip report photo for Rockhouse Peak and Taylor Dome
Returning to Rockhouse Saddle.
Trip report photo for Rockhouse Peak and Taylor Dome
Rejoining the Manter Creek Trail.
Trip report photo for Rockhouse Peak and Taylor Dome
Little Manter Meadow.
Trip report photo for Rockhouse Peak and Taylor Dome
Crossing Manter Creek near the Woodpecker Trail junction.
Trip report photo for Rockhouse Peak and Taylor Dome
Passing Manter Meadow on the return to the South Manter Trail.
Trip report photo for Rockhouse Peak and Taylor Dome
After climbing 600 feet, leaving the South Manter Trail for a northern spur of Taylor Dome.
Trip report photo for Rockhouse Peak and Taylor Dome
Unmarked campsite.
Trip report photo for Rockhouse Peak and Taylor Dome
Starting up the spur.
Trip report photo for Rockhouse Peak and Taylor Dome
Steep Class 1 terrain.
Trip report photo for Rockhouse Peak and Taylor Dome
View back toward Sirretta Peak.
Trip report photo for Rockhouse Peak and Taylor Dome
Weaving through several large outcrops.
Trip report photo for Rockhouse Peak and Taylor Dome
Approaching the north side of Taylor Dome.
Trip report photo for Rockhouse Peak and Taylor Dome
The route continues up the ramp on the right.
Trip report photo for Rockhouse Peak and Taylor Dome
Class 3 move (left) to gain Taylor Dome's north ridge.
Trip report photo for Rockhouse Peak and Taylor Dome
Class 2 along the ridge.
Trip report photo for Rockhouse Peak and Taylor Dome
View back along Taylor Dome's north ridge. Manter Meadow is left of center; behind it is Rockhouse Peak.
Trip report photo for Rockhouse Peak and Taylor Dome
Taylor Dome summit. View south.
Trip report photo for Rockhouse Peak and Taylor Dome
View east toward Church Dome (right).
Trip report photo for Rockhouse Peak and Taylor Dome
Descending Taylor Dome's south face.
Trip report photo for Rockhouse Peak and Taylor Dome
View back toward a Class 3 chimney (partially visible, right).
Trip report photo for Rockhouse Peak and Taylor Dome
View northwest.
Trip report photo for Rockhouse Peak and Taylor Dome
Impressive tower to the south of Taylor Dome.
Trip report photo for Rockhouse Peak and Taylor Dome
View back at a ramp system leading to Taylor Dome's south face.
Trip report photo for Rockhouse Peak and Taylor Dome
View back at the Taylor Dome summit area.
Trip report photo for Rockhouse Peak and Taylor Dome
Descending Taylor Dome's northwest slope.
Trip report photo for Rockhouse Peak and Taylor Dome
Aiming for a low point in an intervening ridge.
Trip report photo for Rockhouse Peak and Taylor Dome
View back at a short bushwhack.
Trip report photo for Rockhouse Peak and Taylor Dome
Crossing over the ridge.
Trip report photo for Rockhouse Peak and Taylor Dome
Joining the Big Meadow Trail (Trail 34E15).
Trip report photo for Rockhouse Peak and Taylor Dome
View back from the Big Meadow Trailhead.
Trip report photo for Rockhouse Peak and Taylor Dome
Following Forest Route 23S07 a short distance to the South Manter Trailhead.

Nearby trips

Cannell Peak
Cannell Peak
3.2 mi1,300 ft2 hr
Lamont Peak
Lamont Peak
4.5 mi2,500 ft3 hr